Tutorial: Connect Robot Vacuum Cleaner to ROS 2 – Proscenic M6 Pro
Turn a Proscenic M6 Pro robot vacuum into a ROS 2 robot: root it over ADB, flash the open-source SangamIO firmware, and bridge its LiDAR, odometry and motors into ROS 2 Jazzy as /scan, /odom and /cmd_vel.

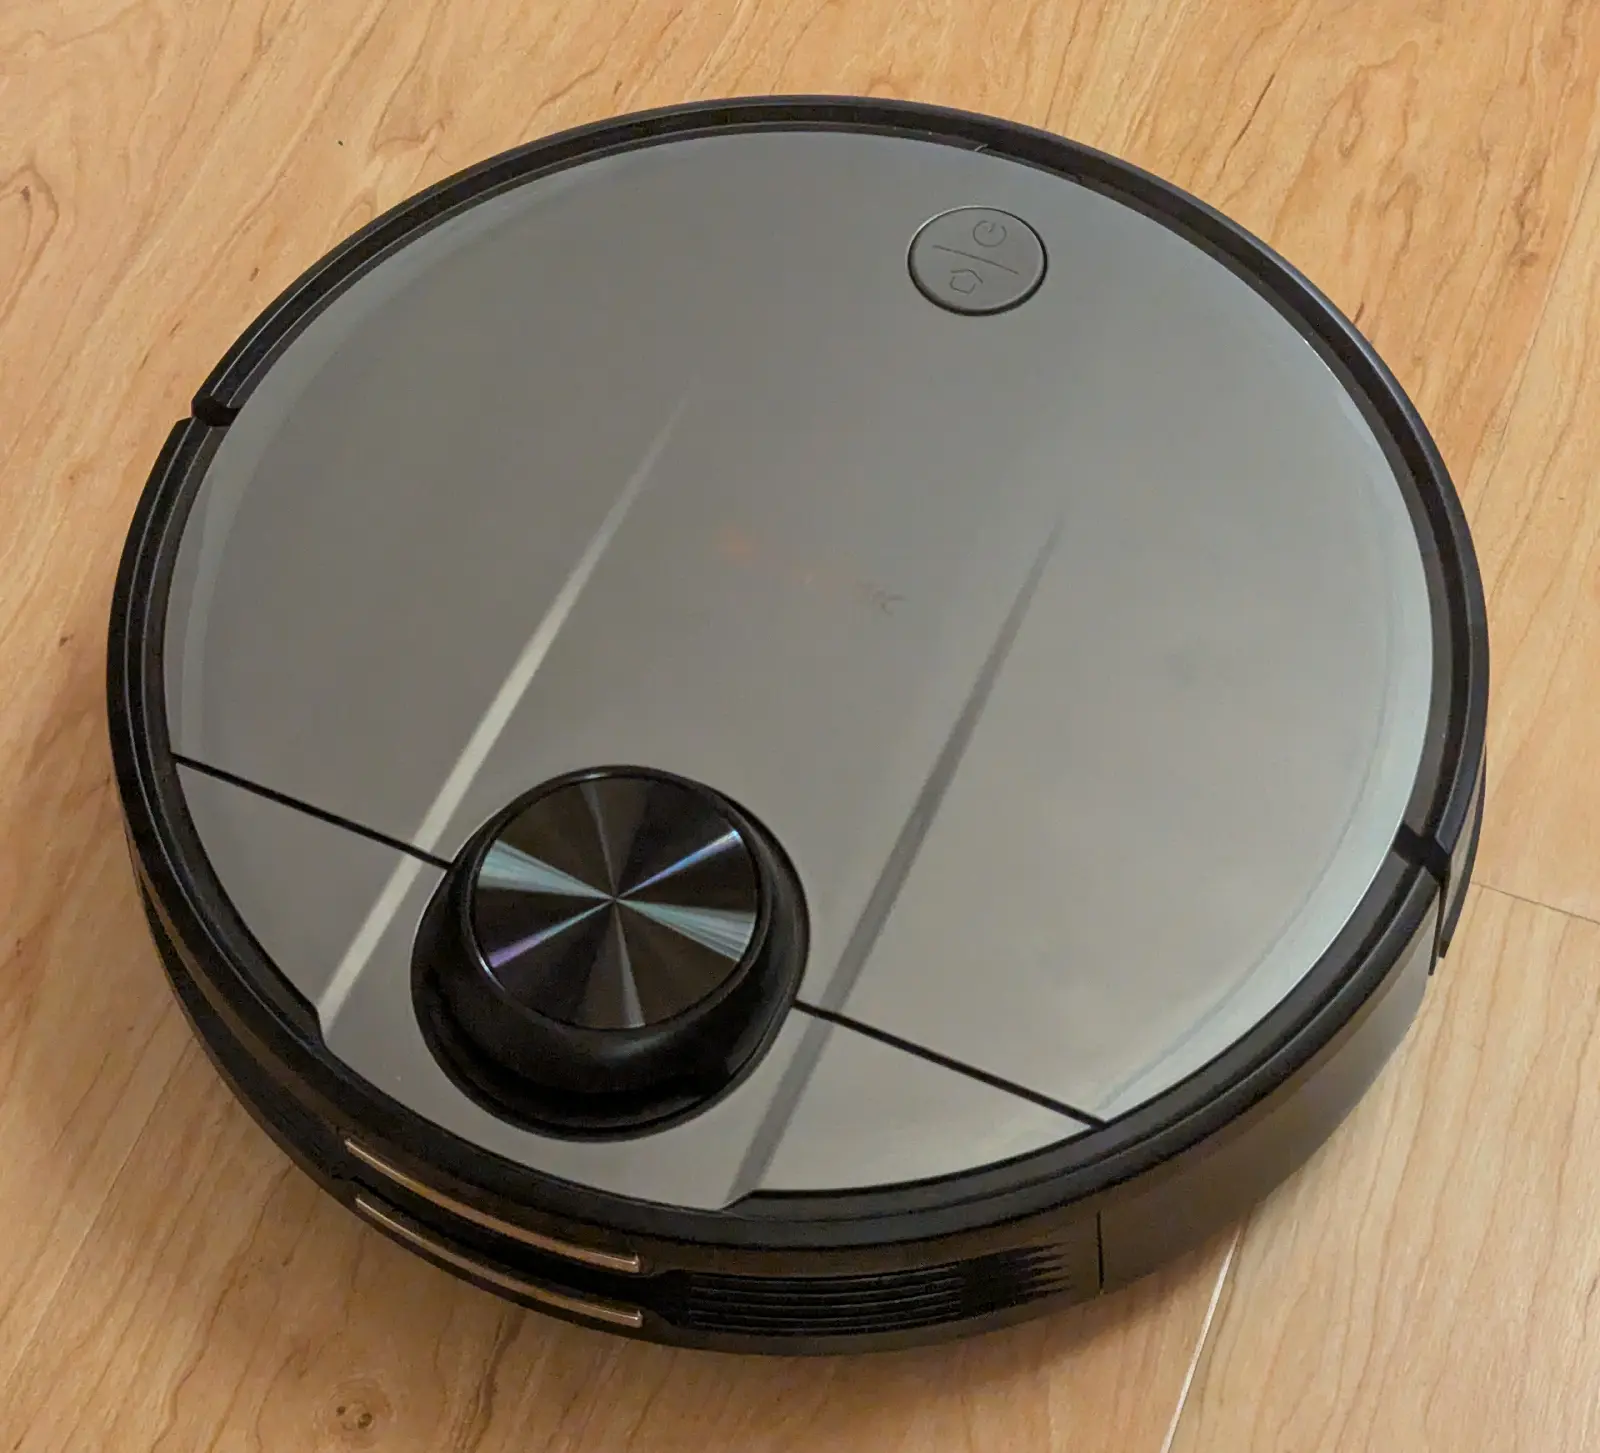
A robot vacuum is one of the cheapest ways to get a real mobile robot: differential-drive motors with wheel encoders, a spinning 360° LiDAR, an IMU, bumpers, cliff sensors and a battery — all for the price of an appliance. In this tutorial we turn a Proscenic M6 Pro into a ROS 2 robot. By the end, the vacuum’s LiDAR, odometry, IMU and motors show up as standard ROS 2 topics like /scan, /odom and /cmd_vel that you can drive, visualize in RViz, and run SLAM or Nav2 on.
More tutorials in this series – drive, map & navigate, simulate Proscenic M6 Pro in ROS2/Gazebo.
Heads up — this is an advanced, experimental project. Rooting the vacuum and replacing its firmware voids the warranty, can brick the device, and relies on community reverse-engineering. Do it only on a unit you’re happy to tinker with, and at your own risk.
Huge credit to codetiger’s VacuumTiger project, which reverse-engineered an ILIFE A11 vacuum cleaner and firmware and wrote the open-source on-device firmware we deploy here. Proscenic M6 Pro is similar to ILIFE A11 as both use an old but popular 3irobotix CRL-200S hardware platform (Allwinner SoC running TinaLinux). The ROS 2 bridge is remake.ai’s vacuum_ros2_bridge.
What you’ll need
- A Proscenic M6 Pro. Note, there is no guarantee your Proscenic will root successfully and not brick. Root at your own risk! See this article for alternative instructions.
- A micro-USB cable — the M6 Pro exposes ADB on its USB port, so no soldering or teardown is required.
- A PC with Ubuntu 24.04 (native install recommended for the ROS 2 side). Windows 10/11 users can do the rooting and firmware build under WSL2.
- ROS 2 Jazzy on the Ubuntu side.
- ADB (Android platform-tools)
How the pieces fit together
Two small programs do all the work:
- On the vacuum — SangamIO: a tiny daemon (part of VacuumTiger) that talks to the GD32 motor controller and the LiDAR over the robot’s internal serial ports, and exposes everything over TCP port 5555.
- On your PC — vacuum_ros2_bridge: a ROS 2 Jazzy node that connects to SangamIO over your network and republishes the data as ROS 2 topics, services and TF.
Proscenic M6 Pro <--> Wi-Fi / LAN <--> PC <--> ROS 2
SangamIO, TCP 5555              vacuum_ros2_bridge
Step 1 — Get a root ADB shell
The M6 Pro conveniently exposes an Android Debug Bridge (ADB) interface on its micro-USB port, with root access out of the box. Plug the vacuum into your PC with a micro-USB cable and pick your OS below.
Ubuntu
sudo apt update
sudo apt install adb        # or: android-tools-adb android-tools-fastboot
adb version
adb kill-server
sudo adb start-server
adb devices
adb shell
Windows
Download the Android platform-tools, unzip them to a folder such as C:\Users\you\adb, then in PowerShell:
cd C:\Users\you\adb
.\adb.exe devices
You should see your vacuum listed with a serial number:
List of devices attached
20080411        device
Open a shell on the vacuum (you’ll land on its TinaLinux system as root):
.\adb.exe shellYou may be prompted:
TinaLinux login:Completing root shell login
Getting past the login prompt requires creating a root login profile file. On your PC, create a text file named adb_shell with the contents below. Make sure adb_shell uses Linux-style line endings, not Windows-style.
#!/bin/sh
export ENV='/etc/adb_profile'
exec /bin/sh "$@"
Then make it executable and push it onto the vacuum:
chmod +x adb_shell
adb push ./adb_shell /bin/adb_shell
If your unit has a root password set, clear it from inside the vacuum’s shell so SSH and console login work without prompting:
passwd -d rootStep 2 — Put the vacuum on Wi-Fi and enable SSH
So the robot can roam without a USB tether, get it onto your Wi-Fi and turn on its SSH server. Run these inside the vacuum’s shell (via adb shell):
cat > /etc/wifi/wpa_supplicant.conf << 'EOF'
update_config=1
ctrl_interface=/etc/wifi/sockets

network={
    ssid="YOUR_WIFI_SSID"
    psk="YOUR_WIFI_PASSWORD"
    key_mgmt=WPA-PSK
}
EOF

rm -f /etc/wifi/sockets/wlan0
killall wpa_supplicant
wpa_supplicant -B -i wlan0 -c /etc/wifi/wpa_supplicant.conf
udhcpc -i wlan0

# Note the vacuum's IP address:
ip addr show wlan0
Enable the Dropbear SSH server so you can reach the vacuum wirelessly:
/etc/init.d/dropbear start
/etc/init.d/dropbear enable
pidof dropbear
Dropbear uses legacy algorithms, so connect from your PC with a few extra options (replace <VACUUM_IP> with the address from above):
ssh -o HostKeyAlgorithms=+ssh-rsa -o PubkeyAcceptedAlgorithms=+ssh-rsa -o MACs=+hmac-sha1 root@<VACUUM_IP>At this point you may unplug the USB cable and use scp over to deploy firmware binaries.
Alternatively, you can continue using the vacuum’s adb server over USB — see Appendix A.
Get new tutorials by email
Step 3 — Deploy Pre-built firmware
The quickest path is the prebuilt binary — no toolchain required. Clone the fork and copy the ready-made ARM binary onto the vacuum over SSH. Dropbear has no SFTP, so use scp’s legacy protocol (-O):
git clone https://github.com/kaiaai/VacuumTiger

cd VacuumTiger/sangamio

scp -O -o HostKeyAlgorithms=+ssh-rsa -o PubkeyAcceptedAlgorithms=+ssh-rsa -o MACs=+hmac-sha1 ./bin/sangamio root@<VACUUM_IP>:/usr/sbin/sangamio

ssh -o HostKeyAlgorithms=+ssh-rsa -o PubkeyAcceptedAlgorithms=+ssh-rsa -o MACs=+hmac-sha1 root@<VACUUM_IP> 'chmod +x /usr/sbin/sangamio'
The default sangamio.toml is already tuned for the M6 Pro (including calibrated velocity scales), so you don’t need to copy it unless you want to customize it. Then skip to Step 4. Prefer to compile it yourself? Build from source below.
Step 4 — Start SangamIO on the vacuum
The stock firmware holds the serial ports open, so stop it first, then launch SangamIO (inside the vacuum’s shell):
killall robotManager AuxCtrl Monitor everest-server 2>/dev/null
RUST_LOG=info /usr/sbin/sangamio
You should see it initialize the motor controller and LiDAR and open its TCP server:
[INFO  sangam_io] Device: CRL-200S Vacuum Robot
[INFO  sangam_io::devices::crl200s] Opening GD32 port /dev/ttyS3
[INFO  sangam_io::devices::crl200s] Opening lidar port /dev/ttyS1
[INFO  sangam_io::devices::crl200s::gd32] GD32 responded - initialization successful
[INFO  sangam_io::devices::crl200s::lidar] Lidar motor started
[INFO  sangam_io::streaming] TCP server listening on 0.0.0.0:5555
Leave it running. Your vacuum is now a robot server on TCP port 5555.
How LiDARs are used in self-driving robots?
Build a real LiDAR self-driving Arduino/ROS2 robot using our kit - with complete step-by-step instructions. No robotics experience necessary.
See the full robot kit →To run it in the background:
RUST_LOG=info /usr/sbin/sangamio > /tmp/sangamio.log 2>&1 &To run SangamIO on every boot (and stop the stock daemons for you), install it as a service. Create /etc/init.d/sangamio on the vacuum:
cat > /etc/init.d/sangamio << 'EOF'
#!/bin/sh /etc/rc.common

USE_PROCD=1
START=91
STOP=10

start_service() {
    killall robotManager AuxCtrl Monitor everest-server 2>/dev/null
    sleep 2
    procd_open_instance
    procd_set_param command /usr/sbin/sangamio
    procd_set_param env RUST_LOG=info
    procd_set_param stdout 1     # logs go to syslog: `logread -f`
    procd_set_param stderr 1
    procd_set_param respawn      # auto-restart if it ever crashes
    procd_close_instance
}
EOF

chmod +x /etc/init.d/sangamio
/etc/init.d/sangamio enable
/etc/init.d/sangamio start
Useful commands to check and control sangamio:
/etc/init.d/sangamio start
/etc/init.d/sangamio stop
/etc/init.d/sangamio restart
pidof sangamio
logread -e sangamio
logread -f sangamio
Connect to ROS 2 — continue in Part 2
SangamIO is now serving your vacuum’s sensors and motors on TCP port 5555. The quickest way to bring it into ROS 2 is the prebuilt makerspet/oomwoo Docker image, which already bundles ROS 2 Jazzy, the vacuum_ros2_bridge, the proscenic_m6pro robot description, an EKF, RViz, cartographer SLAM and Nav2 — no manual colcon build required.
Part 2: Drive, Map & Navigate Your Proscenic M6 Pro in ROS 2 walks through bring-up, keyboard teleop, velocity calibration, building a map with SLAM, autonomous navigation, and even driving the robot remotely over an SSH tunnel.
Quirks & safety
- Long-press to power on. With SangamIO running but the robot “off” (breathing LED), the motors and LiDAR are physically gated. A long-press (solid LED) un-gates them — and it can’t be done remotely.
- The LiDAR gates the drive motors. After power-on, motors ignore
/cmd_veluntil you enable the LiDAR; a/cmd_velsent beforehand is buffered and kicks in the instant the LiDAR comes up. - Disabling the LiDAR does not stop the motors. Send a zero
/cmd_velto halt. - State can survive a
reboot. A full power-cycle is the reliable reset.
Troubleshooting
- ADB device offline / not listed:
adb kill-serverthensudo adb start-serverand reconnect the cable. - SangamIO can’t open
/dev/ttyS3: the stock firmware is still running —killall AuxCtrl(androbotManager Monitor everest-server) to free the serial ports. - No
/scandata: enable the LiDAR motor with the/set_lidarservice and listen for it spinning up. - Bridge can’t connect:
ping <VACUUM_IP>, confirm SangamIO is still running, and make sure the PC and vacuum are on the same subnet with TCP 5555 unblocked. - Odometry drifts: it’s wheel-encoder-only — fuse with the IMU via
robot_localizationfor better localization.
Source code and credits
- codetiger/VacuumTiger — on-device firmware (SangamIO, DhruvaSLAM, Drishti) and the CRL-200S reverse engineering this tutorial stands on.
- kaiaai/VacuumTiger — a VacuumTiger fork debugged and fixed for Proscenic M6 Pro.
- remakeai/vacuum_ros2_bridge — the ROS 2 Jazzy bridge.
New to ROS 2 and robotics? Our build-a-robot crash course is a gentler place to start — no rooting required.
Appendix A. Configure ADB in Windows WSL2
If you are using Windows WSL2 to build the project and adb to push the resulting binary to the vacuum, configure your WSL2 adb client to reach your vacuum’s adb server via the Windows adb.
Open Windows PowerShell as administrator:
New-NetFirewallRule -DisplayName "WSL ADB" -Direction Inbound -LocalPort 5037 -Protocol TCPOpen a non-privileged Windows PowerShell:
cd C:\Users\you\adb
.\adb.exe kill-server
.\adb.exe -a nodaemon server start
Launch a WSL2 terminal:
sudo apt install adb
adb kill-server
export ADB_SERVER_SOCKET=tcp:<YOUR_WINDOWS_IP>:5037
adb devices
Appendix B. Deploy pre-built binaries using ADB
Push the binary and its config onto the vacuum, and make it executable:
cd VacuumTiger/sangamio
adb push ./bin/sangamio /usr/sbin/sangamio
adb push sangamio.toml /etc/sangamio.toml
adb shell chmod +x /usr/sbin/sangamio
Appendix C. Build firmware from source
This tutorial comes with pre-built firmware binaries. Follow these instructions if you need to rebuild the binaries.
Requirements
- Rust toolchain with an ARM cross-compiler
SangamIO is cross-compiled for the vacuum’s ARM CPU. Building needs a Linux toolchain — do this on Ubuntu, or in a WSL2 Ubuntu shell on Windows – NOT on the vacuum cleaner. First, install Rust and the ARM target:
curl --proto '=https' --tlsv1.2 -sSf https://sh.rustup.rs | sh
source ~/.cargo/env
rustup target add armv7-unknown-linux-musleabihf
Install a musl ARM cross-compiler:
cd /opt
sudo wget https://musl.cc/armv7l-linux-musleabihf-cross.tgz
sudo tar xzf armv7l-linux-musleabihf-cross.tgz
echo 'export PATH="/opt/armv7l-linux-musleabihf-cross/bin:$PATH"' >> ~/.bashrc
source ~/.bashrc
cd /opt/armv7l-linux-musleabihf-cross/bin
sudo ln -s armv7l-linux-musleabihf-gcc armv7-unknown-linux-musleabihf-gcc
Clone VacuumTiger and build SangamIO:
sudo apt install protobuf-compiler
git clone https://github.com/kaiaai/VacuumTiger
cd VacuumTiger/sangamio
cargo build --release --target armv7-unknown-linux-musleabihf
Push the binary and its config onto the vacuum, and make it executable:
adb push target/armv7-unknown-linux-musleabihf/release/sangamio /usr/sbin/sangamio

adb push sangamio.toml /etc/sangamio.toml

adb shell chmod +x /usr/sbin/sangamio
The default sangamio.toml is set up for the CRL-200S (serial ports /dev/ttyS3 for the motor controller and /dev/ttyS1 for the LiDAR, listening on 0.0.0.0:5555). You shouldn’t need to change it for an M6 Pro.
SSH into your vacuum over Wi-Fi and unplug the USB cable.
Appendix D. Deploy pre-built binaries using SSH
Here is another way to deploy the binary over SSH instead of SCP. When re-deploying the sangamio binary, be sure to terminate the existing sangamio process:
cd VacuumTiger/sangamio

ssh \
  -o HostKeyAlgorithms=+ssh-rsa \
  -o PubkeyAcceptedAlgorithms=+ssh-rsa \
  -o MACs=+hmac-sha1 \
  root@<YOUR_VACUUM_IP> \
  'killall sangamio 2>/dev/null; sleep 1; cat > /usr/sbin/sangamio && chmod +x /usr/sbin/sangamio && echo "deployed:" && ls -l /usr/sbin/sangamio' < ./bin/sangamio