How I 3D print gears using POM (Delrin)
POM (Delrin) is the gear plastic in consumer robot vacuums, and notoriously hard to 3D print. Here is how I print it reliably: two sacrificial PETG layers first, then POM.

POM, also sold as Delrin, is the plastic consumer robot vacuums use for their gears, and it is easy to buy as 3D printing filament. It is also notoriously hard to print. I needed gears for the OOMWOO main brush gearbox, so I tried it – and found a way to print POM gears reliably on an ordinary Prusa MK3S. The trick is to start the print in PETG.
Why POM for gears
POM has a low coefficient of friction and is self-lubricating, so gears made from it run smoothly without grease and wear slowly. That matters in a robot vacuum: the main brush gears turn for every minute the robot cleans, and a robot vacuum is expected to last about 1,000 hours.
Two things make POM hard to print:
- It does not stick to a regular print bed.
- It shrinks as it cools, so it warps and pulls off the bed.
The trick: two layers of PETG first
In my tests POM sticks well to PETG. So the first two layers are PETG, which sticks to the bed, and the printer switches to POM from layer 3. The PETG layers are sacrificial: once the print is done, they come off.
Slicer settings
I use PrusaSlicer. Start from a PETG profile and change a few things:
- Temperatures: keep the PETG ones, bed 100°C and nozzle 230°C.
- Do not go hotter on the nozzle. POM releases formaldehyde at 240°C and above. Print in a ventilated space either way.
- Cooling fan off, for extra mechanical strength.
- Brim on, draft shield on. Keep the draft shield close to the gear, about 0.4 mm away.
- Color change at layer 3. That is where the printer pauses to swap PETG for POM.
- Place the part in the middle of the bed, not near the edge. The middle is the hottest part of the bed.
- Seam position: random. On a gear this keeps the seam from lining up on one tooth.
- Print speeds: leave them as they are. No need to slow down.
Printing it
- Print the first two layers in PETG with the enclosure open. Make sure the PETG sticks to the bed firmly. My bed is PEI, lightly sanded, and I squash the first layer.
- At the color change, swap to POM and close the enclosure. A warmer chamber reduces POM warping.
- When the print is done, remove the two sacrificial PETG layers.
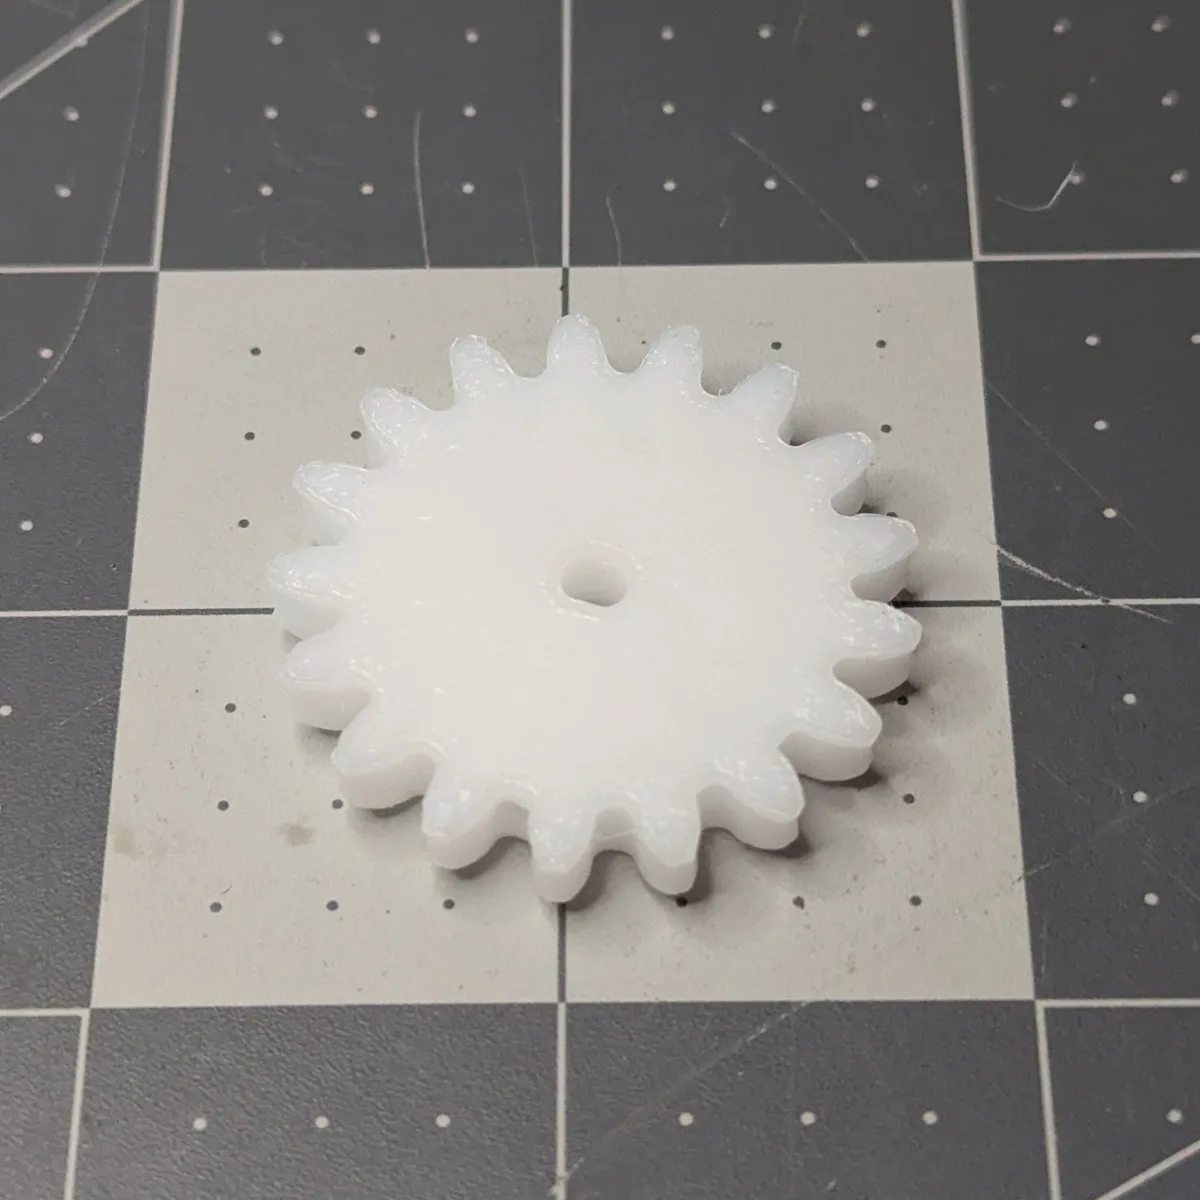
The result, and what is next
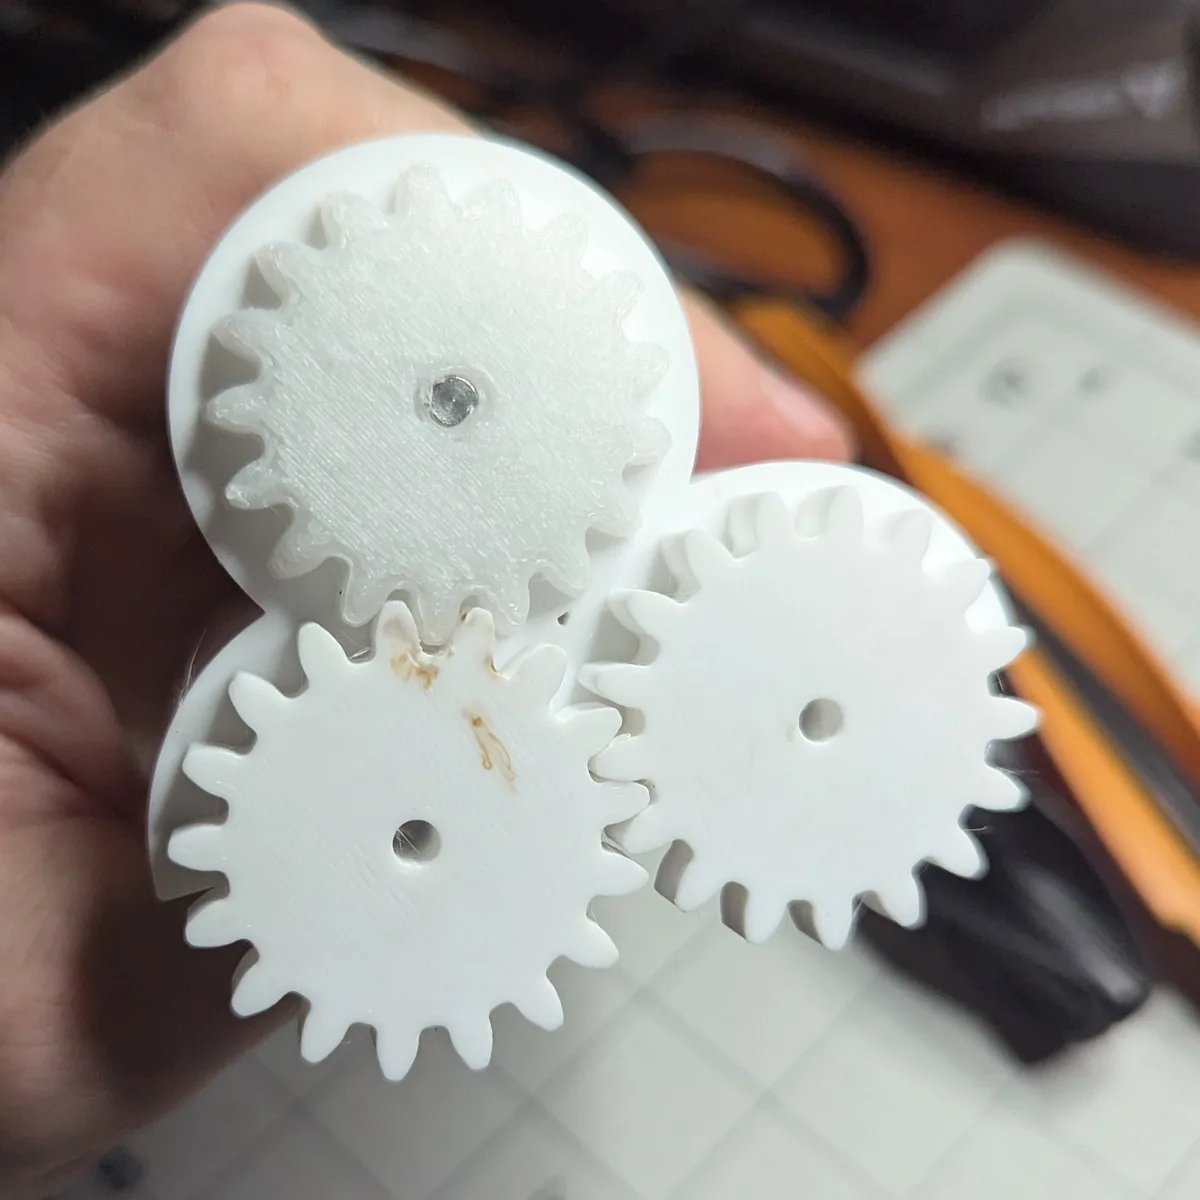
The gears come out clean and mesh well. One flaw remains: the tooth tips come out slightly tented, lifted a little where they warped away from the PETG. The fix is to make the tips stick to the bed better, and that is what I will work on next.
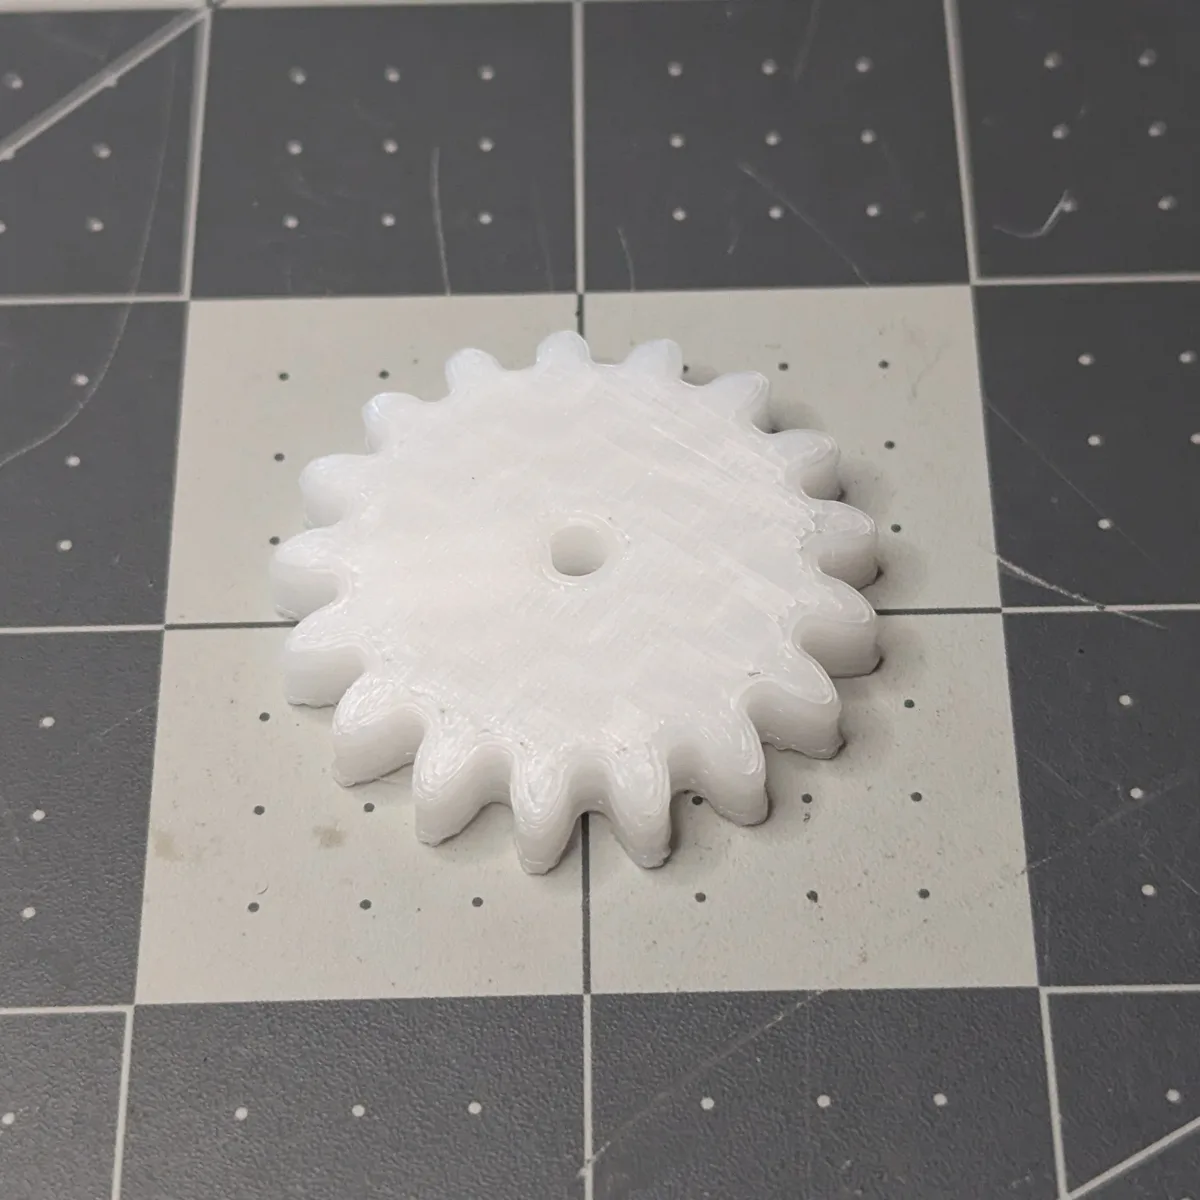
The plan B was cutting the gears from 1/4″ Delrin sheet on a router. Printing works, so makers can make their own POM gears with just a printer. Why OOMWOO uses gears instead of a belt, and the gear settings, are in the 3D design post.