Simulate OOMWOO-One Robot Vacuum in Gazebo with ROS 2

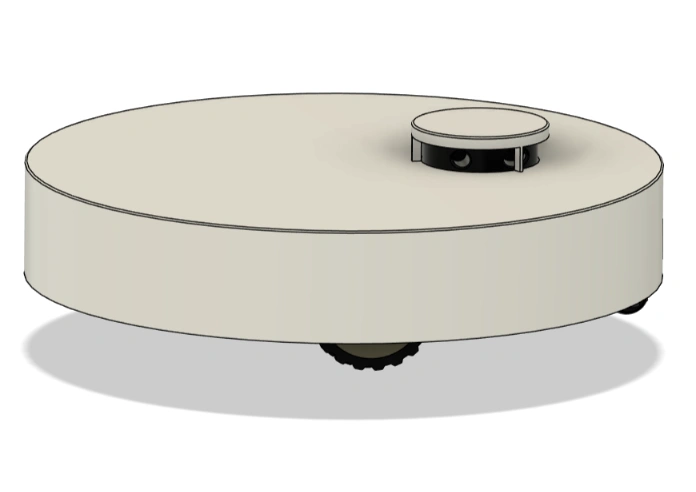
OOMWOO is an open-source robot vacuum you build yourself. oomwoo-one is the first model. This tutorial gets its ROS 2 simulation running in Gazebo so you can develop mapping, navigation, and cleaning behaviours with no hardware — everything runs in Docker on Ubuntu or Windows.
You’ll get: SLAM mapping, autonomous Nav2 navigation, manual driving, and bumper sensors — the same interfaces the real robot will expose.
More tutorials in this series – write OOMWOO Hello World
Prerequisites
- WLS2 if using Windows
- Docker — Docker Desktop on Windows/macOS x86, Docker Engine on Ubuntu/Linux
- An X server for the GUI windows (Gazebo, RViz)
- Windows: VcXsrv (XLaunch)
- Linux: native X — nothing to install
- No physical robot
1. Start the X server (Windows only)
Launch XLaunch (from VcXsrv) and accept the defaults except:
⚠️ On the “Display settings” page, set Display number =
0(not-1). The Docker container connects tohost.docker.internal:0.0, so the display number must be 0 or no GUI windows will appear.
Also tick “Disable access control” on the “Extra settings” page so the container can connect. Finish the wizard — a tiny X icon appears in your tray.
On Linux, instead allow local Docker to reach your X server:
xhost +local:docker2. Pull the oomwoo Docker image
docker pull makerspet/oomwoo:jazzy-dev3. Start the container
Windows (PowerShell):
docker run --name makerspet -it --rm -v c:\maps:/root/maps -p 8888:8888/udp -p 5555:5555/udp -e DISPLAY=host.docker.internal:0.0 -e LIBGL_ALWAYS_INDIRECT=0 --add-host=host.docker.internal:host-gateway makerspet/oomwoo:jazzy-dev(DISPLAY=...:0.0 matches the XLaunch display 0 from step 1.)
Ubuntu / Linux:
docker run --name makerspet -it --rm -v ~/maps:/root/maps -p 8888:8888/udp -p 5555:5555/udp -e DISPLAY=$DISPLAY -v /tmp/.X11-unix:/tmp/.X11-unix --network host makerspet/oomwoo:jazzy-devNeed more terminals into the same container? Open another PowerShell/terminal and run:
docker exec -it makerspet bash4. Select the oomwoo-one model
Inside the container:
kaia config robot.model oomwoo_one5. Launch the Gazebo world
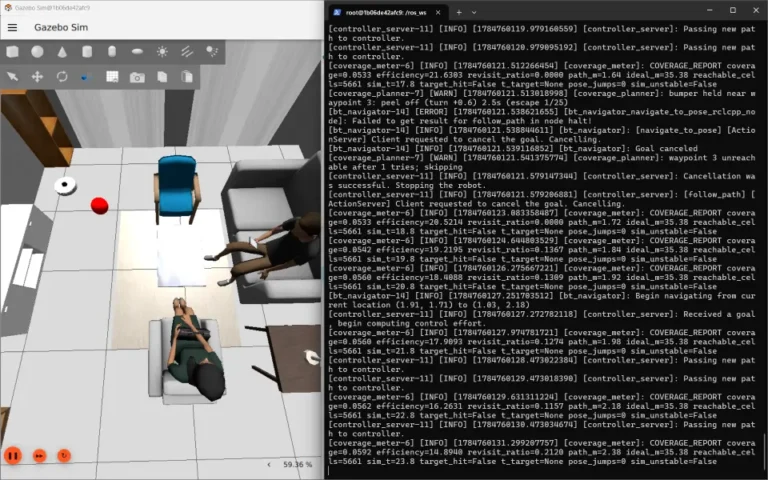
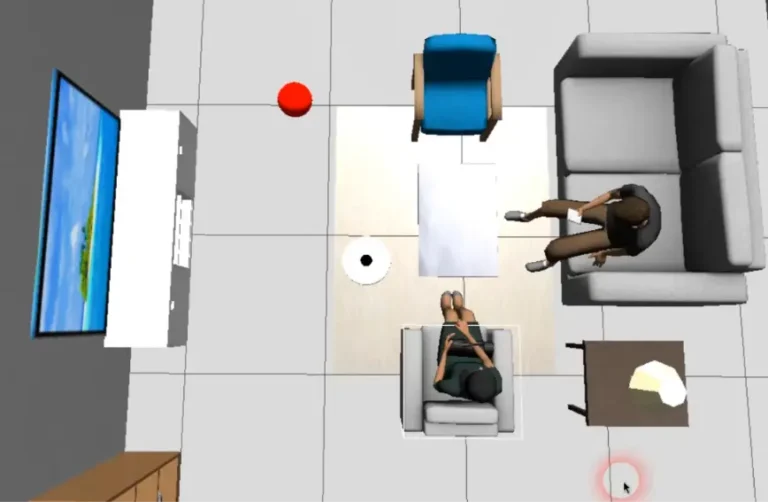
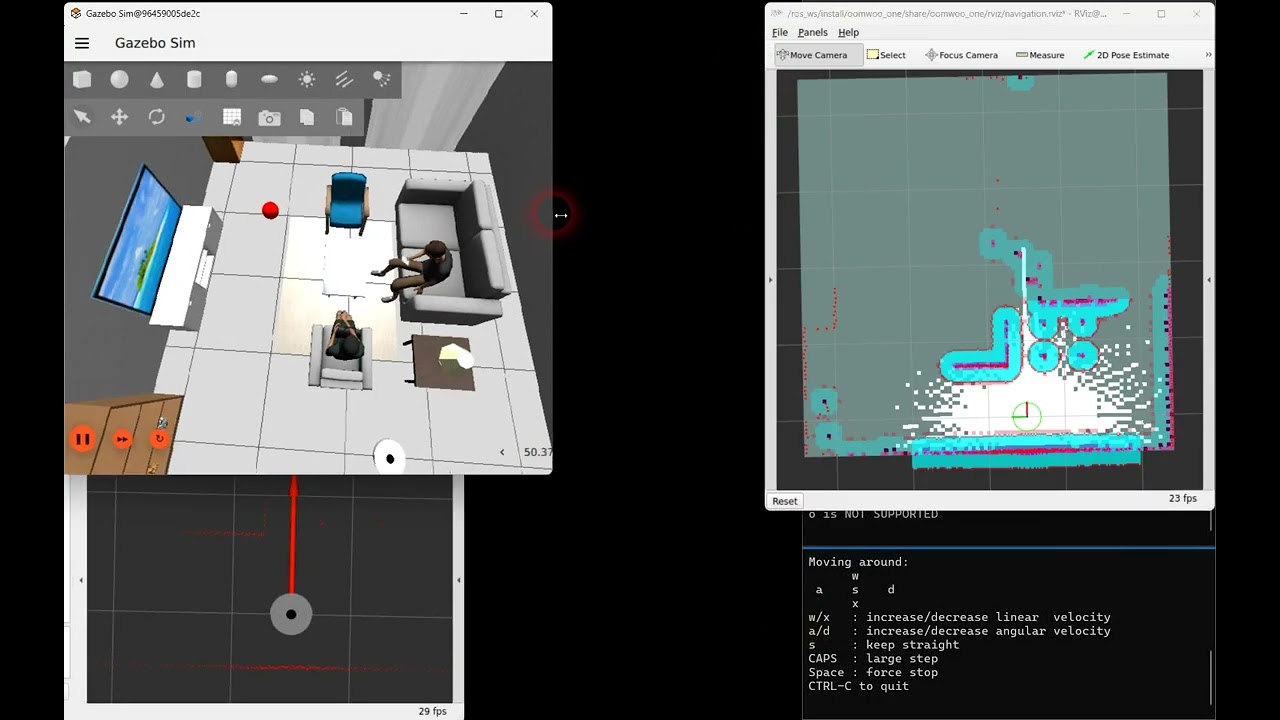
ros2 launch oomwoo_gazebo world.launch.pyA Gazebo window opens with oomwoo-one in a living-room world.
Other worlds ship with the image. The kitchen and dining room is the most realistic one: cabinet runs with toe kicks, appliances, a dining table and chairs, two people to drive around, and a mock mop wash dock.
ros2 launch oomwoo_gazebo world.launch.py world:=kitchen_dining.world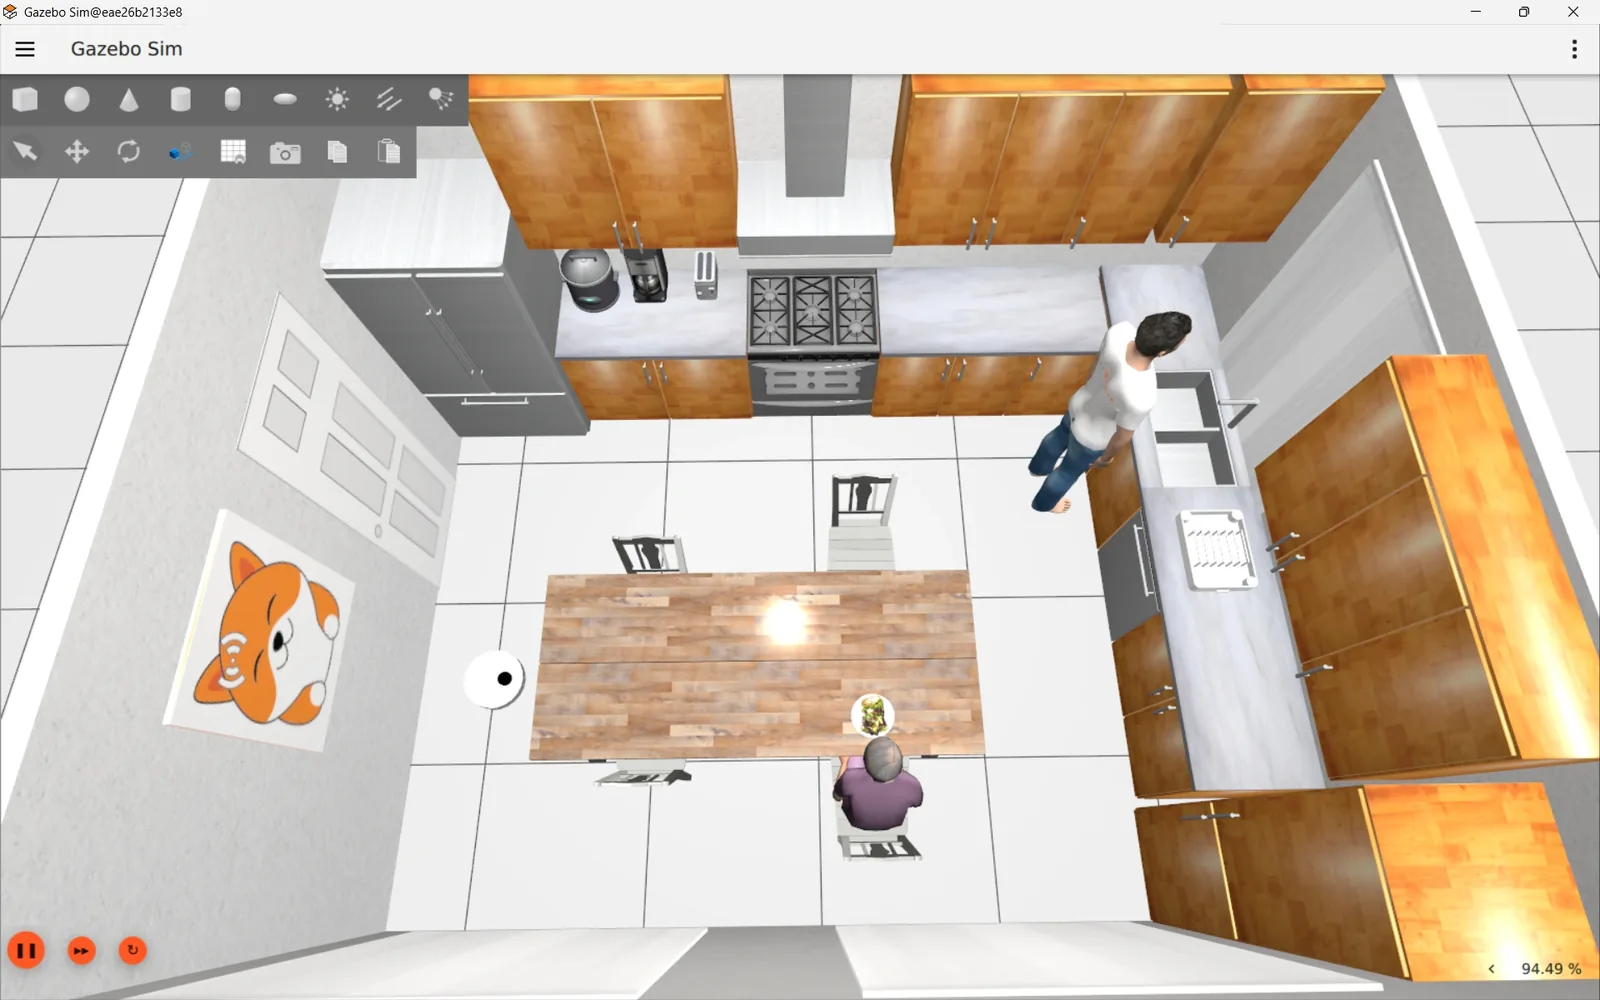
The rest are in oomwoo_gazebo/worlds: living_room.world (the default), multi_room.sdf, narrow_passage.sdf, contour_torture.world for wall following, and empty.world. Pass any of them the same way.
6. Start SLAM mapping
In a new container shell (docker exec -it makerspet bash):
ros2 launch oomwoo_bringup navigation.launch.py use_sim_time:=true slam:=True7. Open the RViz monitor
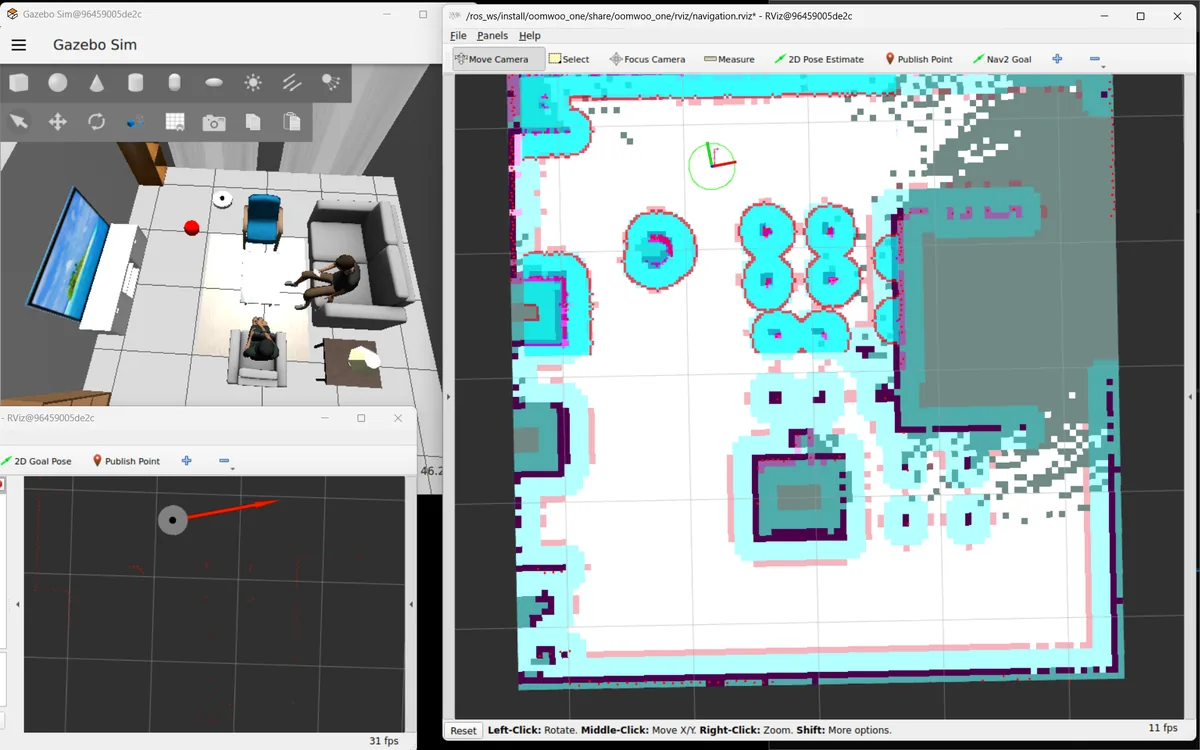
ros2 launch oomwoo_bringup monitor_robot.launch.py use_sim_time:=trueWatch the map build as the robot moves.
8. Drive it manually
ros2 run kaiaai_teleop teleop_keyboardUse the keyboard to drive oomwoo-one around and fill in the map.
Follow OOMWOO build
Open-source robot vacuum community build updates
9. Autonomous navigation
In RViz, click “Nav2 Goal” and click-drag a destination — oomwoo-one plans a path and drives there on its own.
10. Check the bumper sensors
ros2 topic echo /bumper_left/contact
ros2 topic echo /bumper_right/contact
Drive into a wall and watch the left/right contact events fire.
11. Save your map
ros2 run nav2_map_server map_saver_cli -f ~/maps/mapOn Windows the map lands in c:\maps; on Linux in ~/maps.
12. See the full sensor suite in RViz
oomwoo-one simulates the sensors the real robot will carry: a 360° 2D LiDAR, two side distance sensors, a front multizone ToF depth grid (modelling two VL53L7CX), front stereo cameras, an IMU, and the front bumpers. A ready-made RViz config shows them all at once — pass rviz_config:=sensors.rviz to the monitor launch:
ros2 launch oomwoo_gazebo world.launch.py
ros2 launch oomwoo_bringup monitor_robot.launch.py use_sim_time:=true rviz_config:=sensors.rviz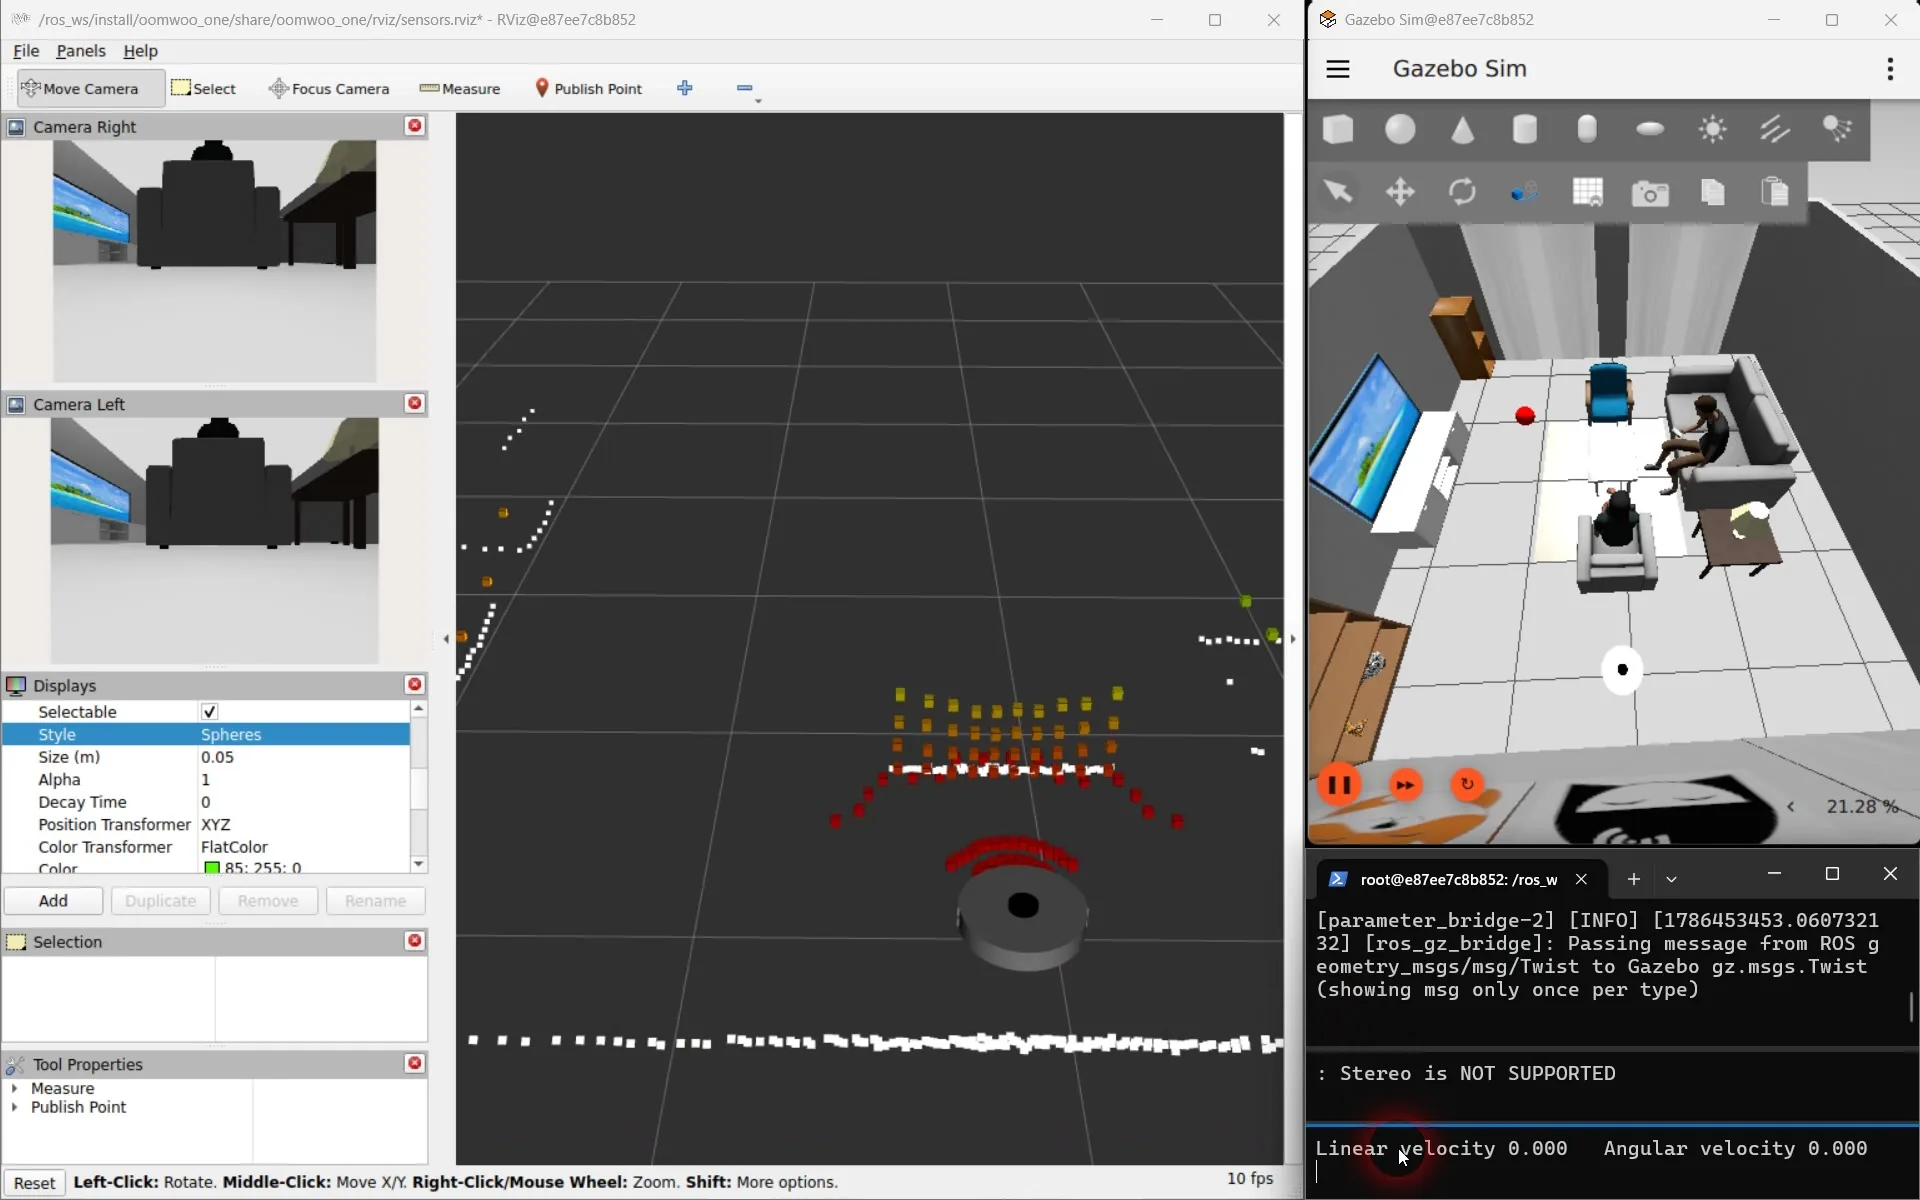
And a short screen recording of the sensors running in the simulation:

Rendering all those sensors slows Gazebo down — you may have noticed a low real-time factor. If you don’t need them all, turn the heavy ones off at launch for a much faster sim; the cameras and the front ToF cost the most (the cameras are off by default). The sensor frames stay in the robot model, so nothing else changes:
# turn cameras on but ToF off, for example
ros2 launch oomwoo_gazebo world.launch.py enable_cameras:=true enable_tof:=false

# just the LiDAR (nav only) — fastest
ros2 launch oomwoo_gazebo world.launch.py   enable_ranges:=false enable_tof:=false enable_cameras:=false enable_imu:=false
Charging docks
The simulation now ships two docks: a basic charging pad the robot drives onto, and a full auto-empty / mop-wash dock with a bay it backs into. Both are built from primitives and carry brass charging contacts.

What’s next
You now have a full oomwoo-one simulation: SLAM, Nav2, teleop, and bumpers, exactly the interfaces the real robot exposes. In Post 2 you’ll write your first oomwoo ROS 2 package — a node that drives a coverage path *while* mapping — and launch it with ros2 launch.
Want to help build oomwoo? Grab a module from the Requests for Contributions or say hi on Discord.