Free worldwide shiping on $150+
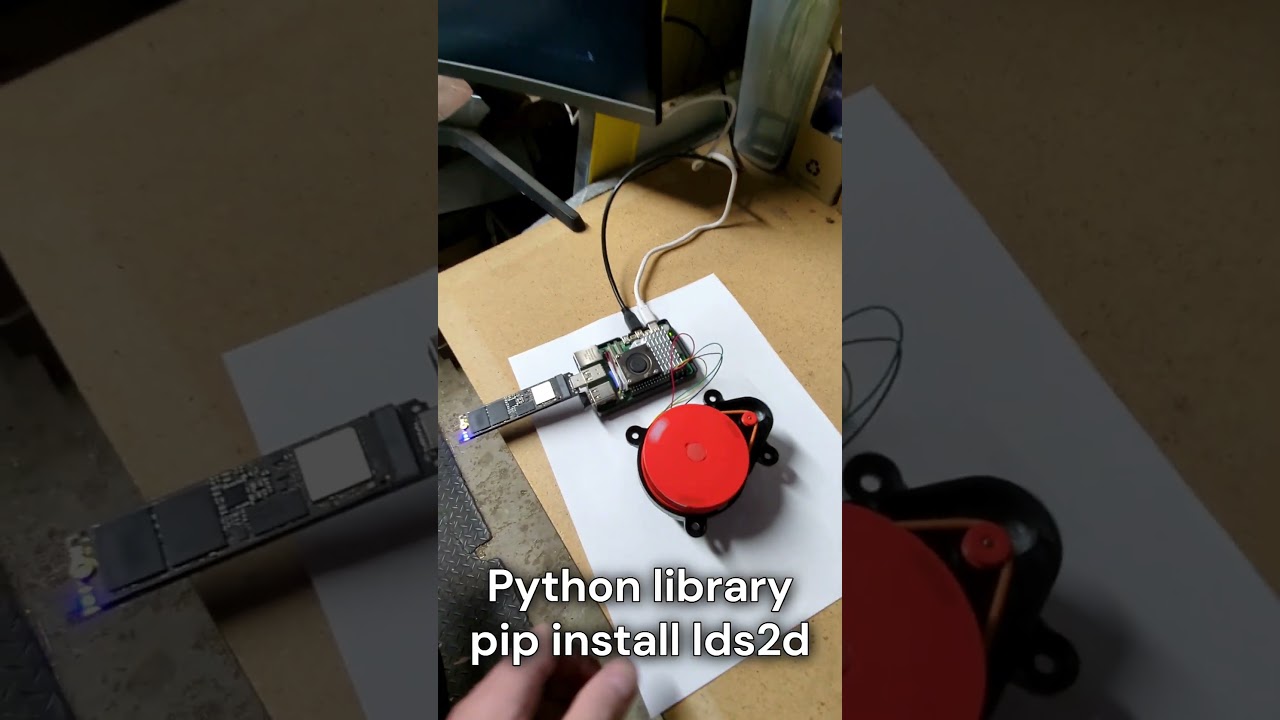
lds2d: One Python library for 2D LiDARs
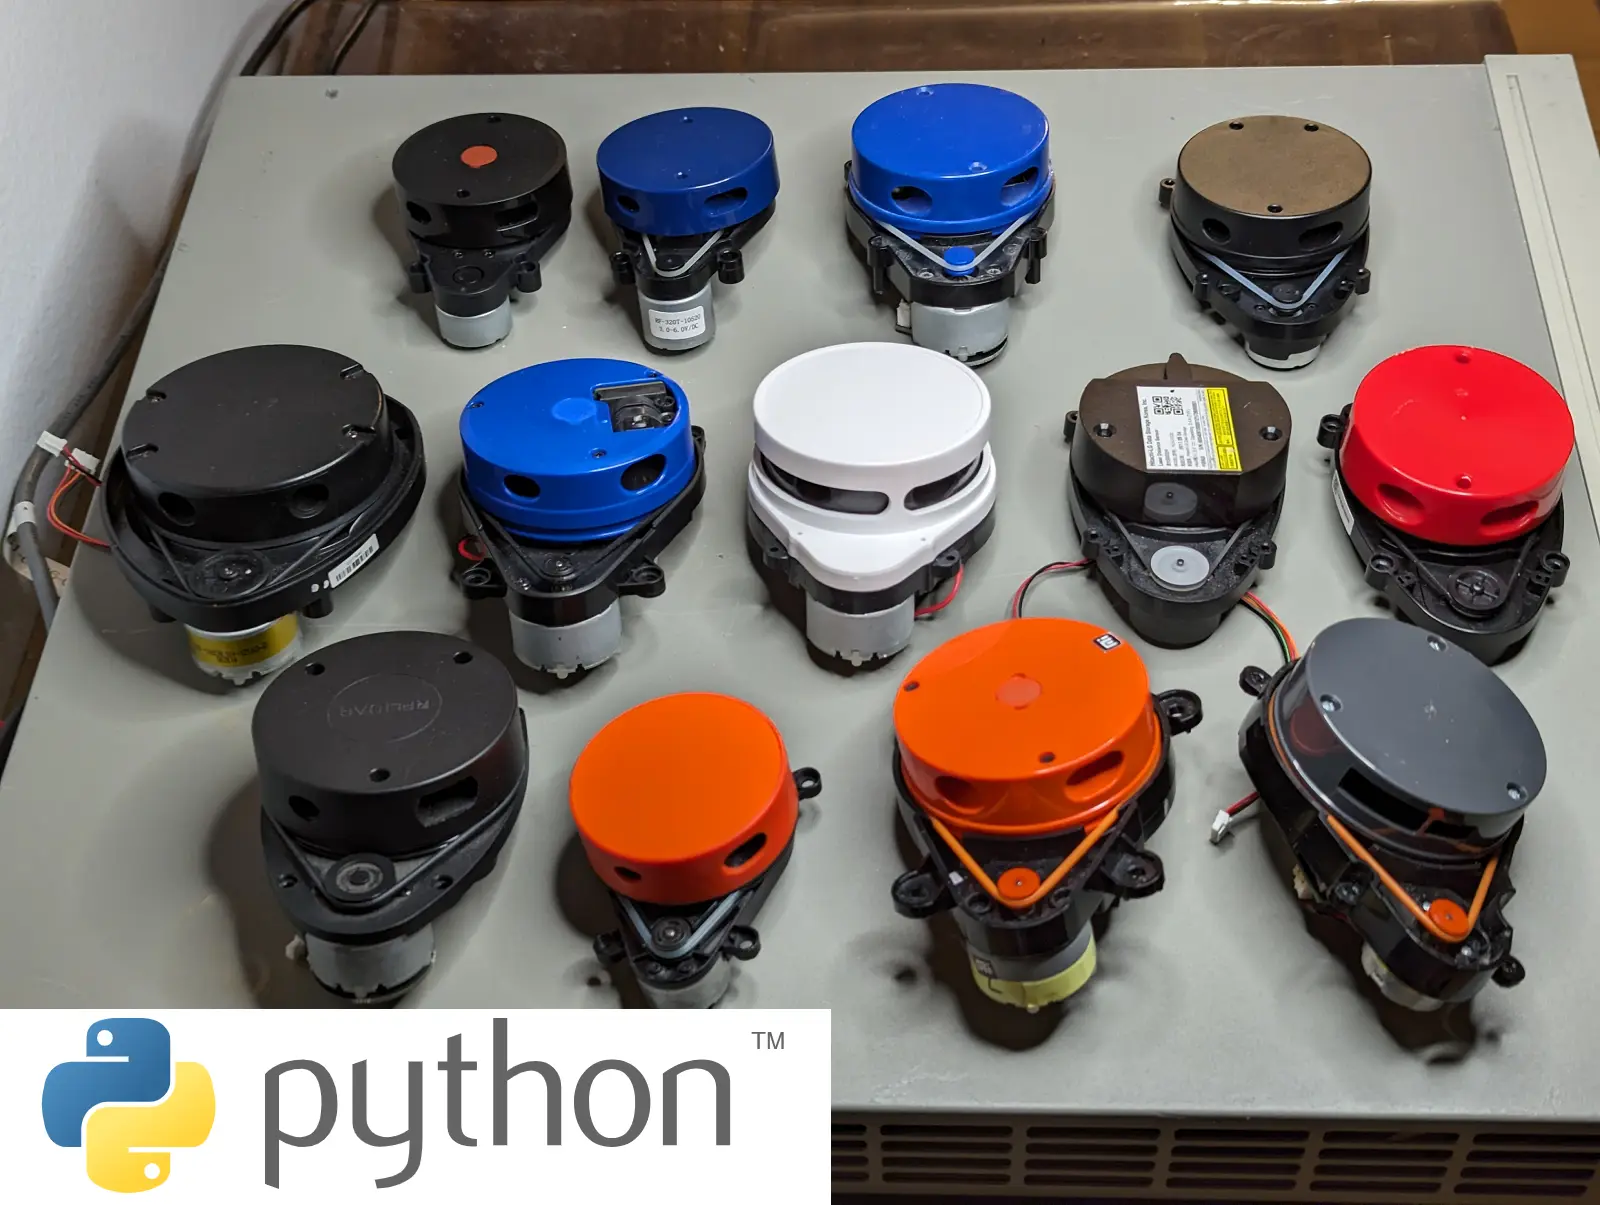
lds2d is a pure-Python driver for 2D LiDARs on Linux including the Raspberry Pi — a Pythonic port of the kaiaai/LDS C++ library. lds2d supports 23+ LiDAR models today:
- LDROBOT — LD14P, LD19, LD06, STL19P
- YDLIDAR — X2/X2L, X3, X3-PRO, X4, X4-PRO, SCL, T-mini
- RPLIDAR — A1, C1
- 3irobotix — Delta-2A, 2B, 2D, 2G, LDS08RR
- Neato — XV11
- Xiaomi — LDS01RR, LDS02RR
- Camsense — X1
- Hitachi-LG — HLS-LFCD2 (TurtleBot3 LDS-01)
Try it in 60 seconds – without any hardware
pip install lds2d
lds2d viz --demo
Once lds2d launches in demo mode, open http://localhost:8080 in your browser to view live synthetic data.
Usage
Where the C++ side targets Arduino with registered callbacks, lds2d gives you plain iterators:
from lds2d import Lidar

with Lidar.open("LDROBOT-LD14P", "/dev/serial0") as lidar:
    for scan in lidar.scans():            # one full rotation at a time
        pts = scan.valid_points
        print(f"{scan.scan_freq_hz:.1f} Hz  {len(pts)} points")
Questions? Visit Maker’s Pet technical support forum.
Each supported LiDAR model is a faithful port of the matching kaiaai/LDS C++ driver and unit-tested against recorded byte streams — including running the PID + PWM motor loop for the ones with no onboard speed control that need the Pi to spin them:
The driver architecture is built to grow — and it has — from three models to 23 in a single pass, each ported from the kaiaai/LDS C++ and adversarially verified. If you have a 2D LiDAR and a Pi, give it a spin and watch the room appear.
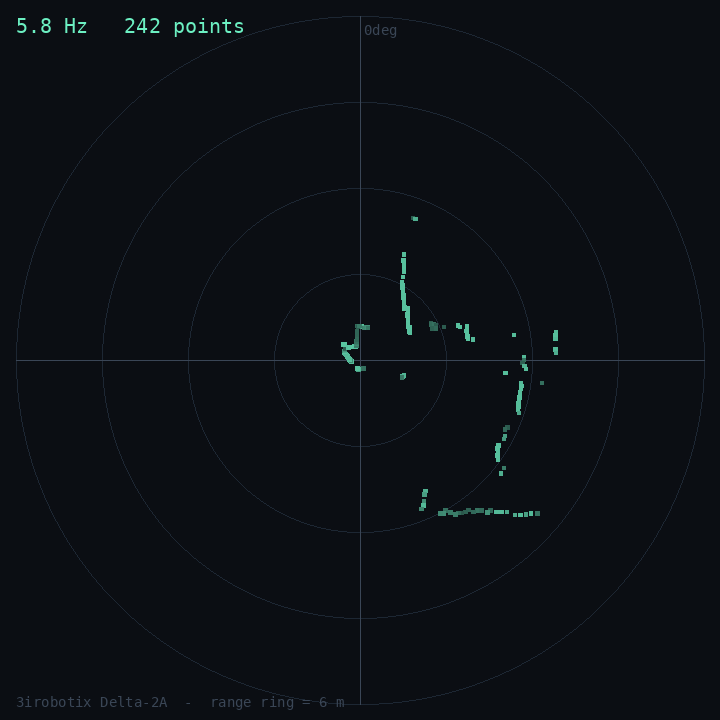
So far the LDROBOT LD14P, Xiaomi LDS02RR and 3irobotix Delta-2A are re-confirmed on real hardware (the Delta-2A is live on a Raspberry Pi 5 while writing this — that is its scan in the radar above); the rest are ported-from-spec and flagged as such until each is checked on a physical unit.
Wiring & Setup on a Linux PC
Self-spinning LiDARs (LDROBOT, YDLIDAR, RPLIDAR, Camsense, Hitachi-LG) only need a serial or USB-to-serial port. Connect as follows:
- LiDAR TX to serial RX
- LiDAR RX (if available) to serial TX
- GND to GND
- 5V to 5V power
The LiDAR 5V current supply ranges ~0.3~1A peak depending on LiDAR model.
LiDAR logic is typically 3.3V except old Neato – no level shifter.
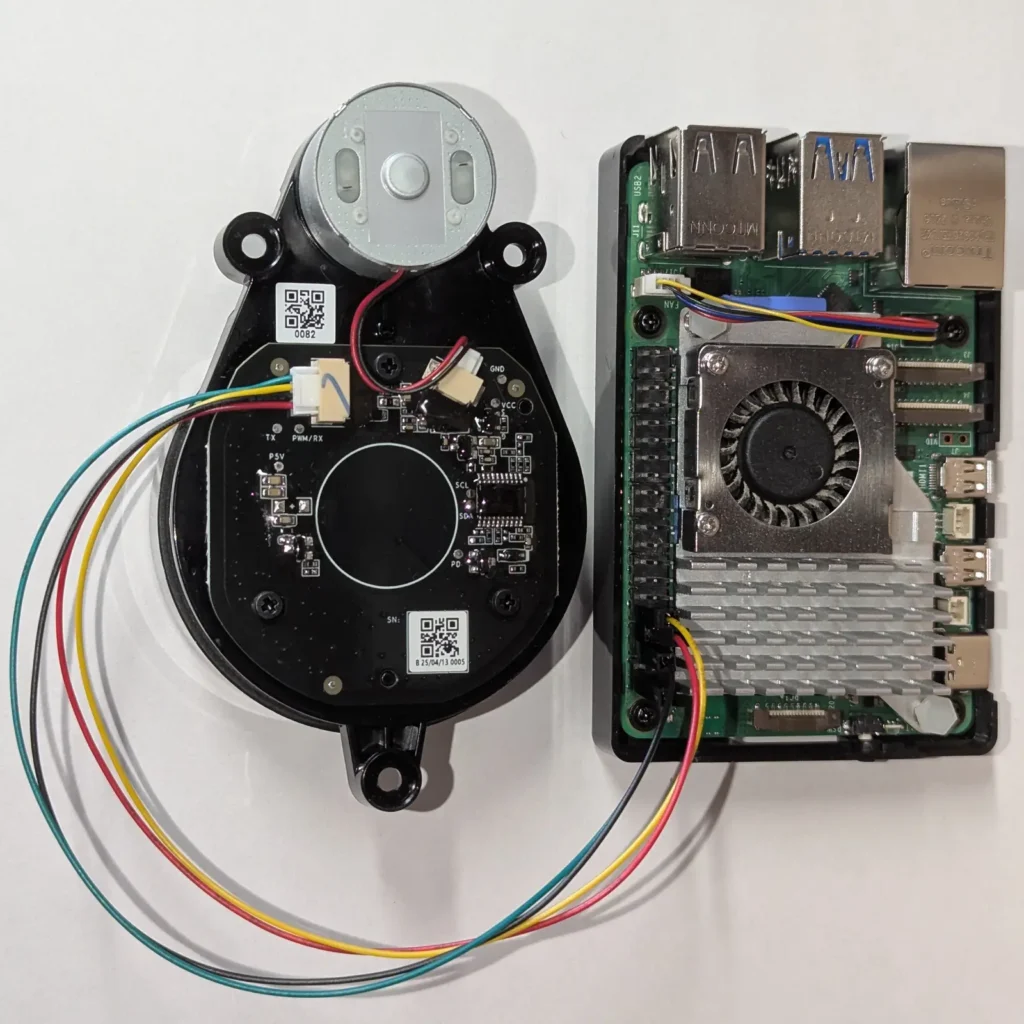
Wiring & Setup on Raspberry Pi
The wiring is as follows:
- LiDAR 5V → Raspberry Pi header Pin2
- LiDAR GND → Pin6
- LiDAR TX → GPIO15/Pin10 (reading)
- LiDAR RX → GPIO14/Pin8 (motor stop, start, speed)
LiDAR logic is typically 3.3V except old Neato – no level shifter.
Alternatively, instead of the serial port available on the Raspberry Pi’s header, you can use a USB-to-Serial adapter – see the Linux PC wiring instructions above.
See the step-by-step tutorials for wiring illustrations:
Host-driven-motor low-cost LiDARs (3irobotix Delta-*, Xiaomi LDS02RR / LDS01RR, Neato XV11) require GPIO to operate in addition to a serial or USB-to-serial port. Therefore, host-driven-motor LiDARs require a Linux device with GPIO – like Raspberry Pi.
Host-driven-motor LiDARs require one GPIO connection:
- LiDAR MOT+, MOT- (host-driven LiDARs only) → PWM-to-motor-driver adapter → GPIO18/Pin12
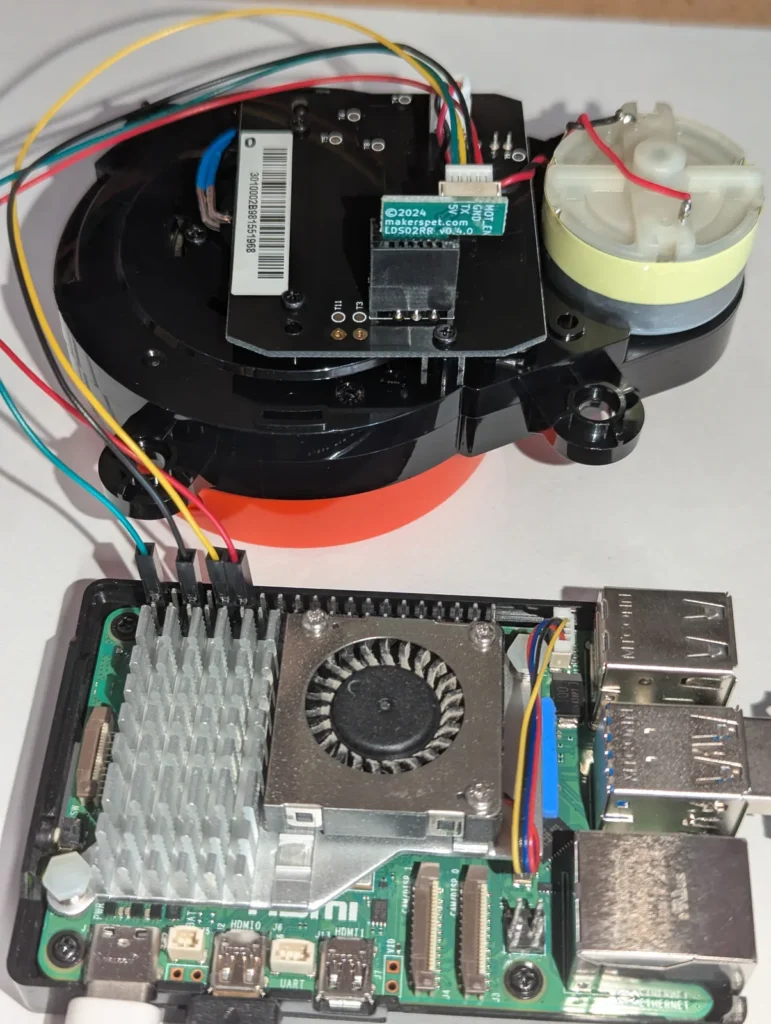
The PWM-to-motor-driver adapter for host-driven-motor LiDARs is a simple circuit – see these step-by-step tutorials:
- Tutorial: Connect 3irobotix Delta-2A LiDAR to Raspberry Pi (Python)
- Tutorial: Connect Xiaomi LDS02RR LiDAR to Raspberry Pi (Python)
Enable the serial port once with sudo raspi-config (Interface Options → Serial Port: login shell no, hardware yes, then reboot) — the LiDAR then appears at /dev/serial0. After that it depends on how the LiDAR spins.
Self-spinning LiDARs (LDROBOT, YDLIDAR, RPLIDAR, Camsense, Hitachi-LG) need nothing extra and can be used on non-Raspberry-Pi Linux PCs and devices equipped with a serial port or USB-to-Serial as is:
python3 -m venv ~/lidar && source ~/lidar/bin/activate
pip install lds2d
lds2d --model YDLIDAR-X4 read
Host-driven-motor low-cost LiDARs (3irobotix Delta-*, Xiaomi LDS02RR / LDS01RR, Neato XV11) let the Pi spin the motor over a GPIO via gpiozero, which on the Pi 5 uses the lgpio backend. Both ship with Raspberry Pi OS as python3-gpiozero / python3-lgpio. Two snags catch people out: recent Raspberry Pi OS blocks pip from the system Python, and the lgpio wheel will not build from PyPI without swig. The painless fix is a venv that can see the system GPIO packages:
sudo apt install -y python3-gpiozero python3-lgpio   # usually already there
python3 -m venv --system-site-packages ~/lidar
source ~/lidar/bin/activate
pip install lds2d
lds2d --model 3IROBOTIX-DELTA-2A --pwm software --pwm-pin 18 read
The --system-site-packages flag is the whole trick: the venv uses the system gpiozero/lgpio while lds2d and pyserial come from PyPI. That is exactly how the Delta-2A scan in the radar above was captured.
Get new tutorials by email
Visualizer Included
A spinning LiDAR is one of those parts that feels like magic right up until you plug it in and get… a wall of numbers. angle 182.40 dist_mm 1043 quality 71, forty thousand times a second. You believe it is working. You cannot see that it is working.
So the latest lds2d release adds a way to see it. One command, any browser:
pip install 'lds2d[viz]'
lds2d viz
Open http://<your-pi>:8080 from your laptop and the room draws itself — a live polar plot of every return, the walls and furniture sweeping into place at 5–6 Hz. No desktop on the Pi, no X11, no ROS, no rviz. Just a web page.
The visualizer, end to end
The browser view is deliberately boring on the inside, which is the point. Three small pieces:
- A background reader thread pulls full rotations off whatever driver you opened —
lidar.scans()— and hands each one to a buffer. - A thread-safe latest-scan buffer holds exactly one rotation, converted to a compact JSON-ready dict of valid points. The web request thread reads it; the reader thread writes it; a lock keeps them from tearing.
- A tiny Flask app serves two routes:
/scan.json(the latest scan) and/(a single, dependency-free HTML page). The page polls every ~120 ms and redraws a<canvas>in polar coordinates — points coloured by signal strength, a range ring that auto-scales to the room, and a HUD with the live scan rate and point count.
Two small display knobs make it match whatever’s on your desk: lds2d viz --rotation cw (or ccw) matches your LiDAR’s spin direction so the plot isn’t mirrored — look it up in the datasheet, or just flip it if it looks wrong, and --range 6000 pins the rim at a fixed distance in millimetres. By default the range ring grows instantly to fit the farthest point but eases back down slowly, so a wall blinking out as someone walks past no longer makes the whole plot jump.
Because the visualizer reads through the same scans() iterator every driver already exposes, it works with all 23 sensors for free — including the host-driven-motor ones, where simply iterating keeps the motor spinning:
lds2d --model XIAOMI-LDS02RR --pwm software vizPrefer to wire it into your own app? The Python entry point is one call:
from lds2d import Lidar
from lds2d.viz import serve

with Lidar.open("LDROBOT-LD14P", "/dev/serial0") as lidar:
    serve(lidar, port=8080)
How LiDARs are used in self-driving robots?
Build a real LiDAR self-driving Arduino/ROS2 robot using our kit - with complete step-by-step instructions. No robotics experience necessary.
See the full robot kit →Tested without touching hardware
lds2d has a rule: every driver is unit-tested against recorded byte streams, so the whole suite runs on a laptop with no sensor attached. The visualizer keeps that rule.
The serial port and the spinning motor are pushed to the edges; the logic in the middle is plain, testable code. The scan → JSON conversion is a pure function. The buffer is exercised by four threads hammering it at once to prove it never tears. The reader is driven by a fake LiDAR that yields a fixed list of scans, and a deliberately exploding one to prove a yanked cable ends the thread quietly instead of crashing the server. The Flask routes are checked with Flask’s test client — no browser, no port. And an end-to-end test feeds real LDROBOT LD14P packet bytes through the actual parser, through the buffer, out of the HTTP endpoint, and asserts the points that come back.
On real hardware it behaves: on a Raspberry Pi 5 with a 3irobotix Delta-2A, the motor spins up, the PID holds about 5.8 Hz, and roughly 240 points per rotation land in the browser — a whole room, refreshing several times a second.
Learn More
lds2d pairs with the step-by-step Raspberry Pi tutorials this library grew out of:
- Connect & read the LD14P on a Raspberry Pi
- Control the LD14P motor
- Visualize the LD14P in a browser radar
lds2d is Apache-2.0; the code lives on GitHub.