Tutorial: overmold your 3D-printed parts with soft urethane rubber
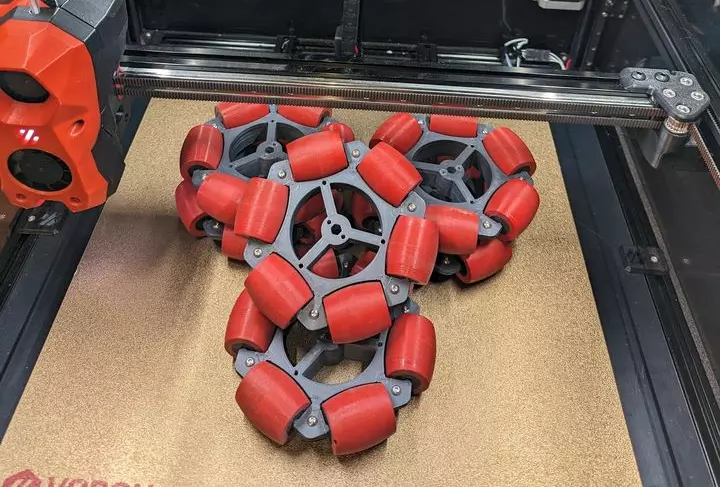
Here is how I made rubberized rollers for my omniwheel home robot. I’ve tried three or more overmolding techniques and concluded that applying urethane rubber overmolding to omni-wheel rollers has produced - in my opinion - hands-down best performing and professionally looking rubberized parts.
The rubber coating also sticks to the 3D printed part very well. I have tried scratching the coating off with my nails and it wasn’t easy at all.
The part coating process does take extra effort, but it seems worth it.
First, let’s take a brief look at the design of the overmolded part. All design and 3D printing files (STL, 3MF, SolidWorks) - including molds - are open source. You can download them here.
An omniwheel coated in urethane rubber
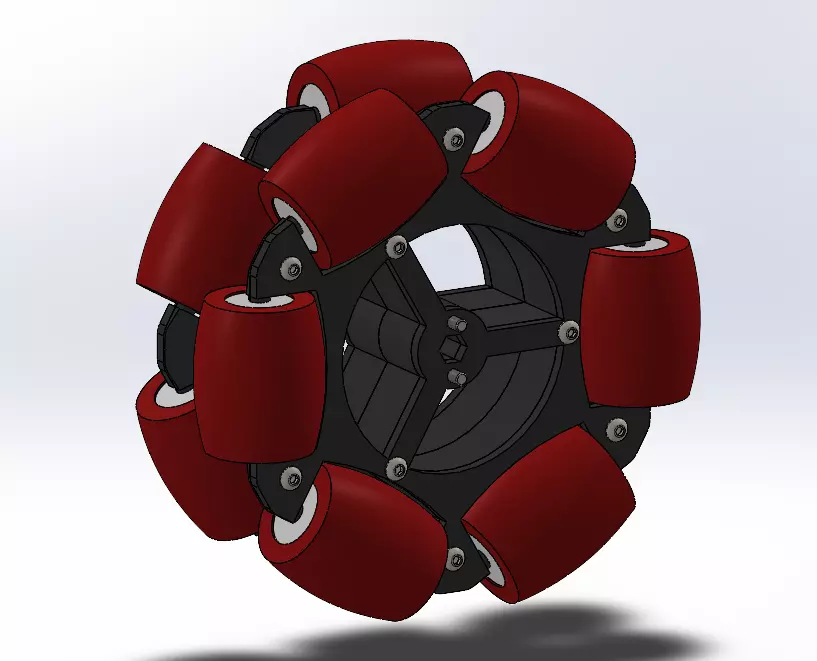
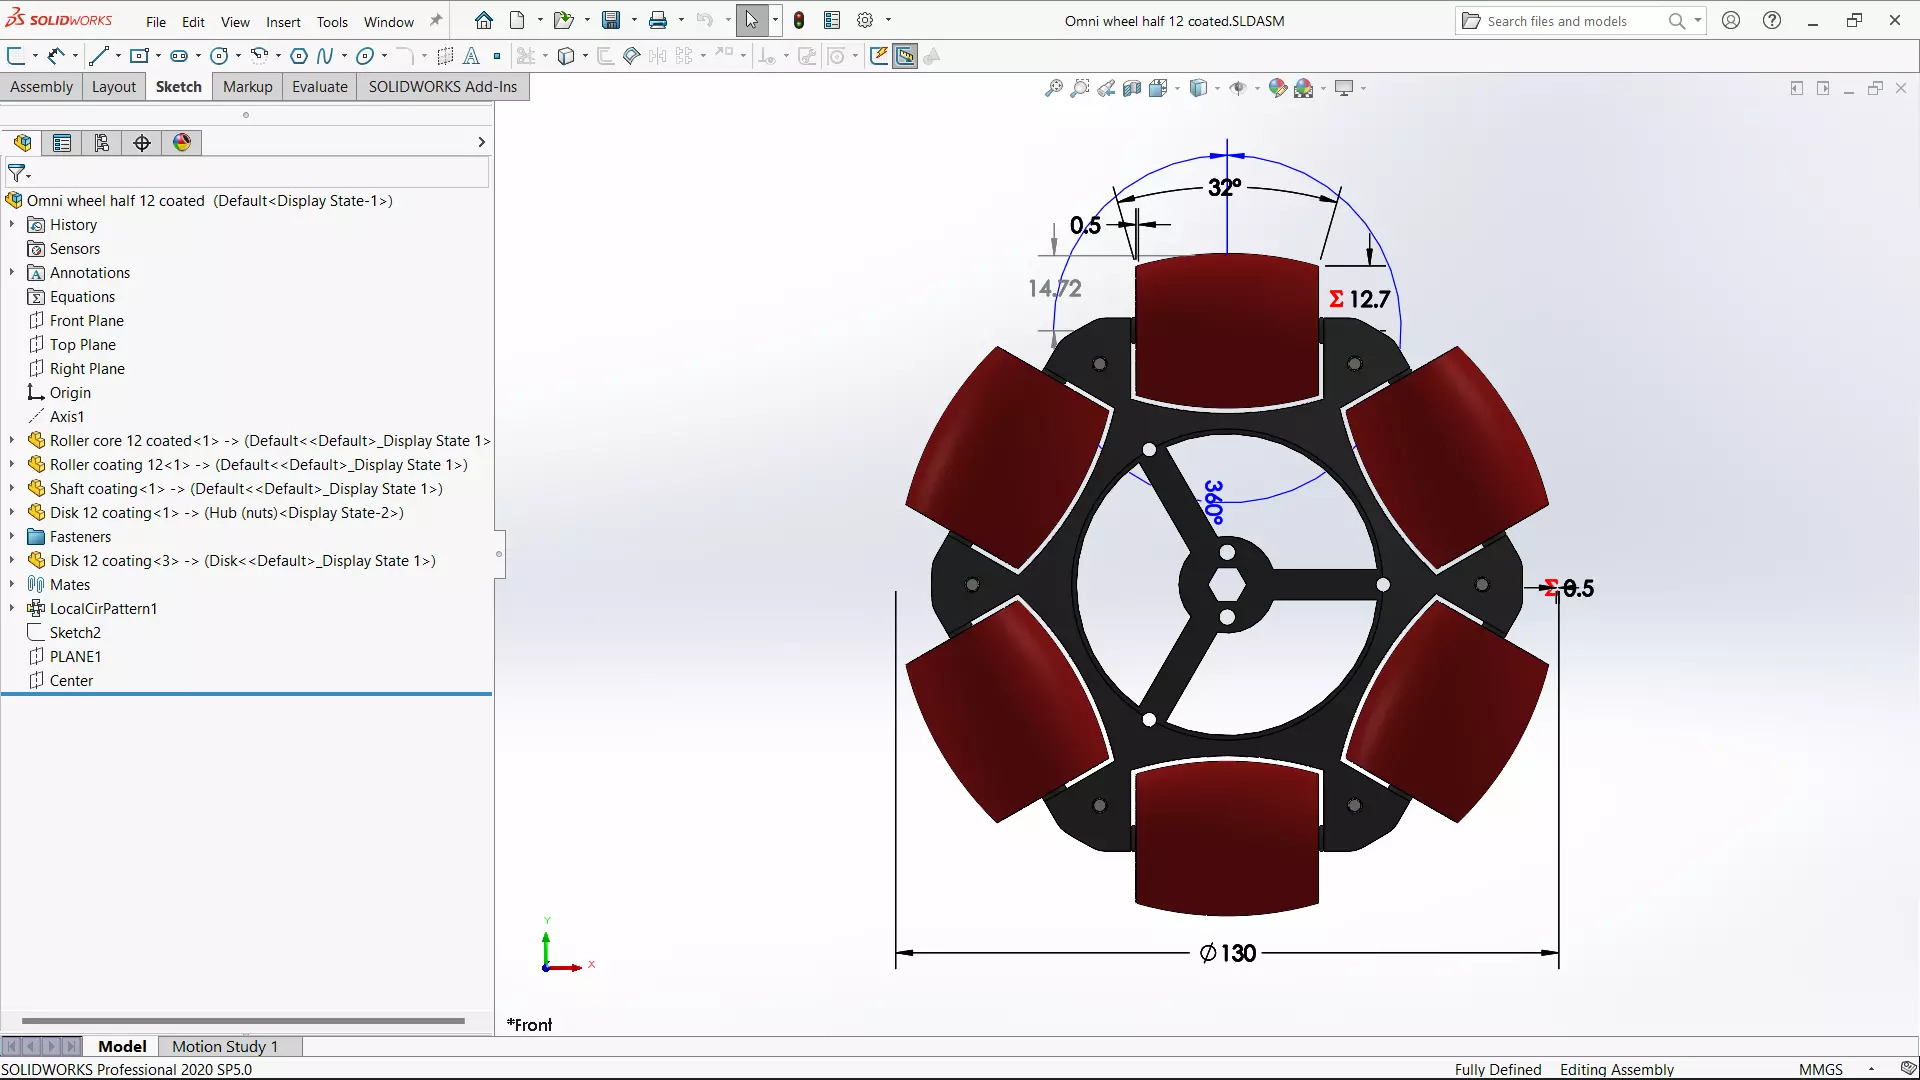
The part that needed overmolding is an omniwheel with 12 rollers.
- The wheel’s outer diameter is 130mm.
- Each roller has a 3D-printed Nylon core coated with 0.5mm thick urethane rubber.
- The roller’s outer diameter at its waist is 30.44mm and 25.4mm (one inch) at the ends.
- Each roller core has a 29.44mm waist diameter and a 24.64mm diameter at the ends.
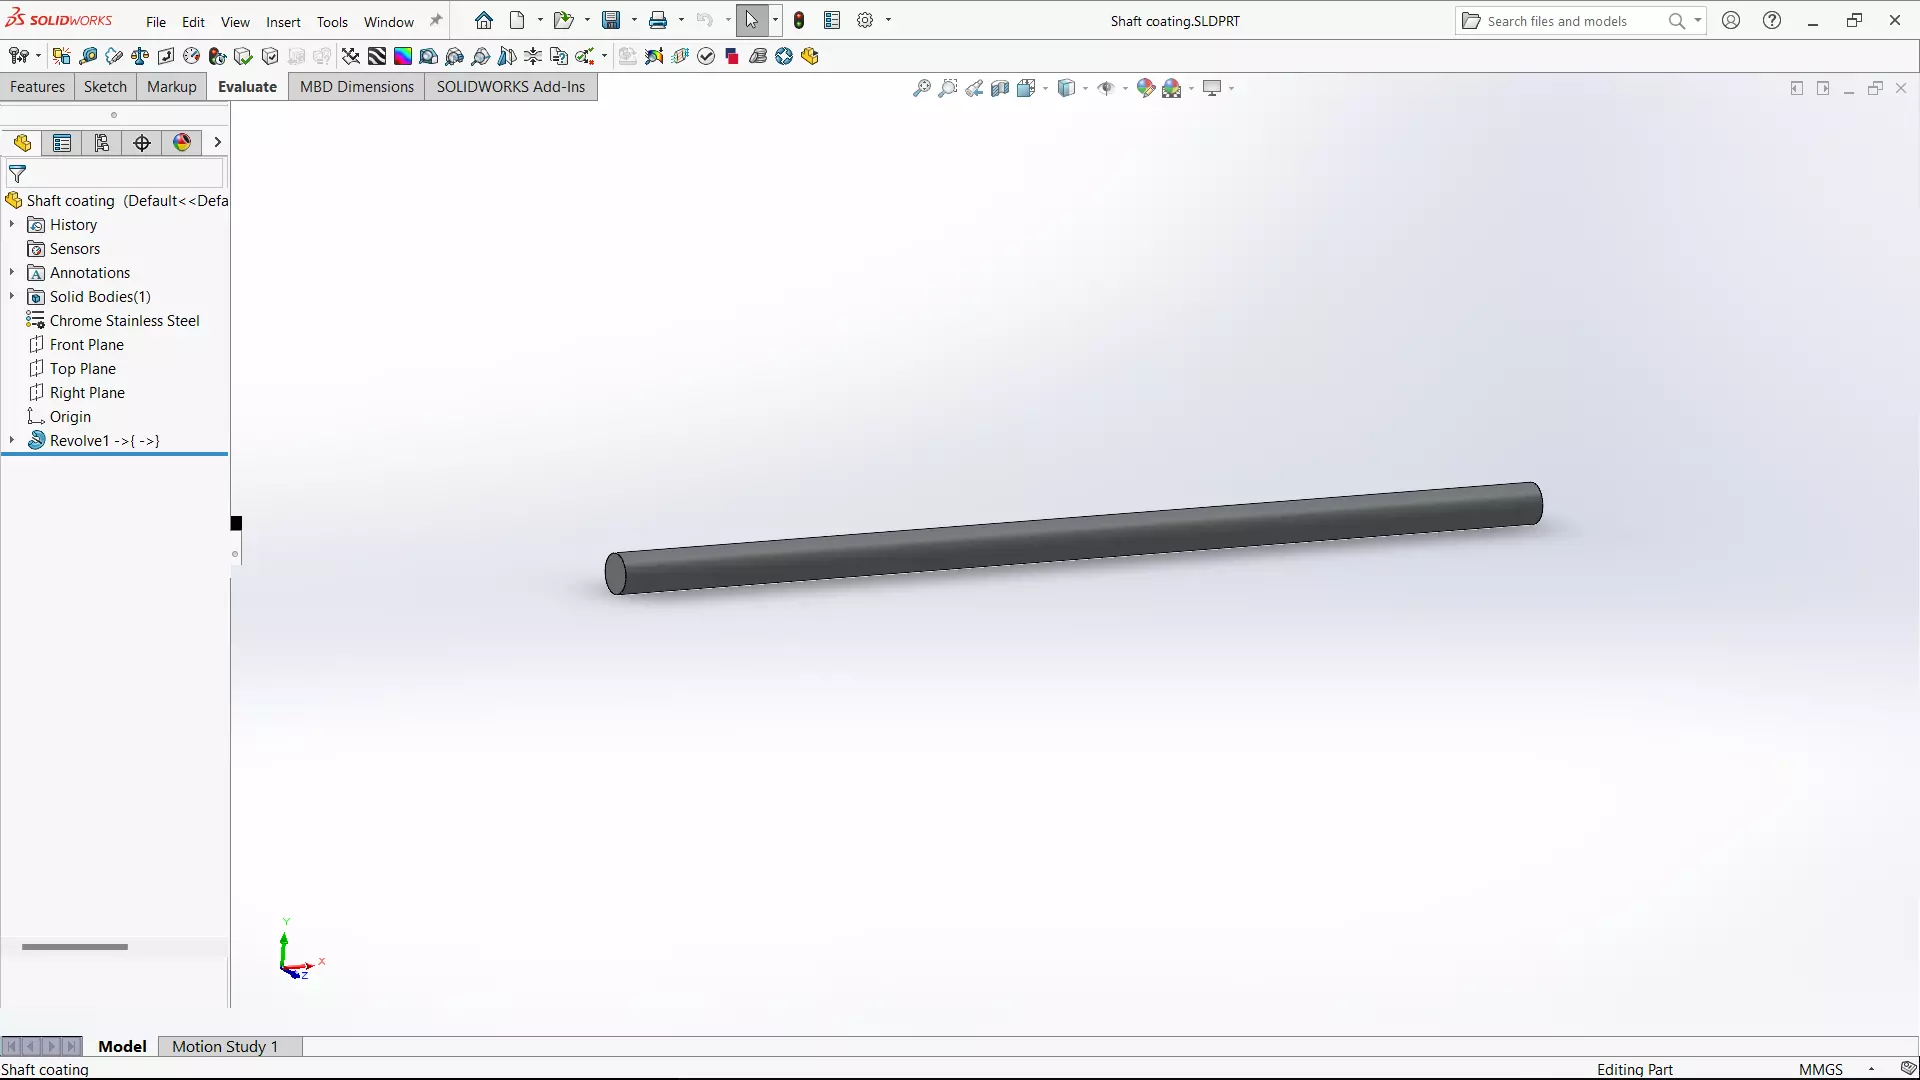
- The steel roller axle is 2mm OD and 50mm in length.
- I 3D-printed on a Prusa MK3.5S.
 |
 |
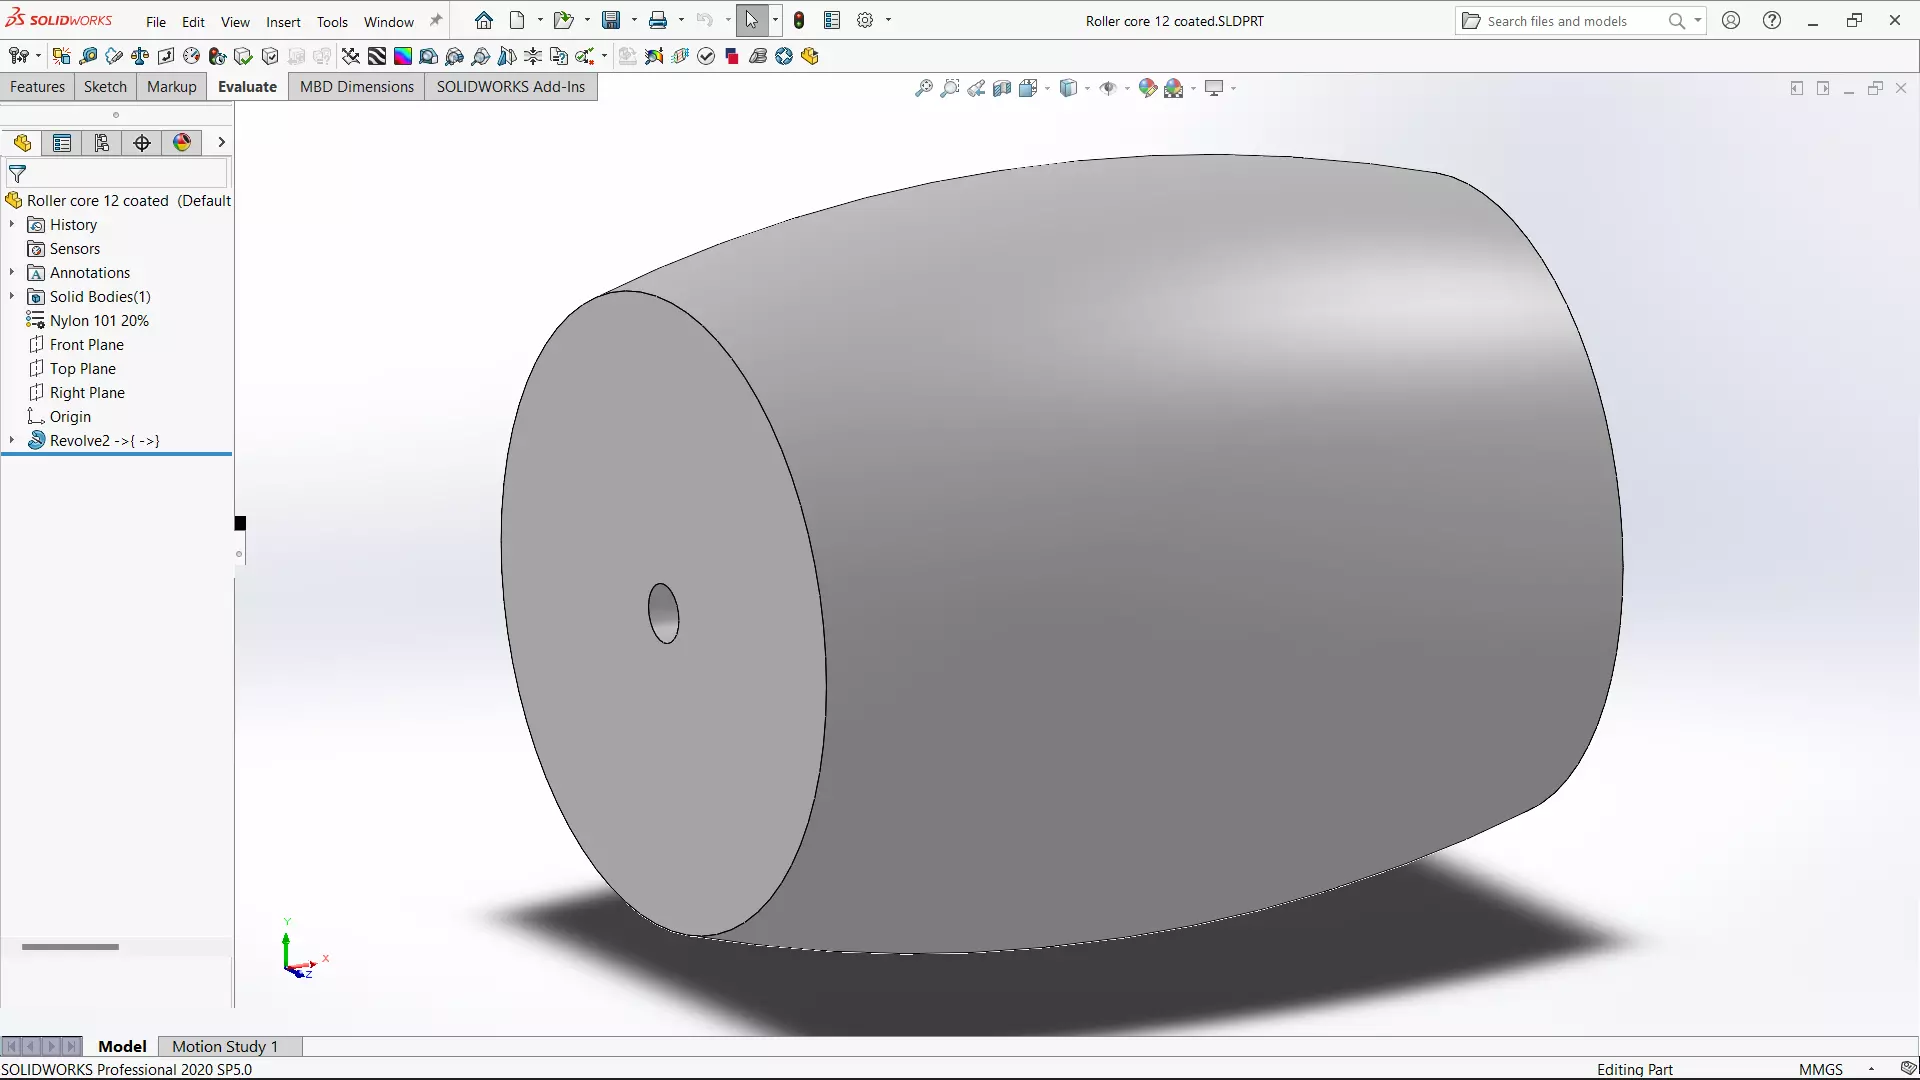 |
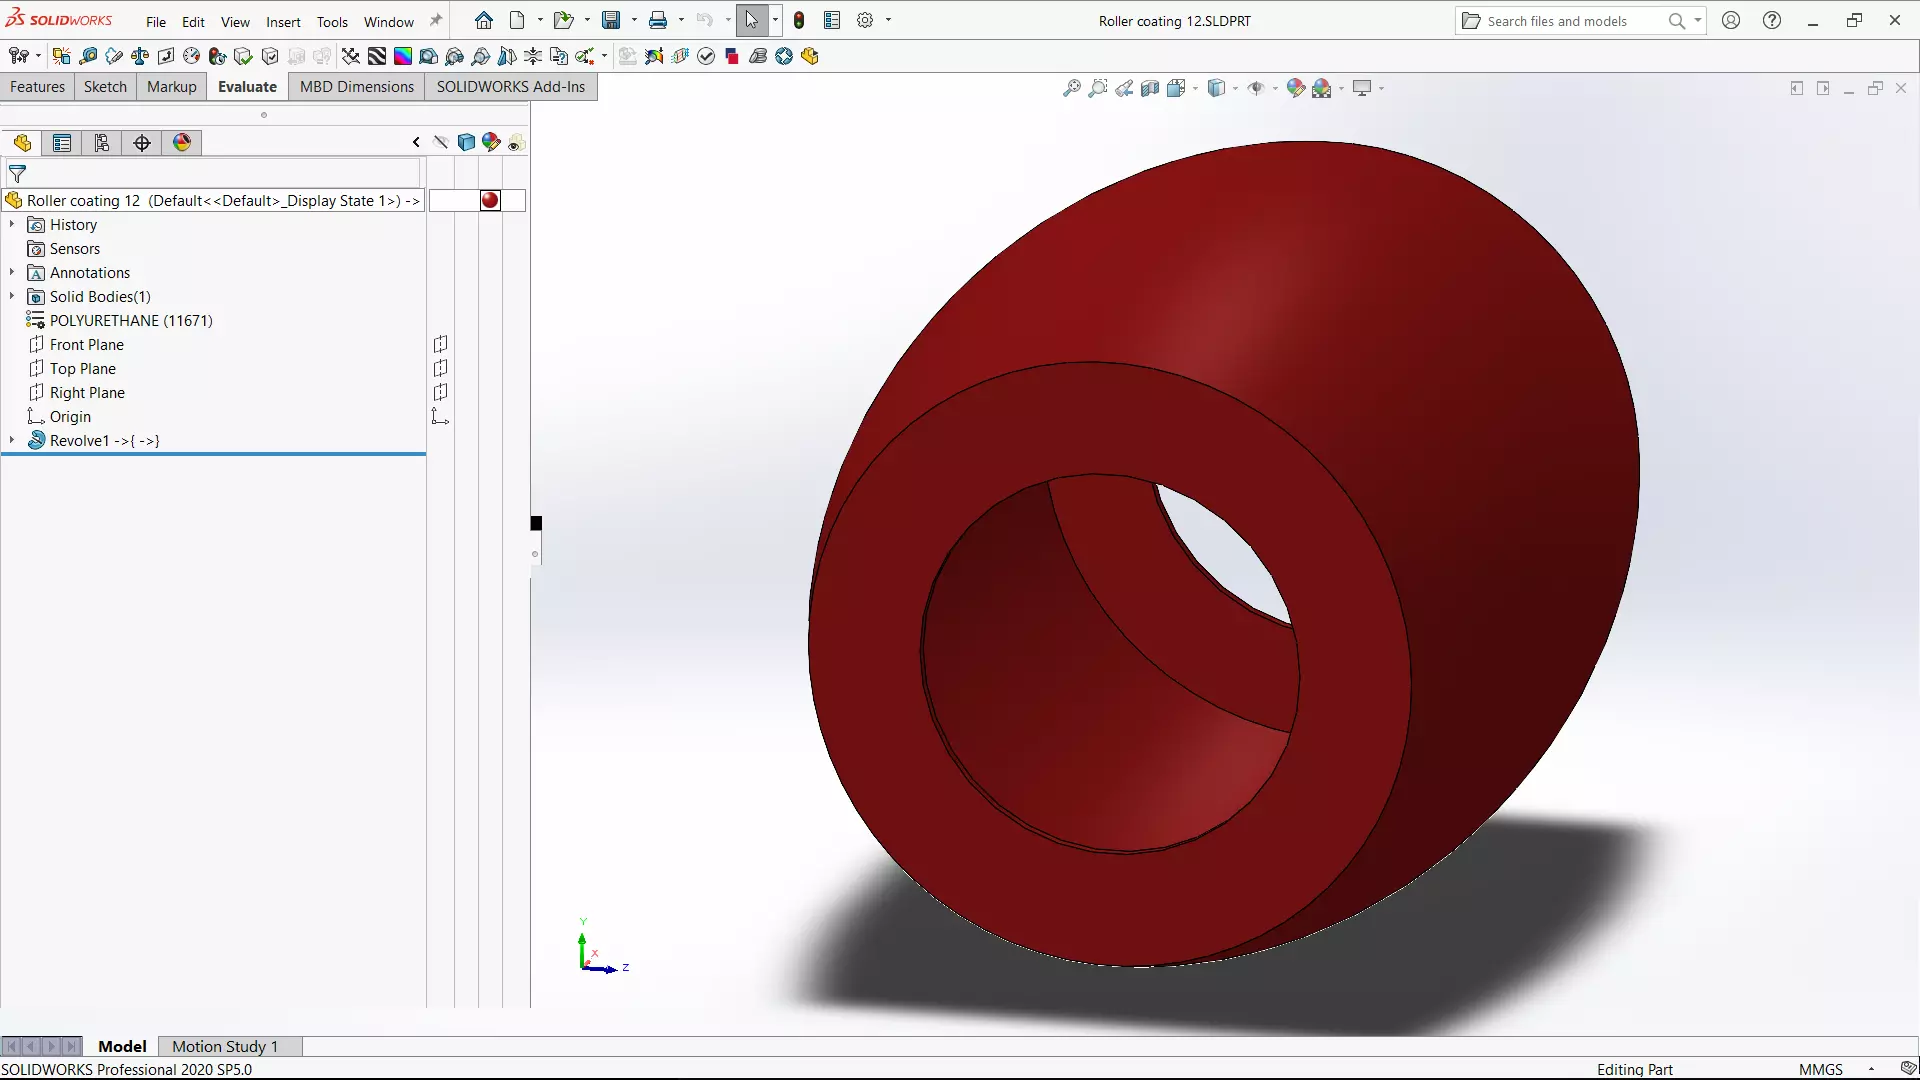 |
Roller molds
Coating roller cores with urethane rubber requires a mold.
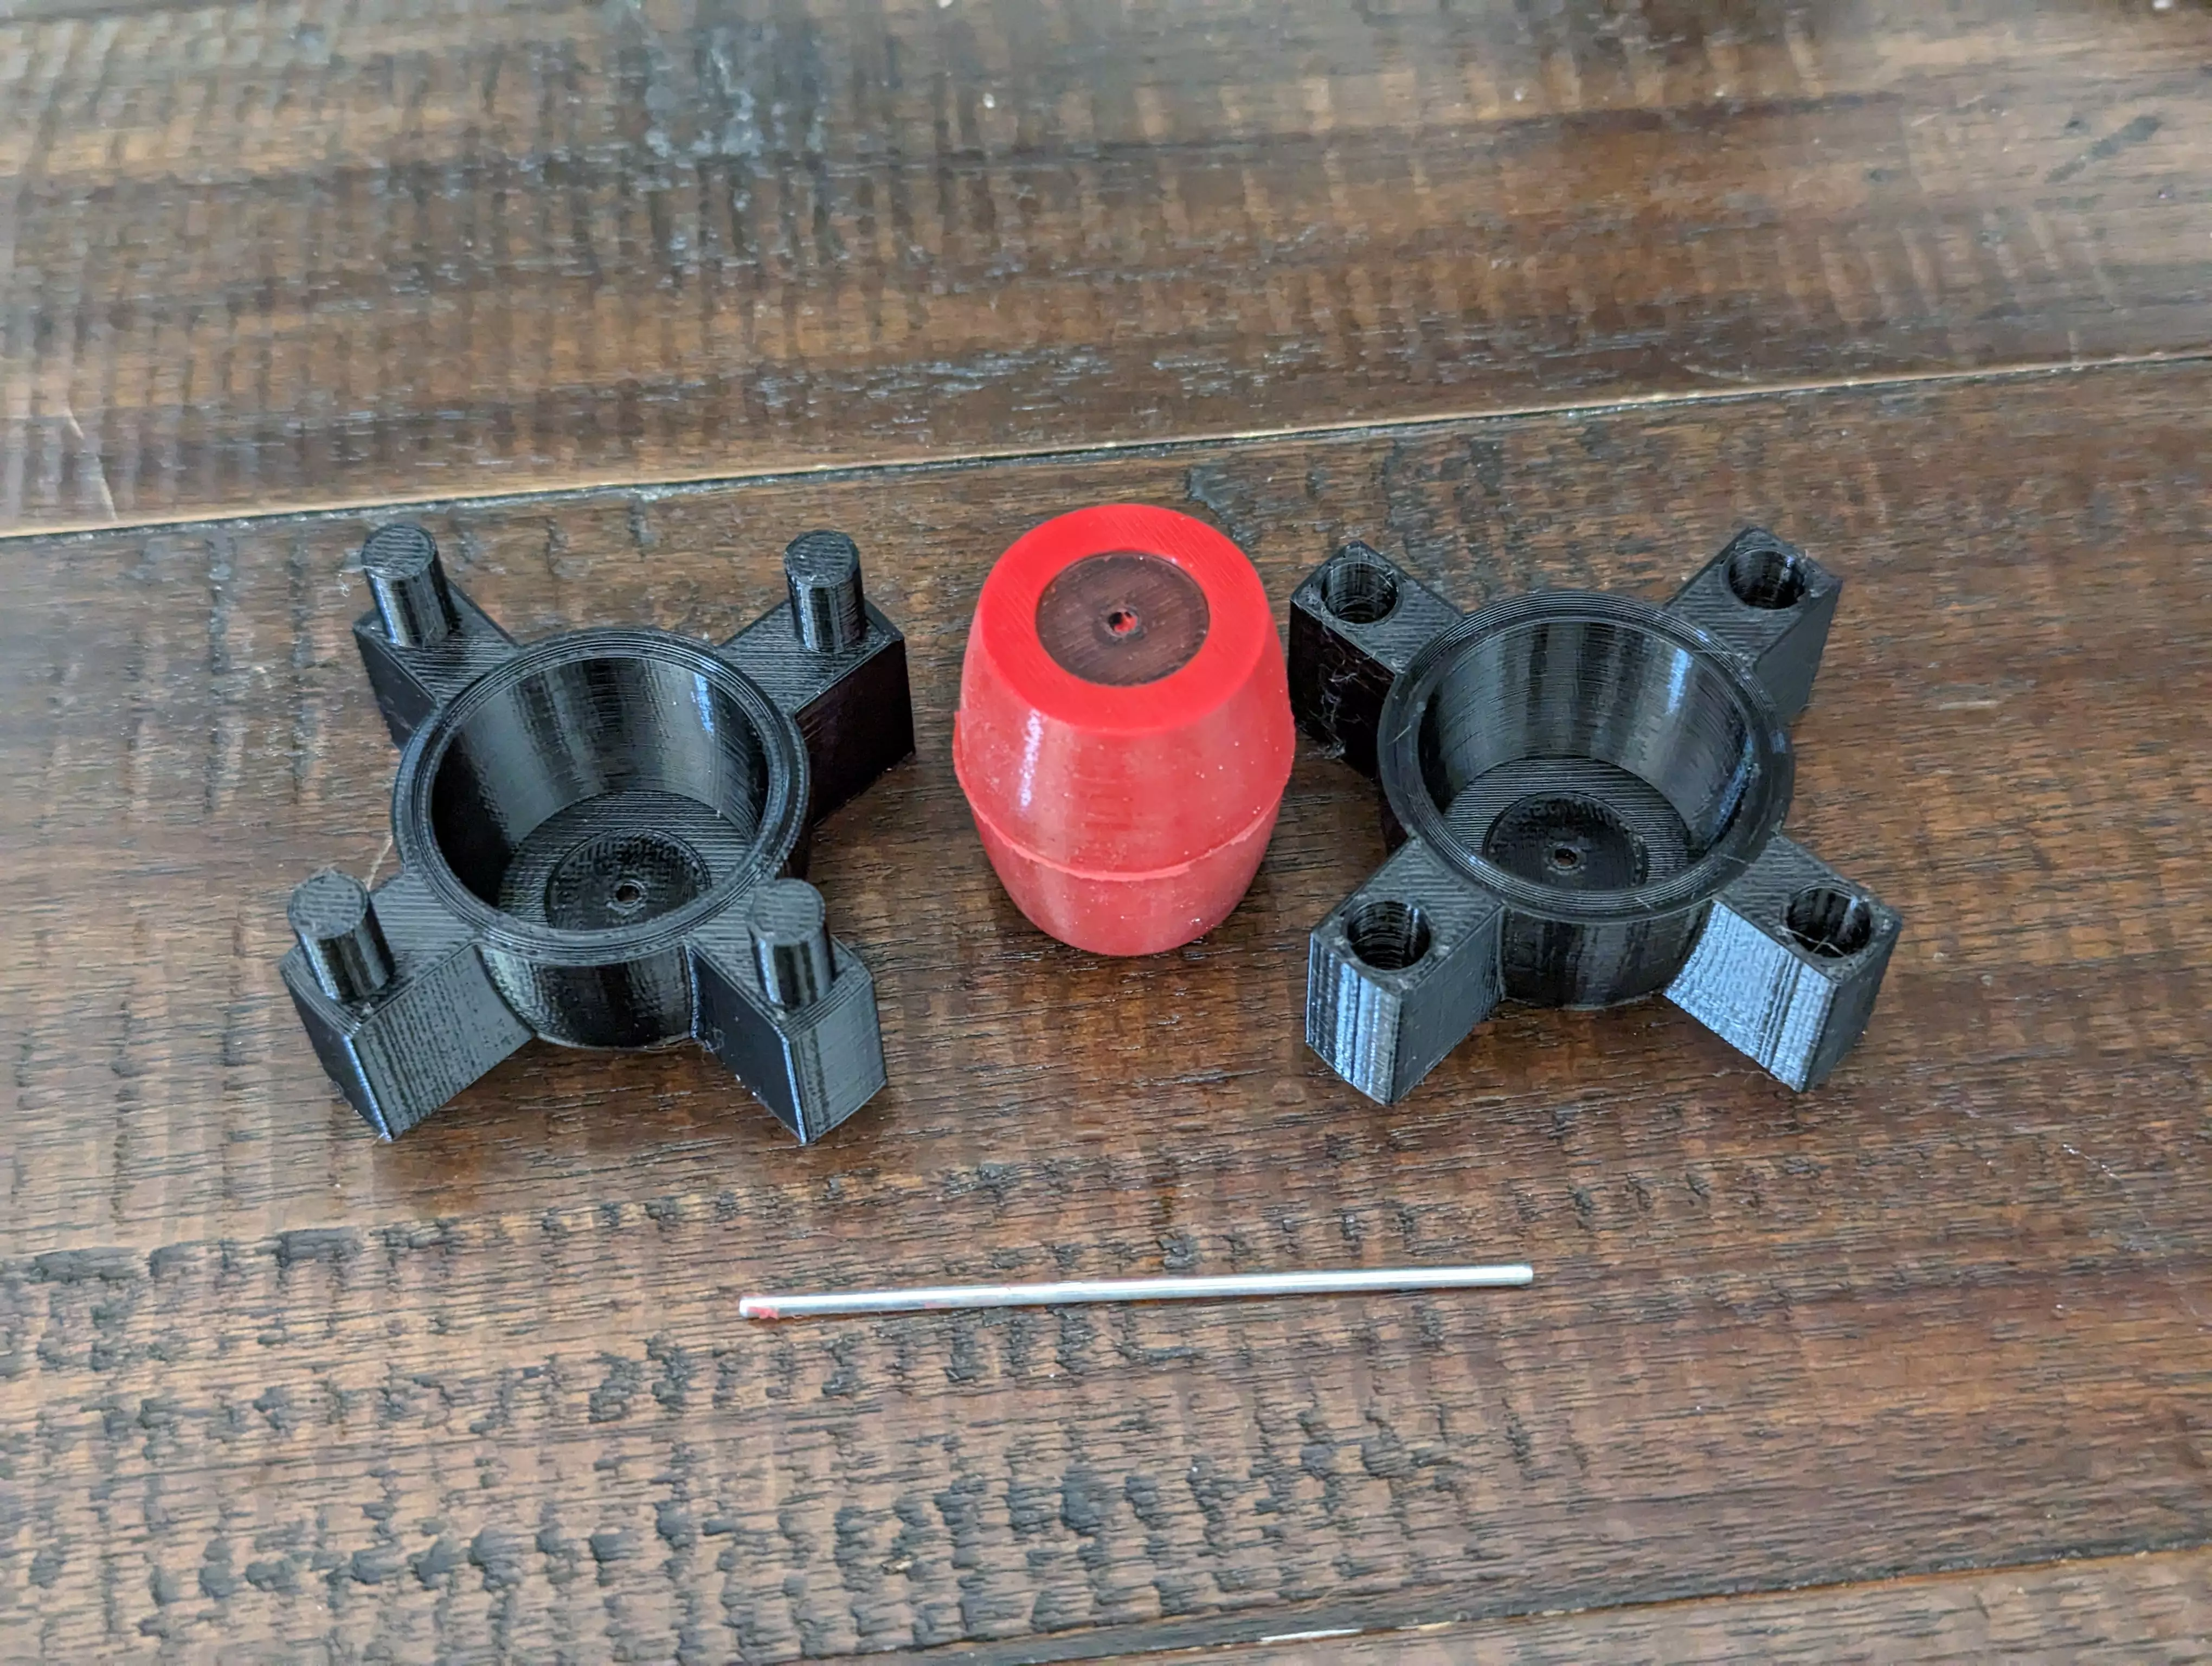
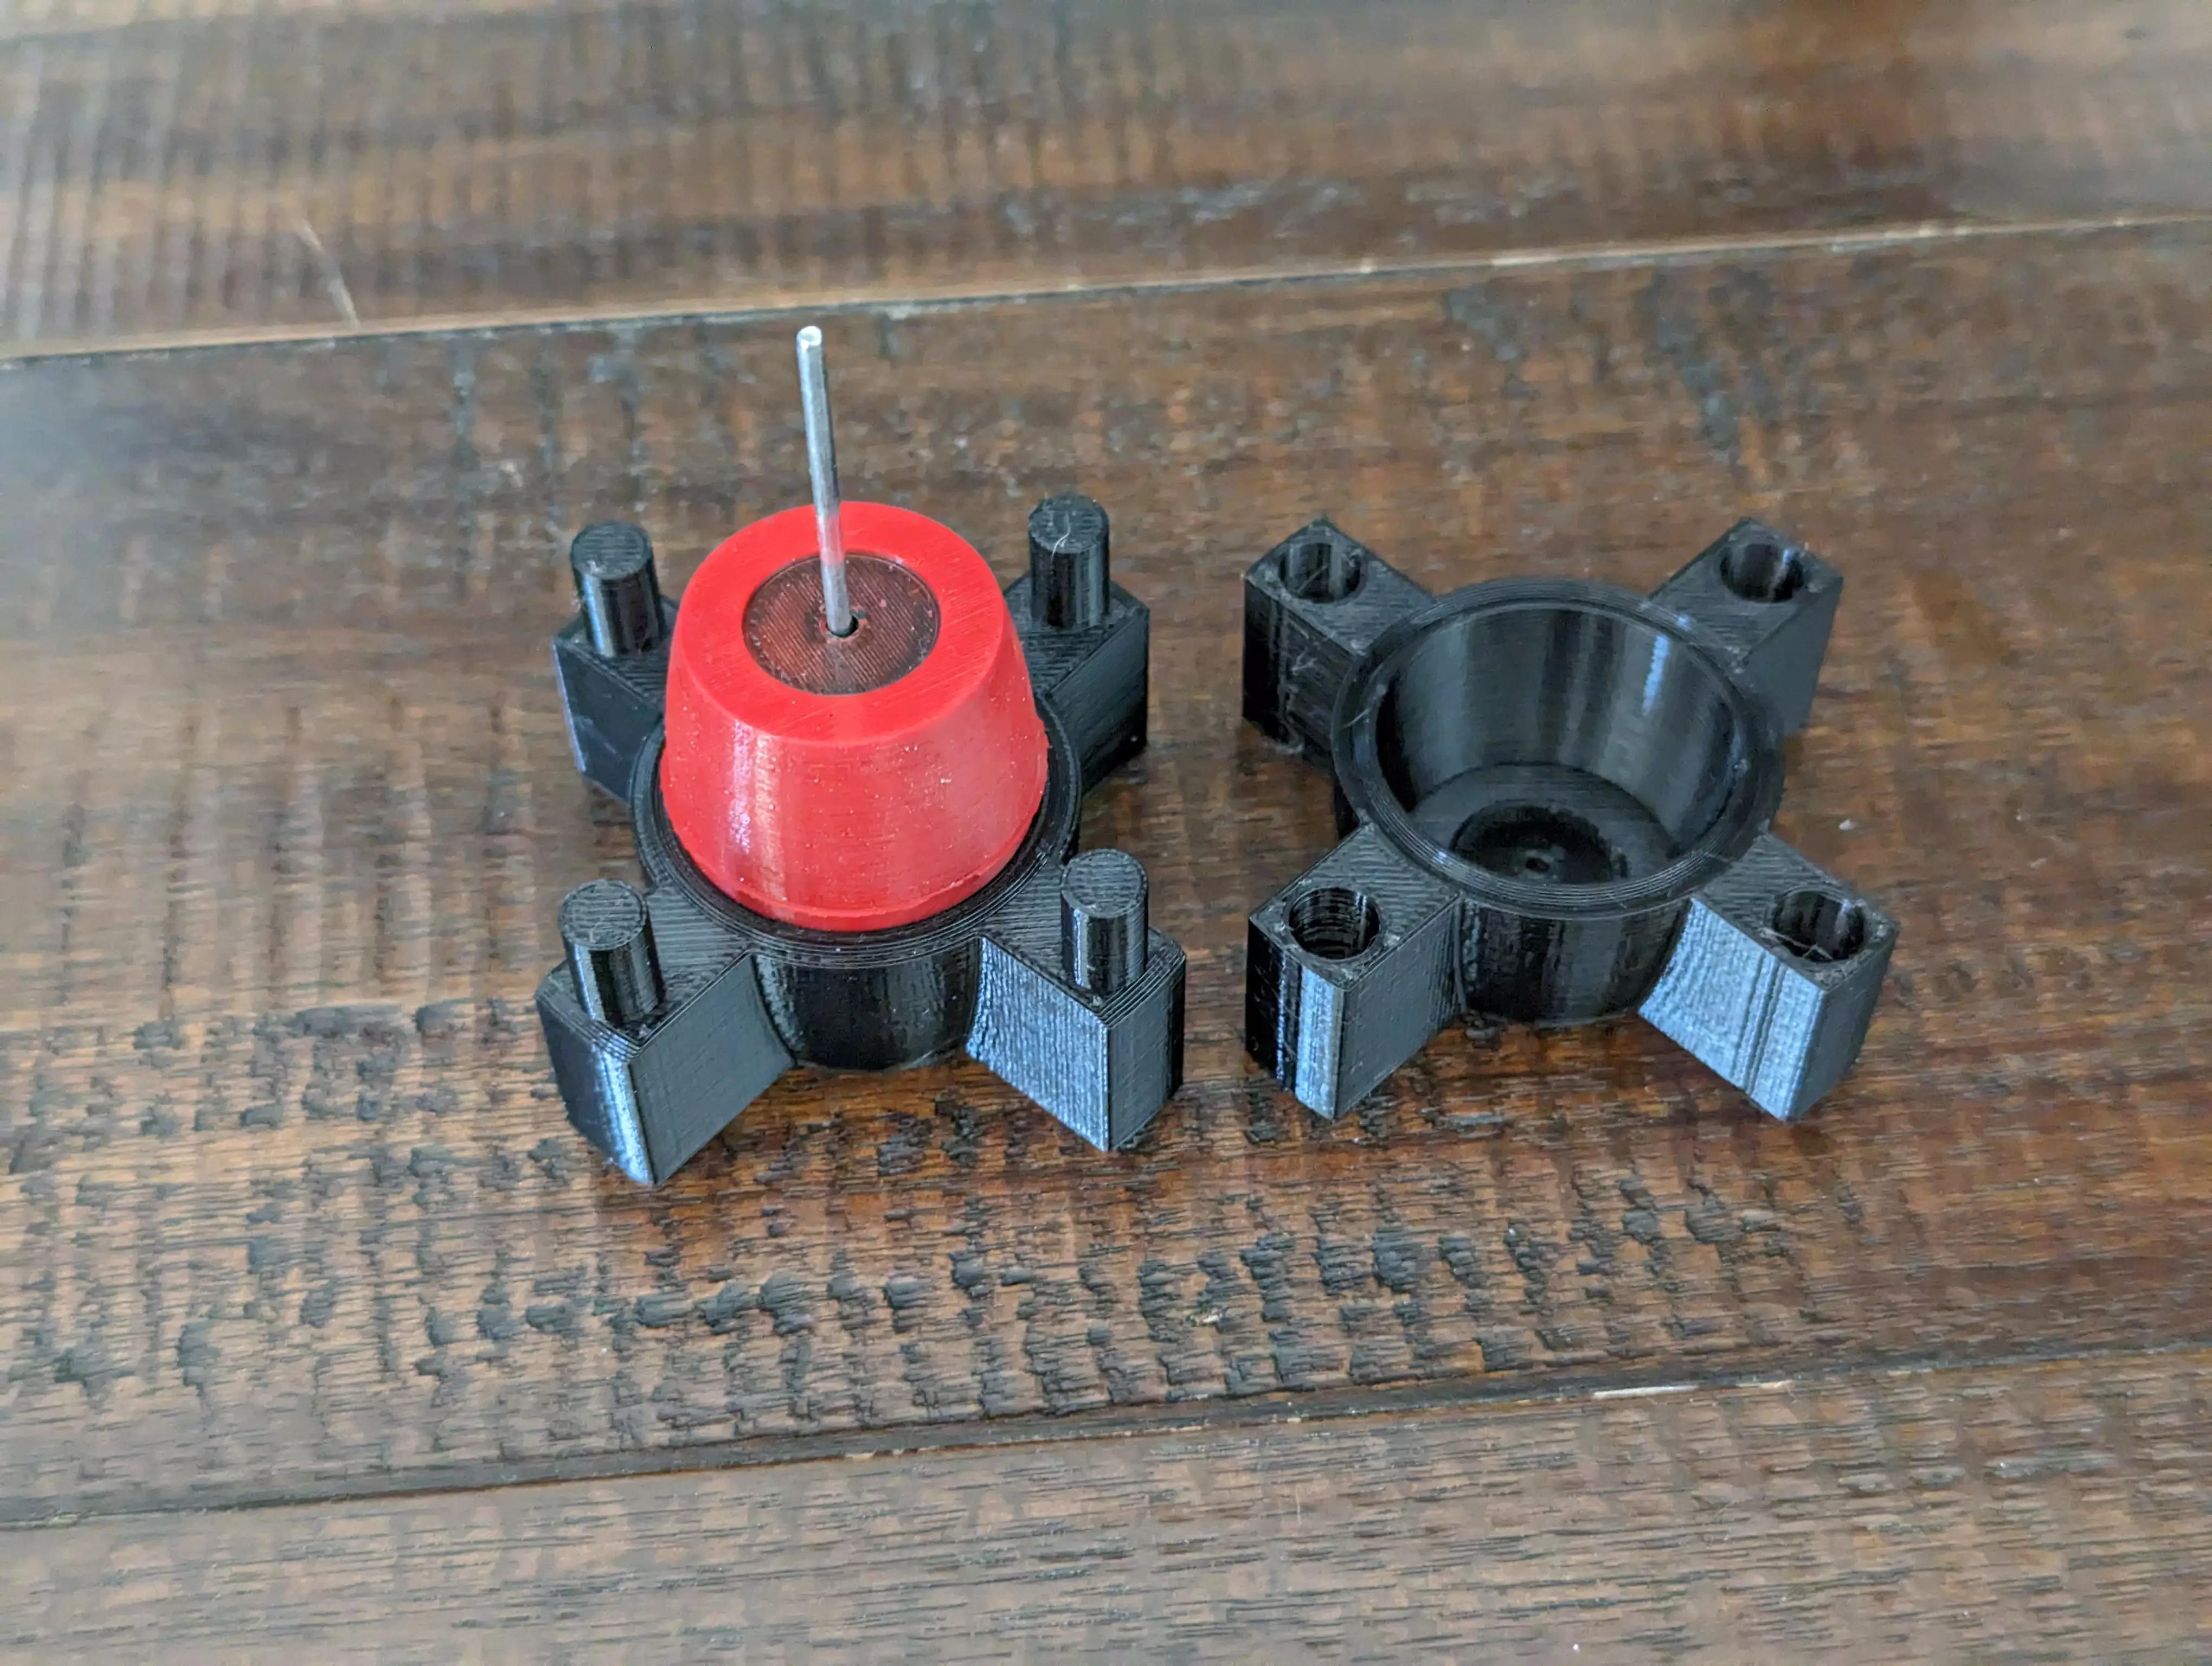
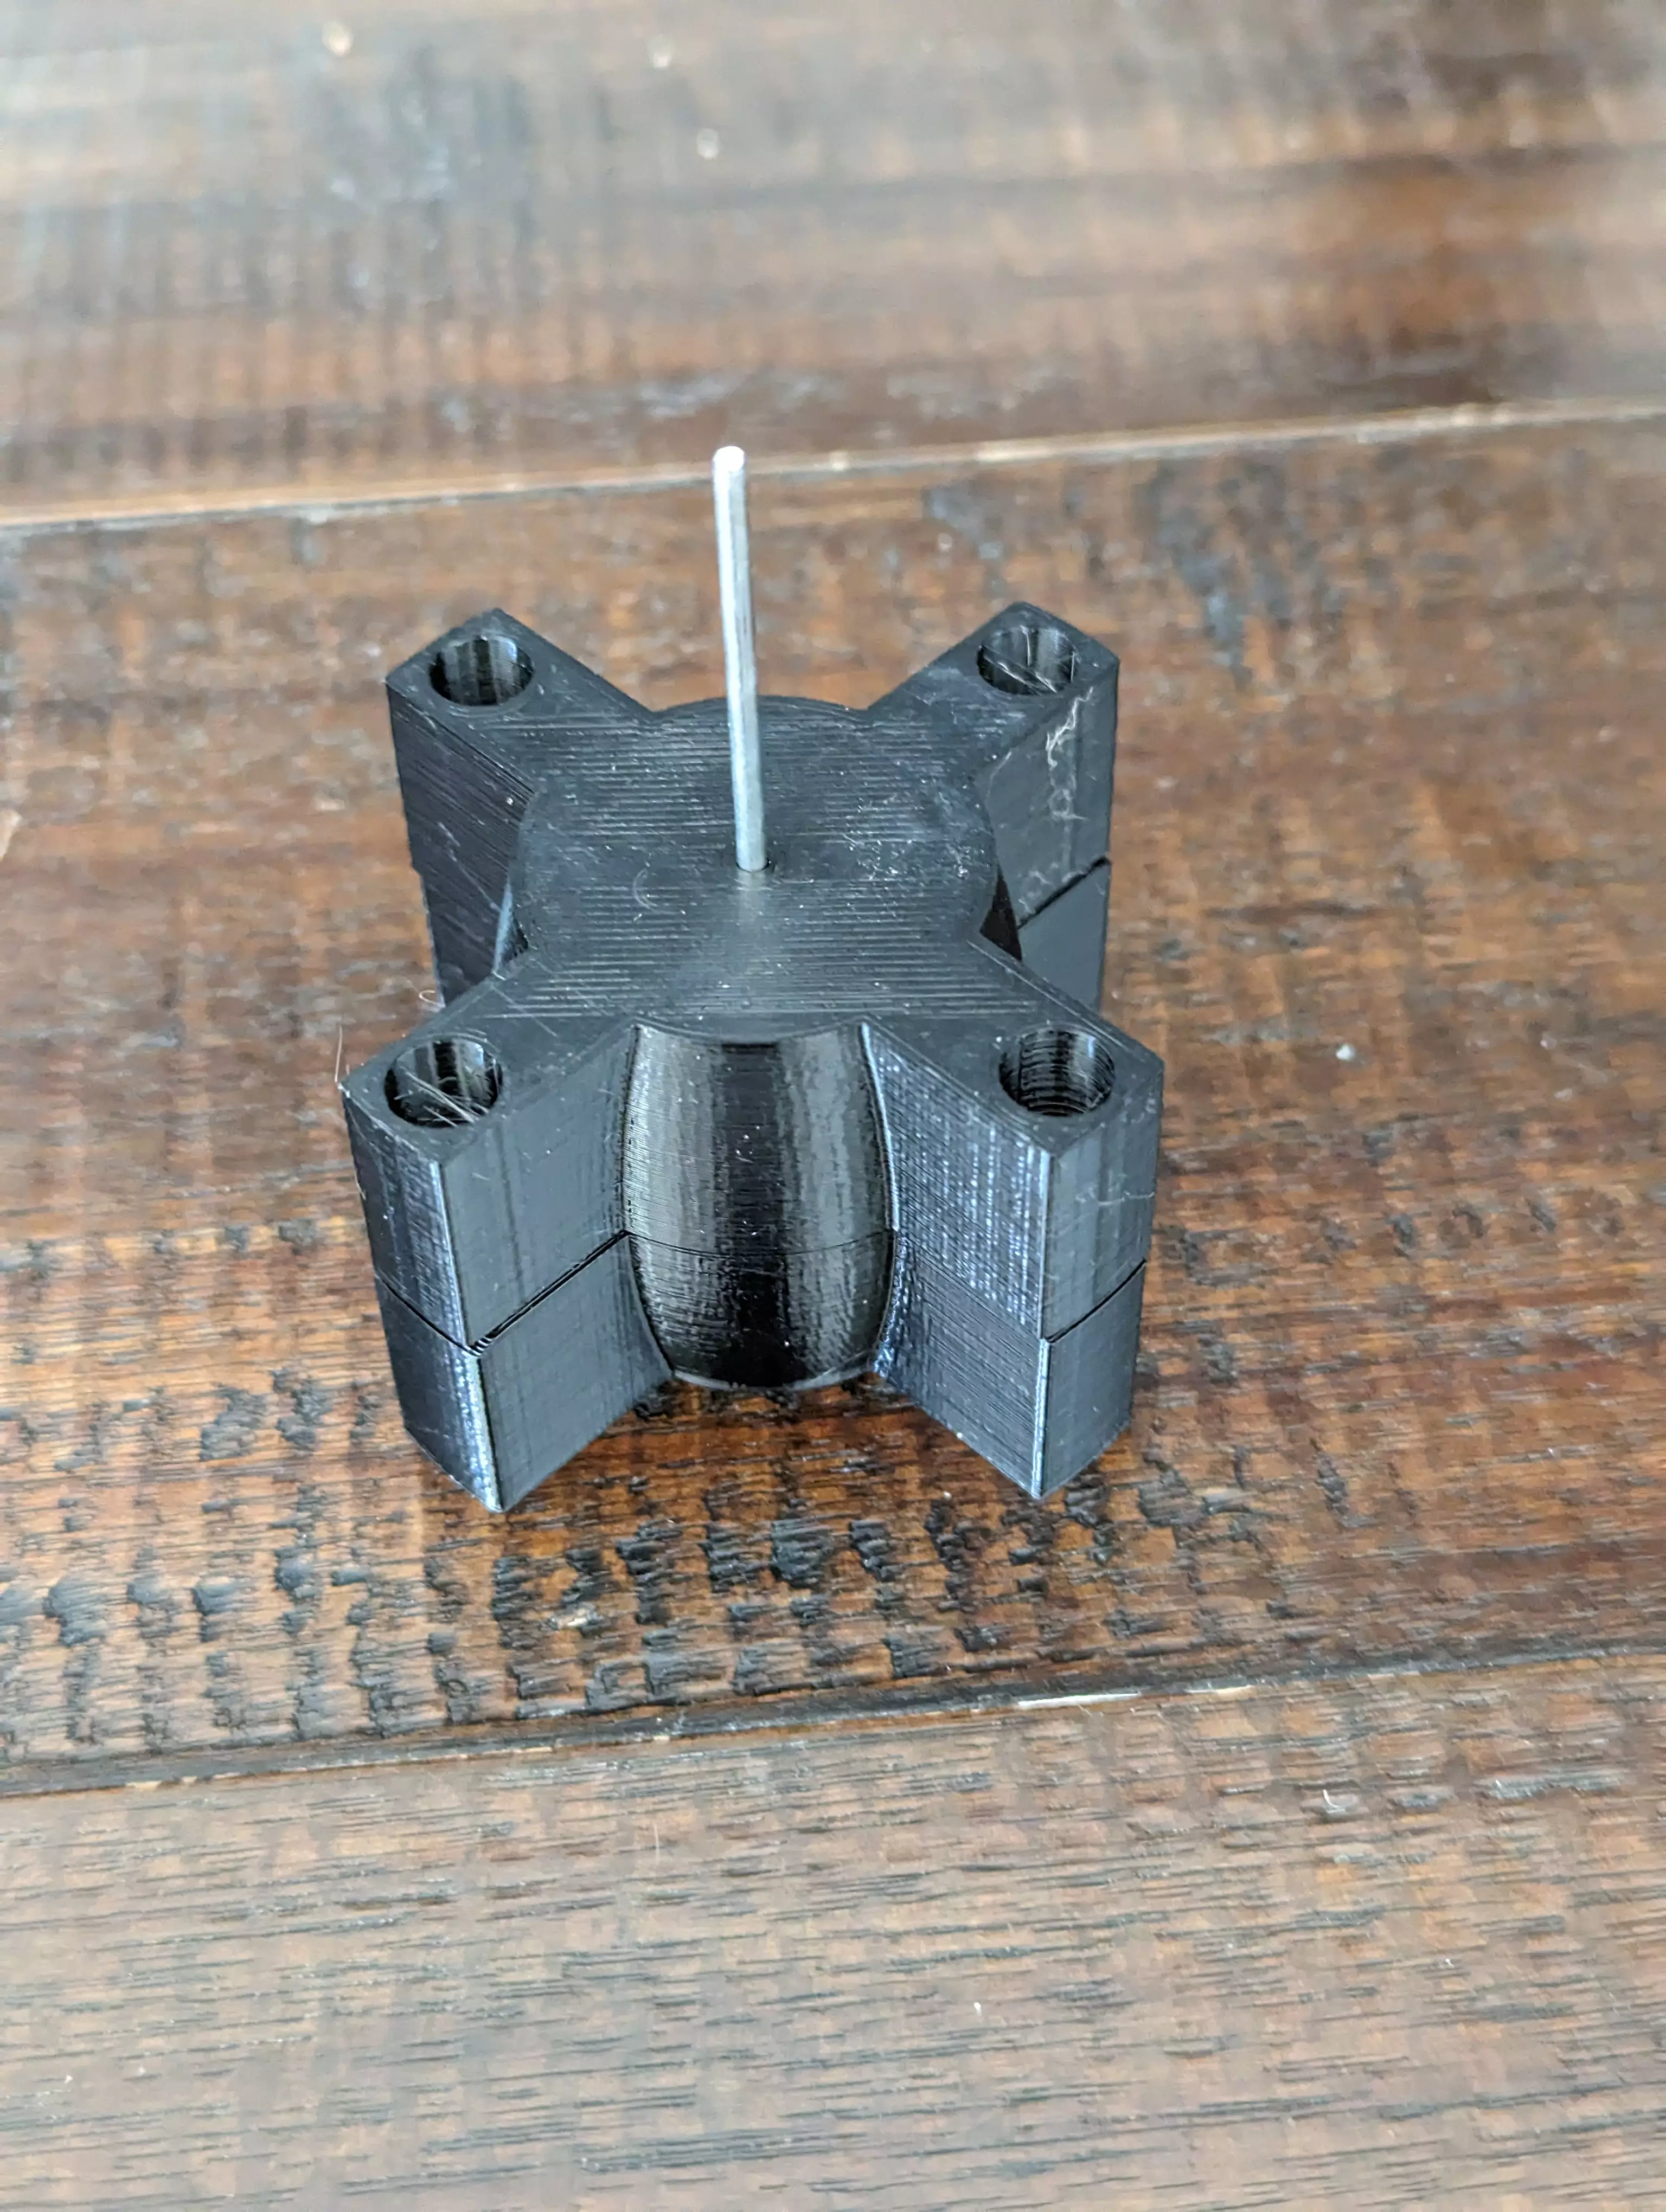
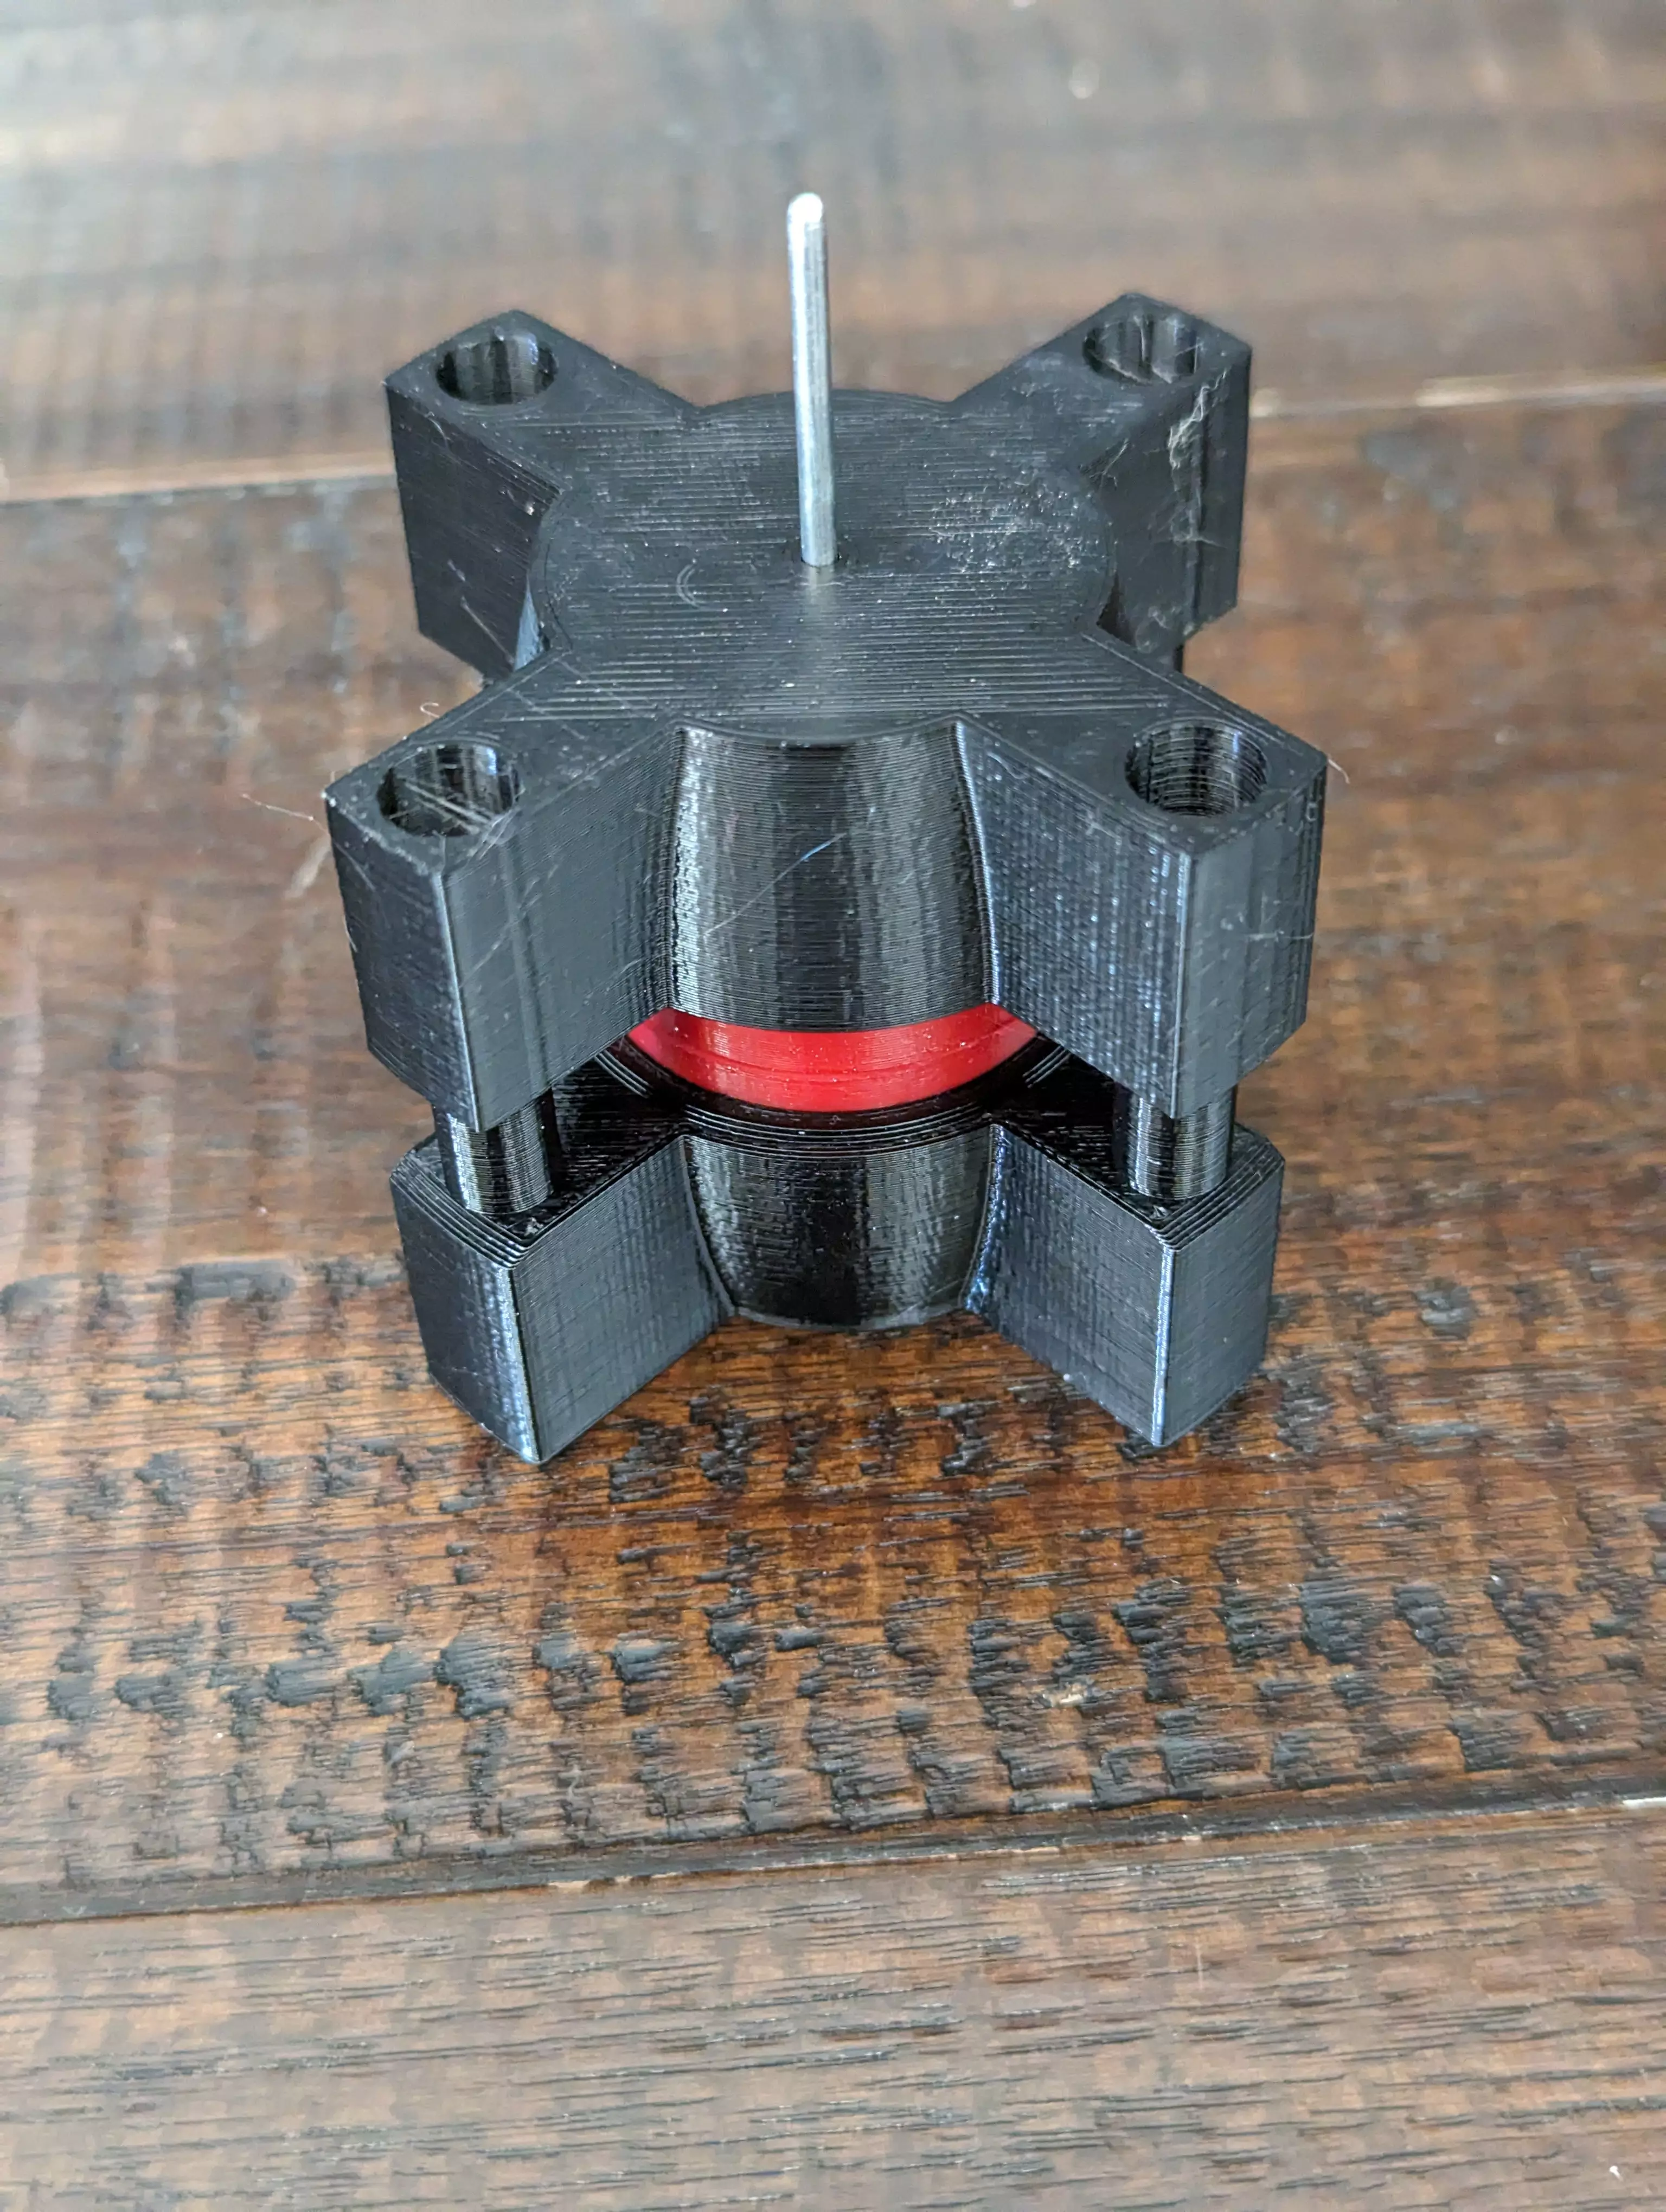
I designed the mold in SolidWorks. The mold has two parts - the bottom and the top - that fit snugly together and separate at the roller’s waist.
There is 0.5mm of spacing left around the roller core for the resin - this is the thickness of the rubber coat.
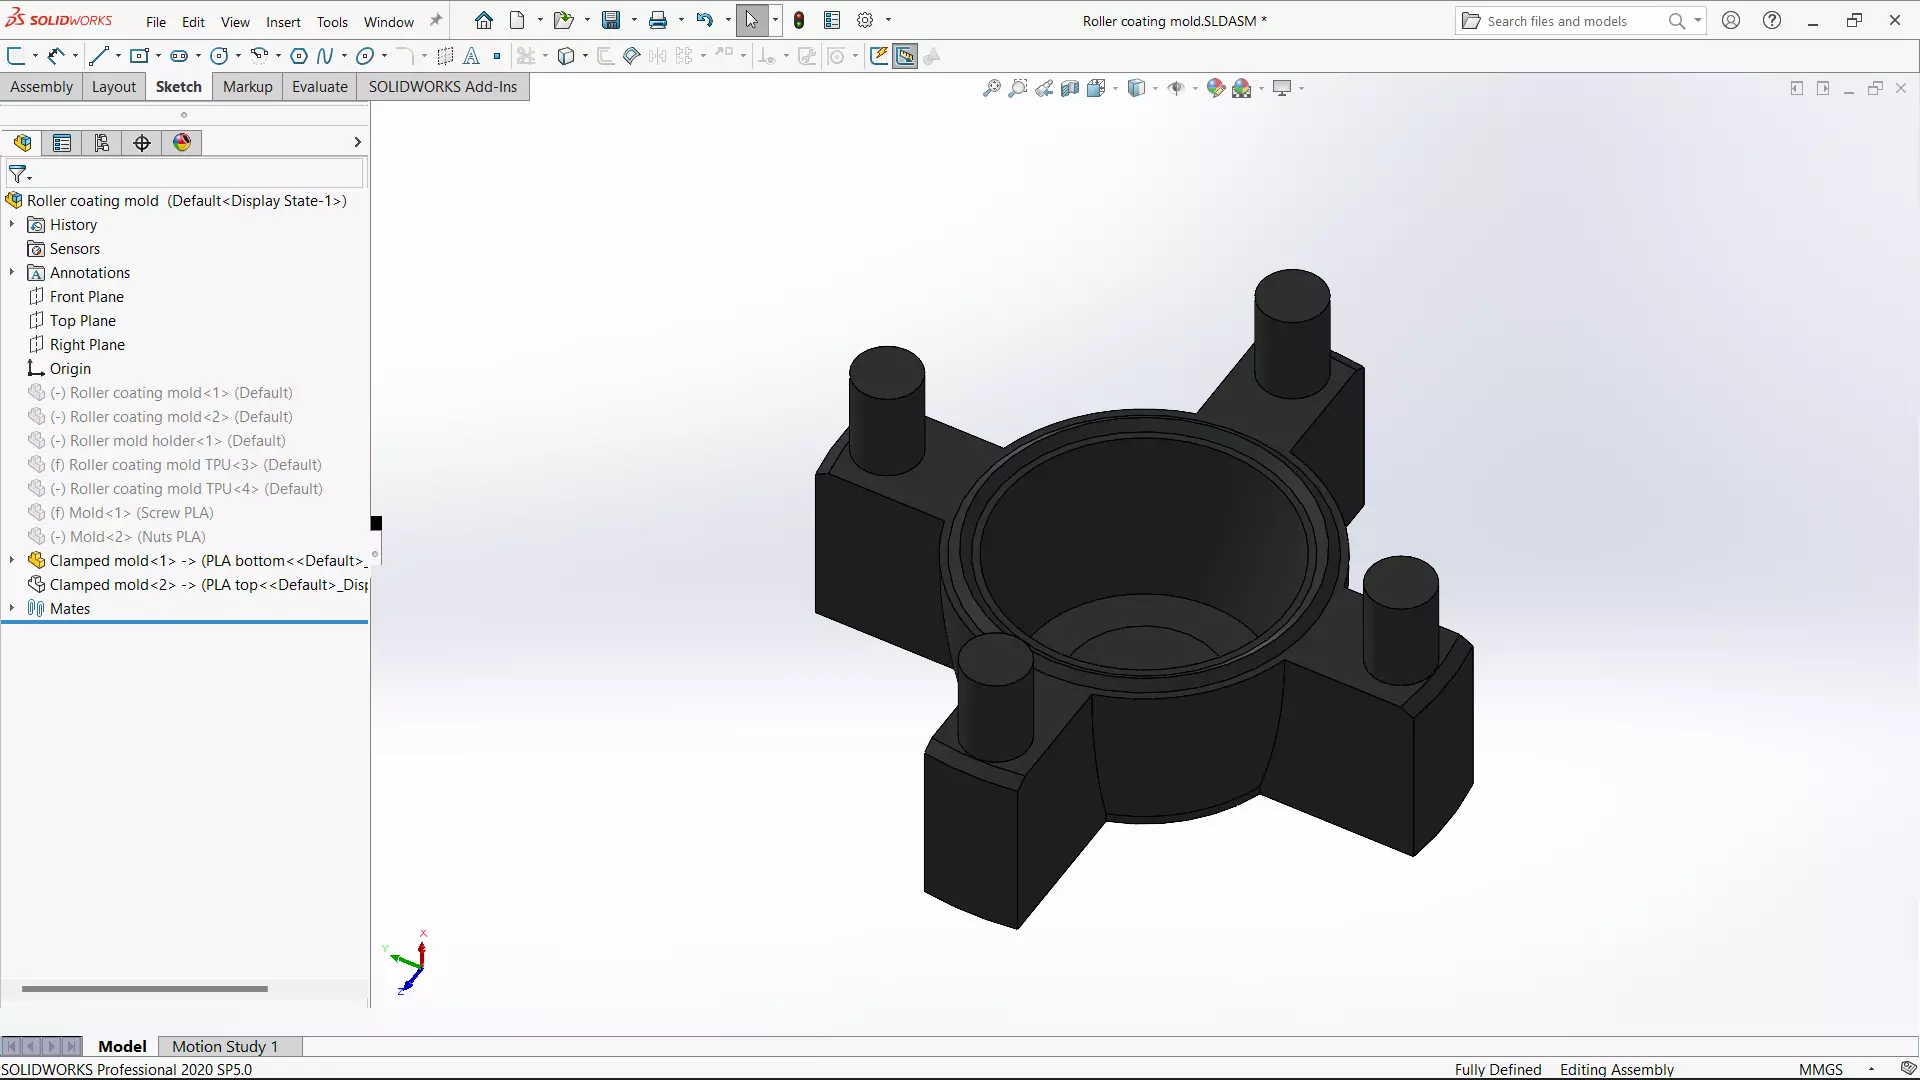 |
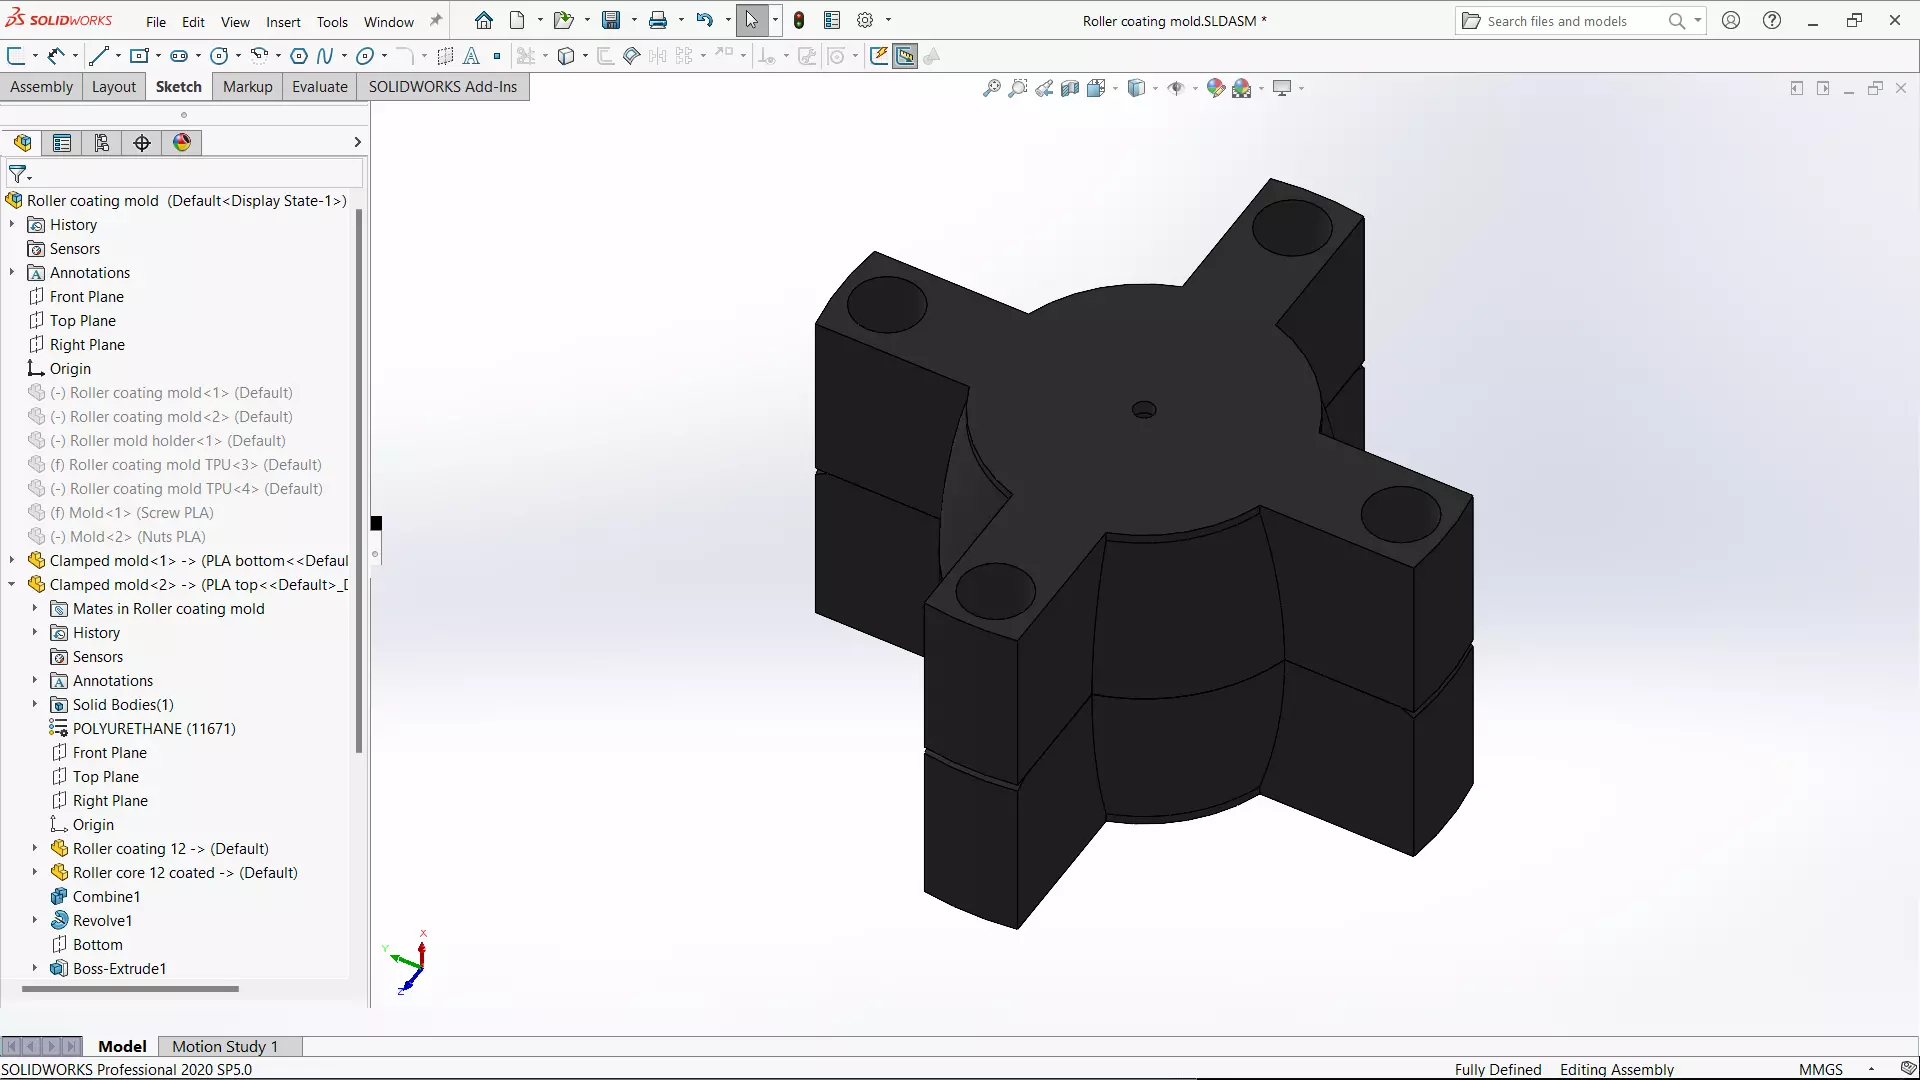 |
The mold fits one roller core inside. The roller stays in place inside the mold thanks to the 2mm steel pin going all the way through both of the mold halves as well as the roller.
The steel pin is later reused as the roller axle.
 |
 |
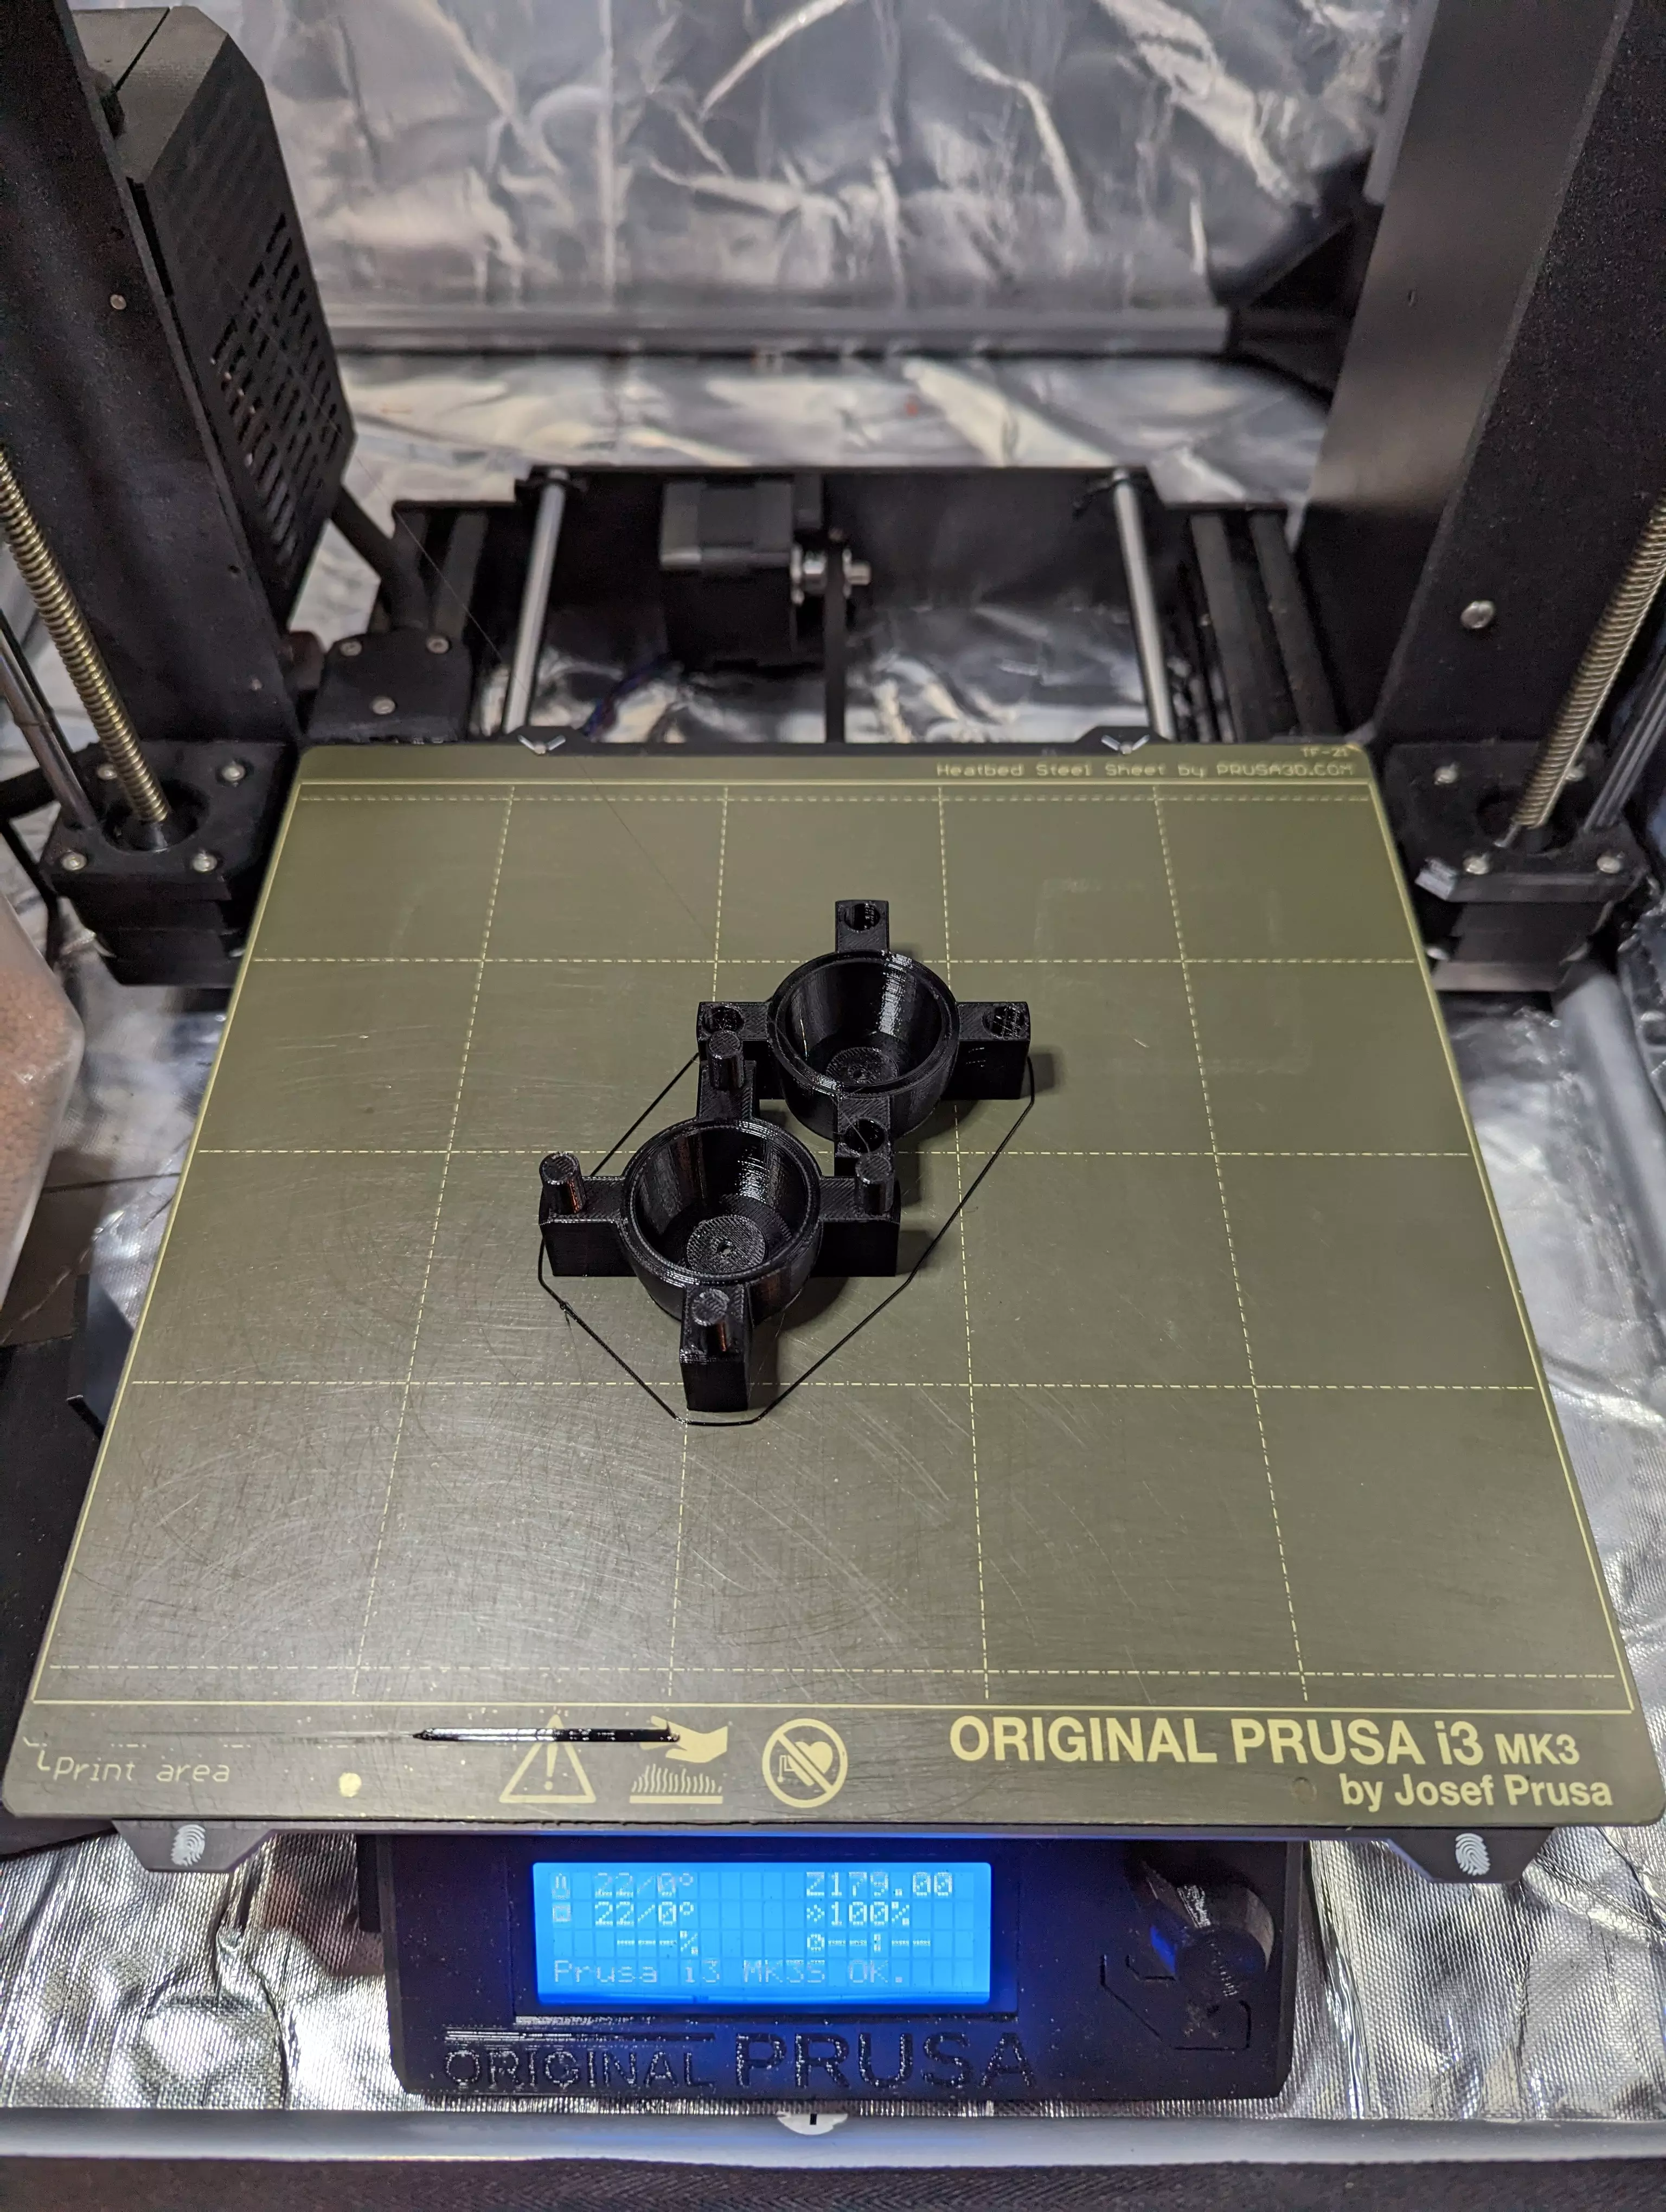
I 3D-printed the molds using PLA on a Prusa MK3.5S.
 |
 |
Get the chemicals
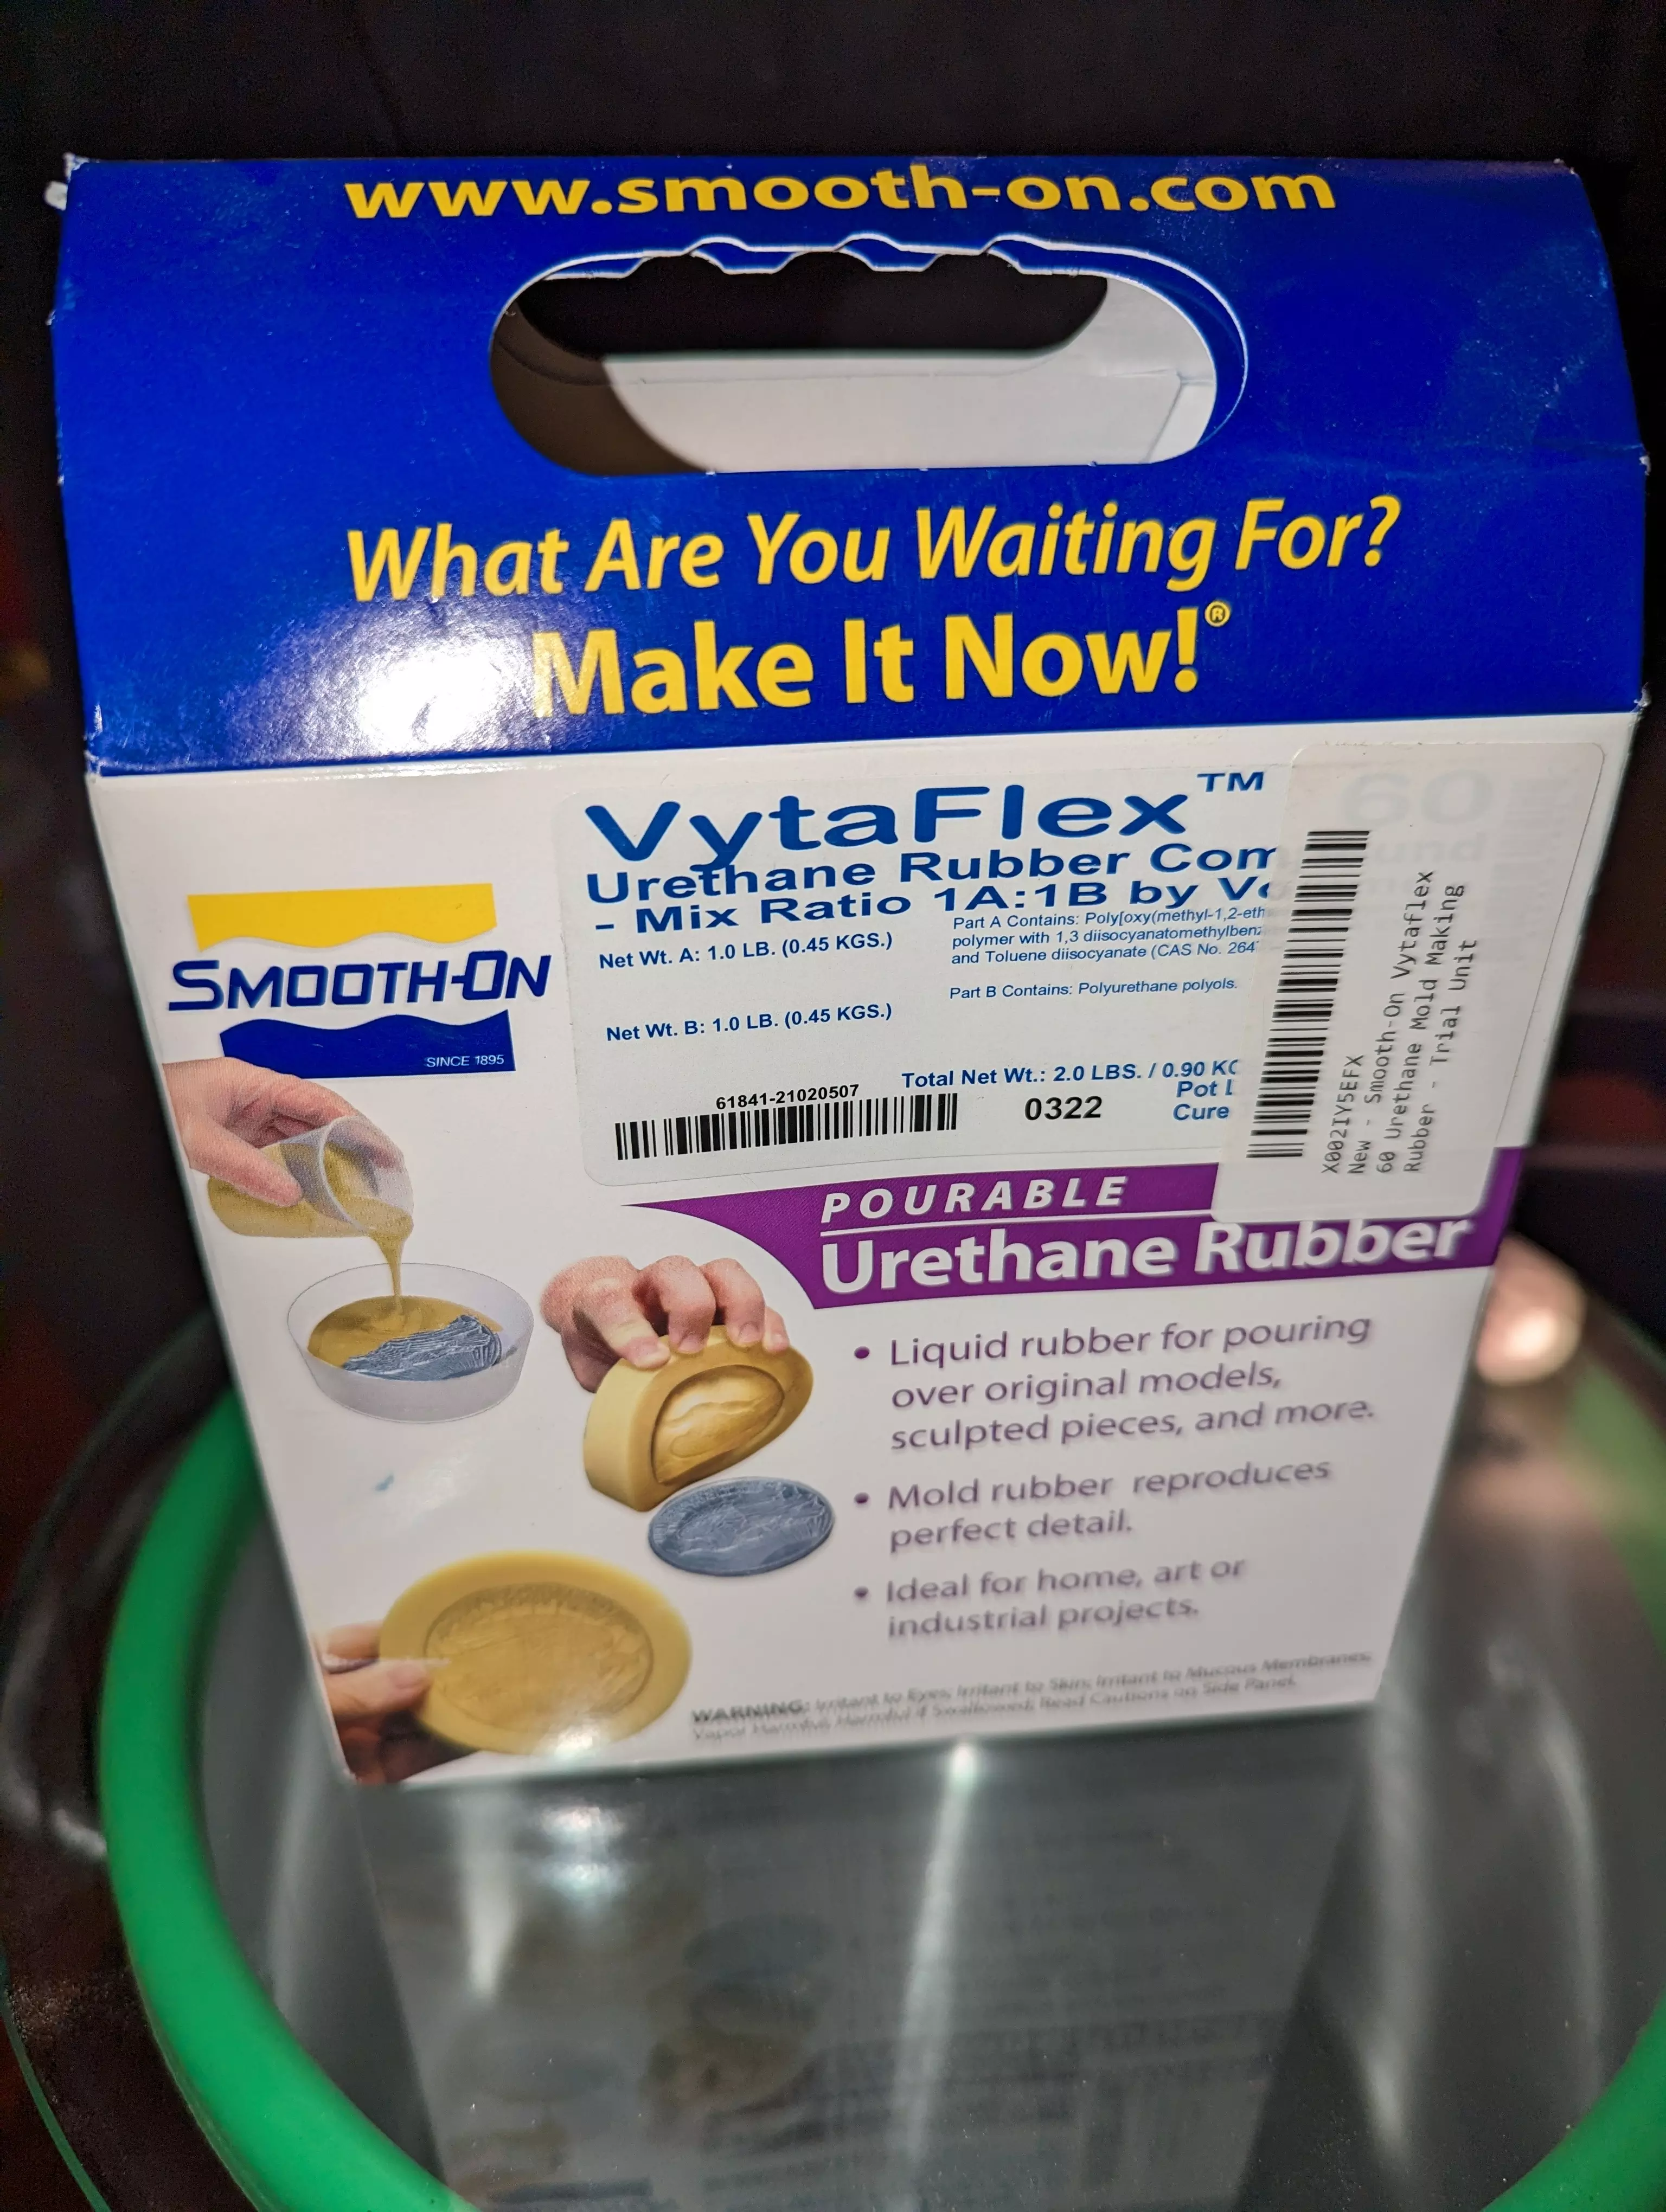
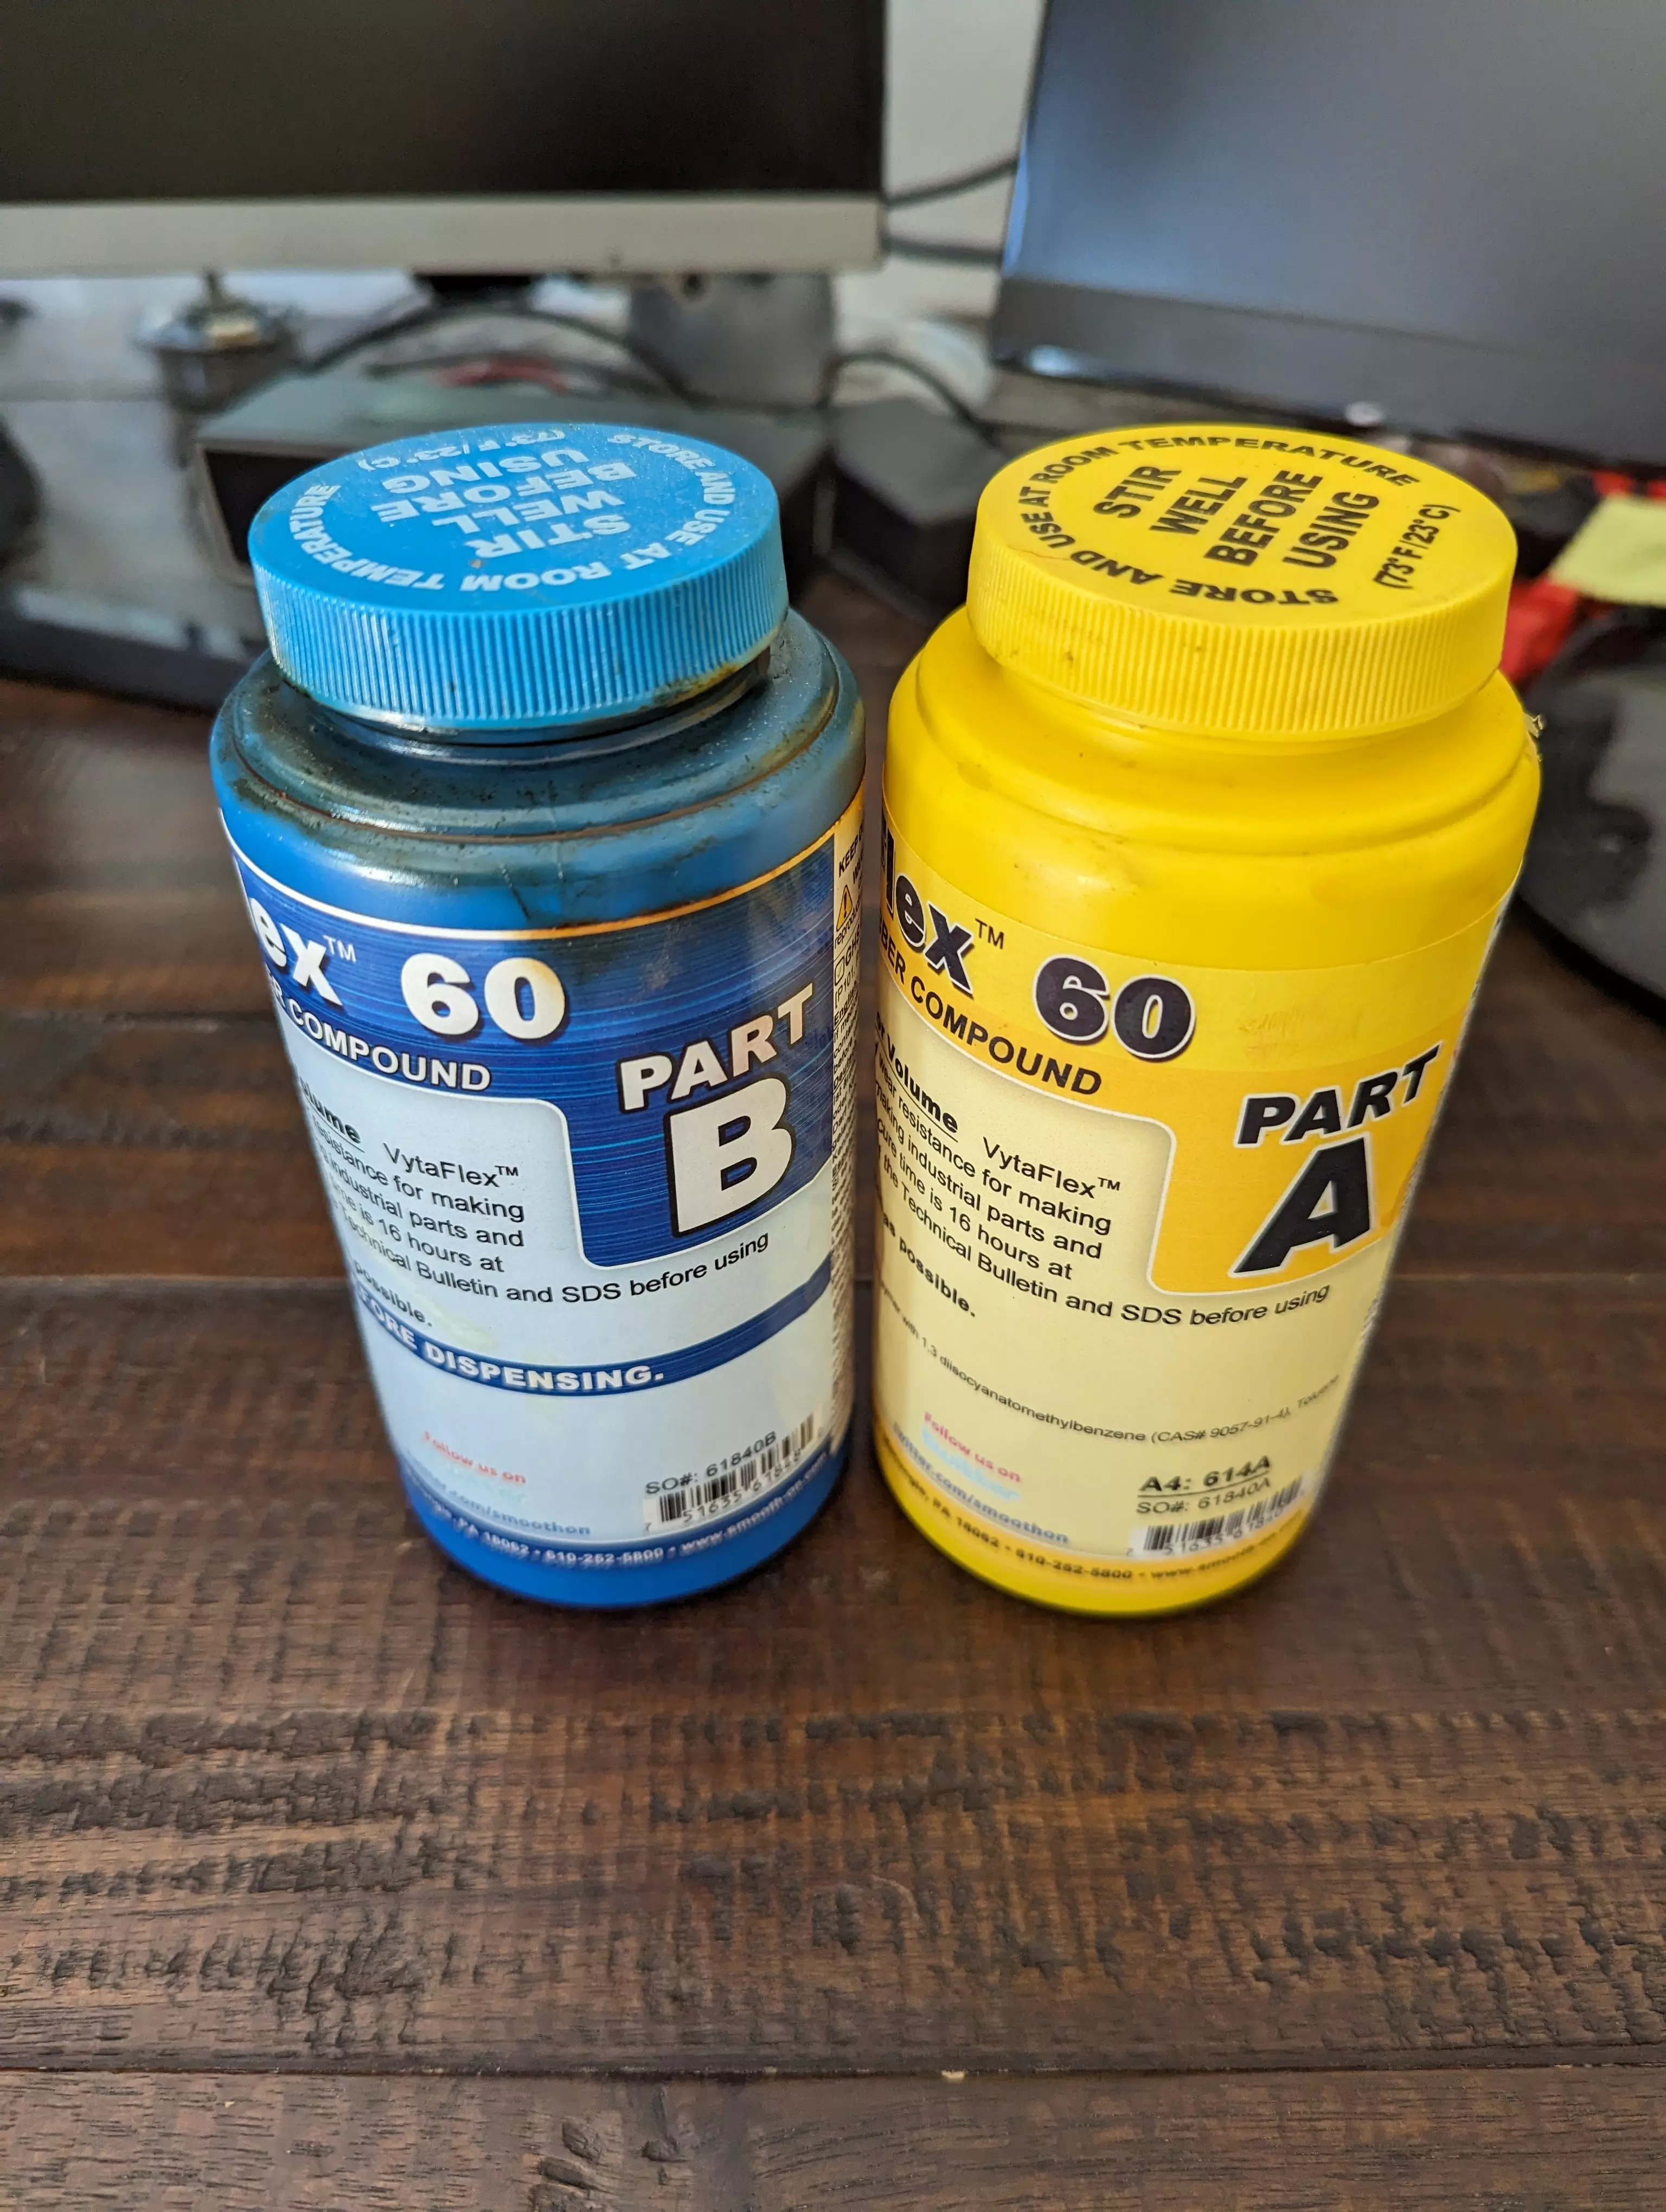
The resins kit I used for molding is Smooth-On VytaFlex 60 pourable urethane rubber. I got it from Amazon, but you can also get it from Smooth-On distributors as well as Smooth-On directly, I believe. I’m not associated with any resin manufacturer, including Smooth-On, and was not compensated for this post in any way.
 |
 |
The number 60 on the kit indicates the resin hardness of Shore A 60. I chose this hardness because it seems ideal for the omniwheel application. It gives an excellent traction between the roller and the floor, yet is not sticky at all, so the roller does not pick up dust excessively.
There are different rubber resin kits with different hardness. For example, the super-soft Shore A 20 and 30 resins are, I believe, for making Hollywood-style props including face masks.
There are different types of rubber resins - silicone, urethane, etc. Some are best for molds and others are best for casts. Some are safe to wear as props and others are more durable. I would recommend browsing the Smooth-On website - there is quite a learning curve to go through.
That said, I picked urethane rubber for the rollers because it works great and is economical for this particular application.
I have also considered Smooth-On’s Mold Max 60, but have not tried it. Mold Max 60 is a silicone rubber - as opposed to urethane.
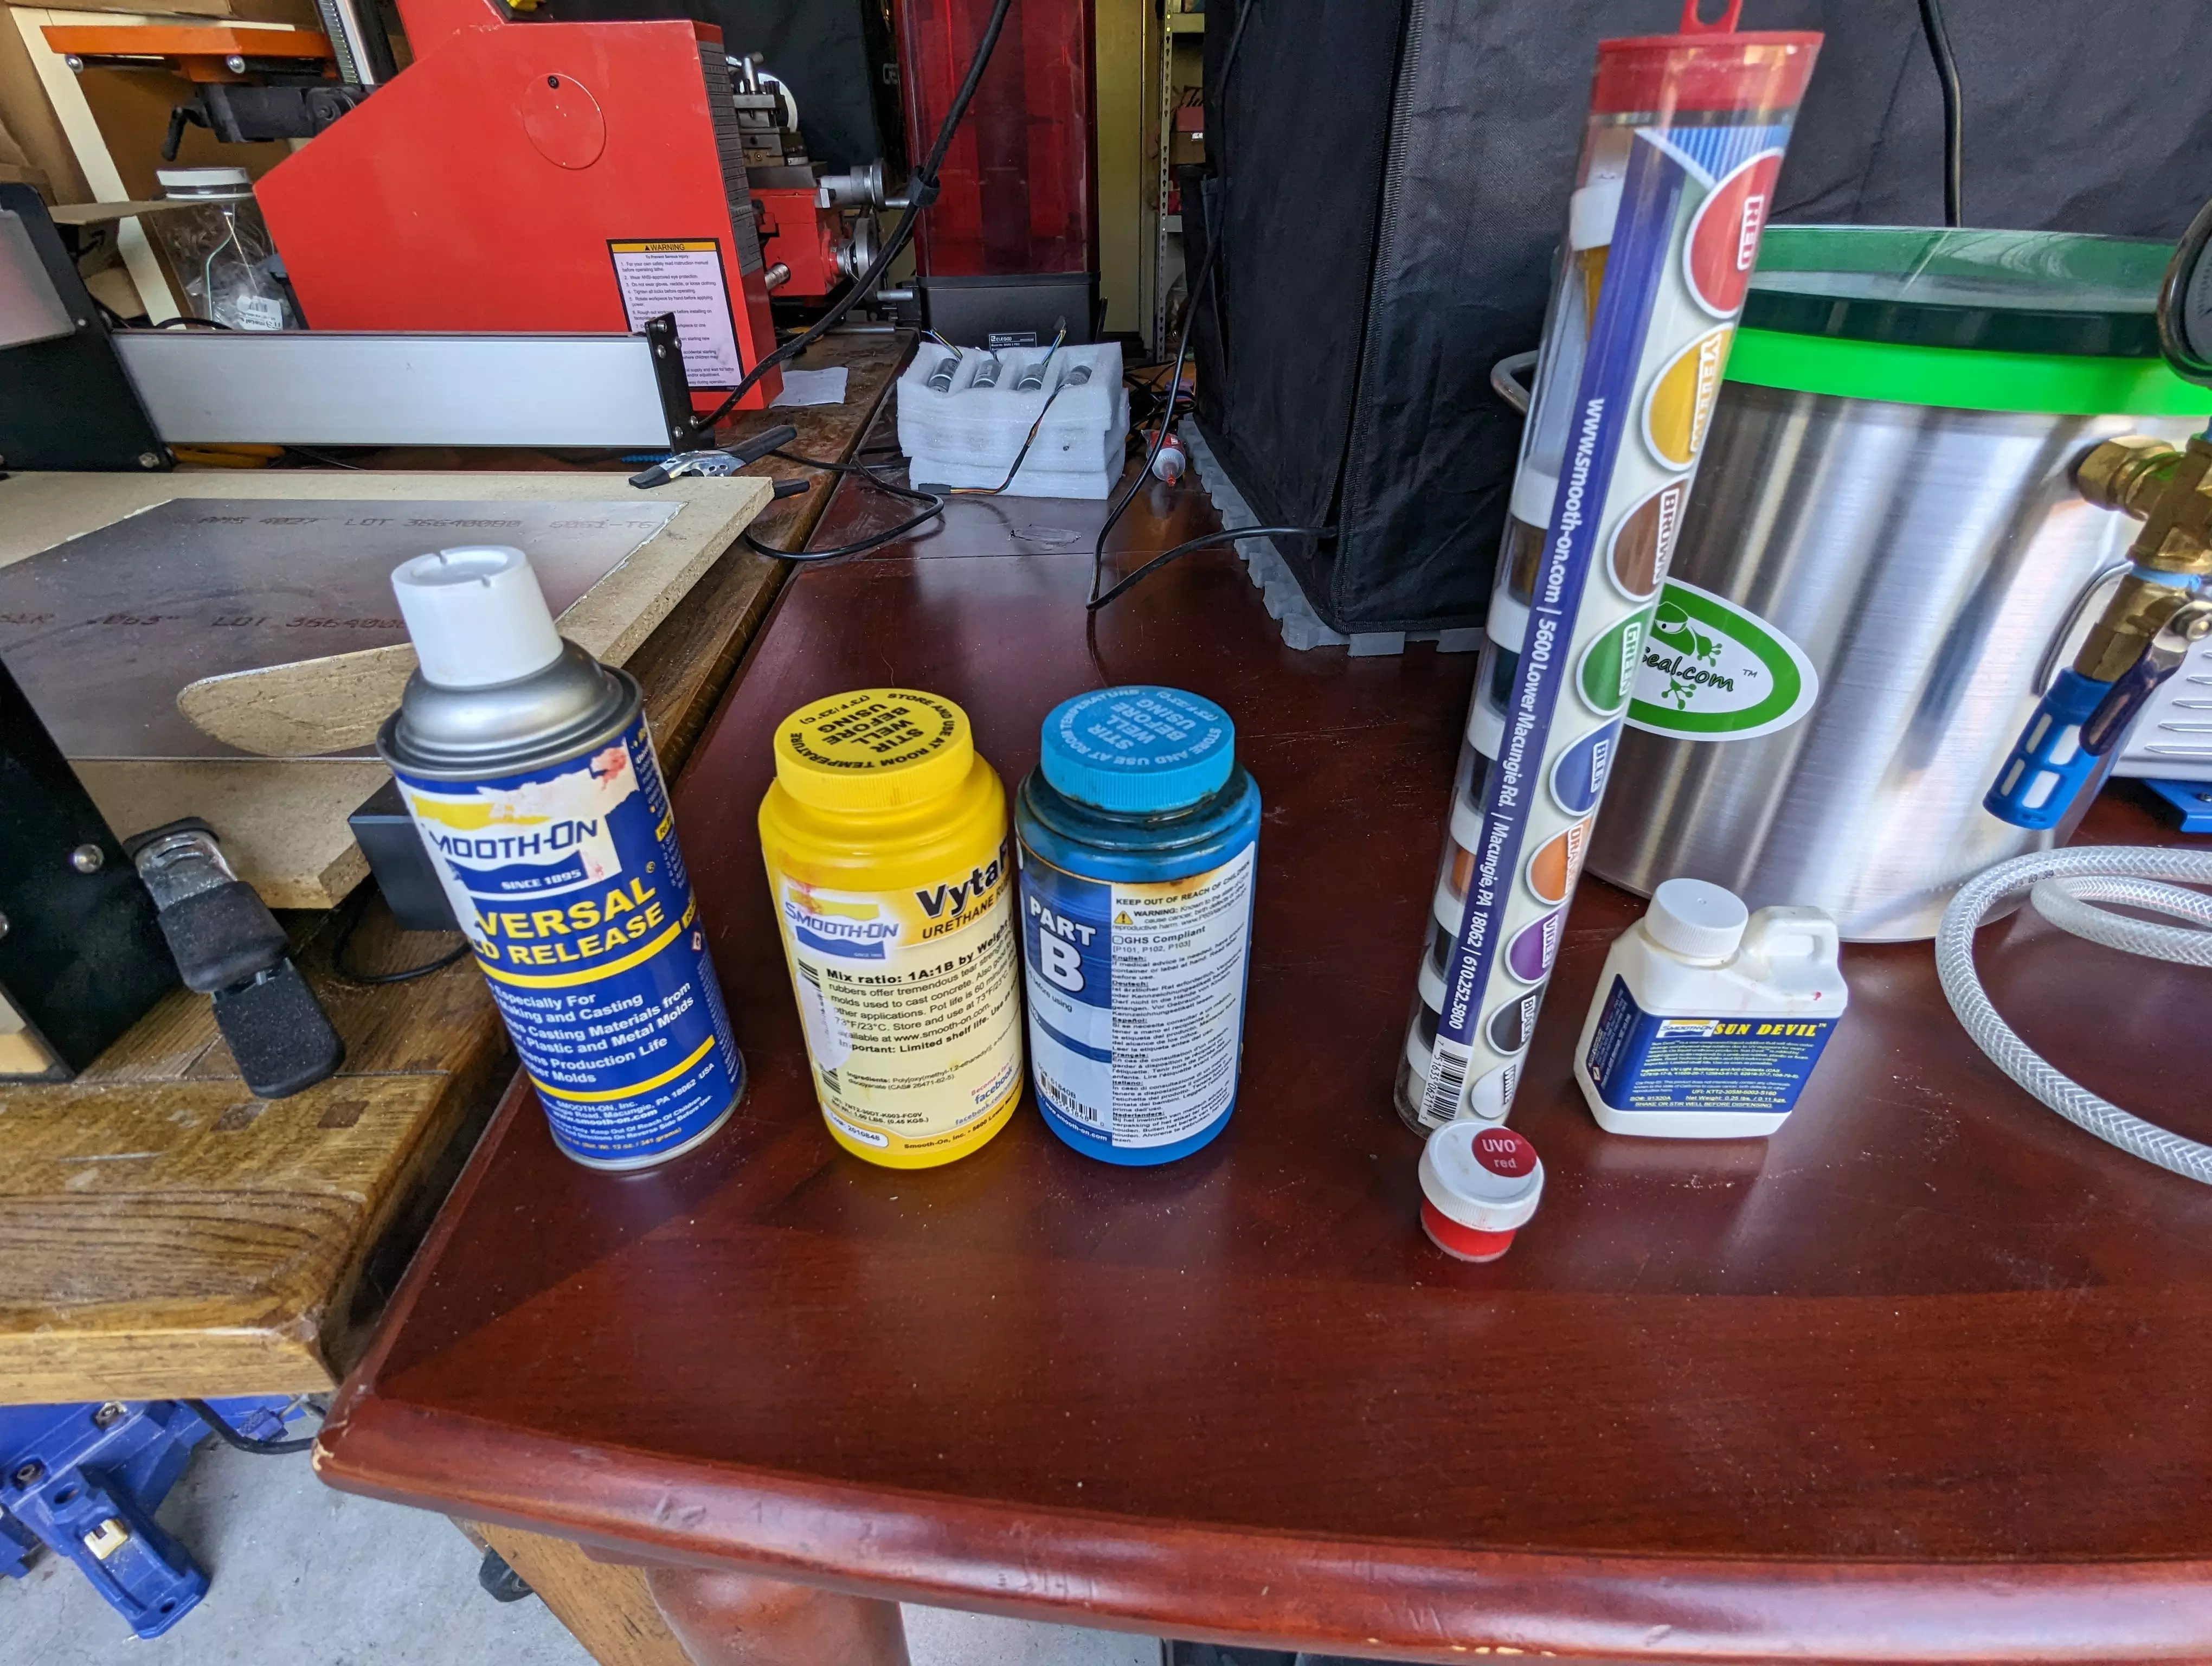
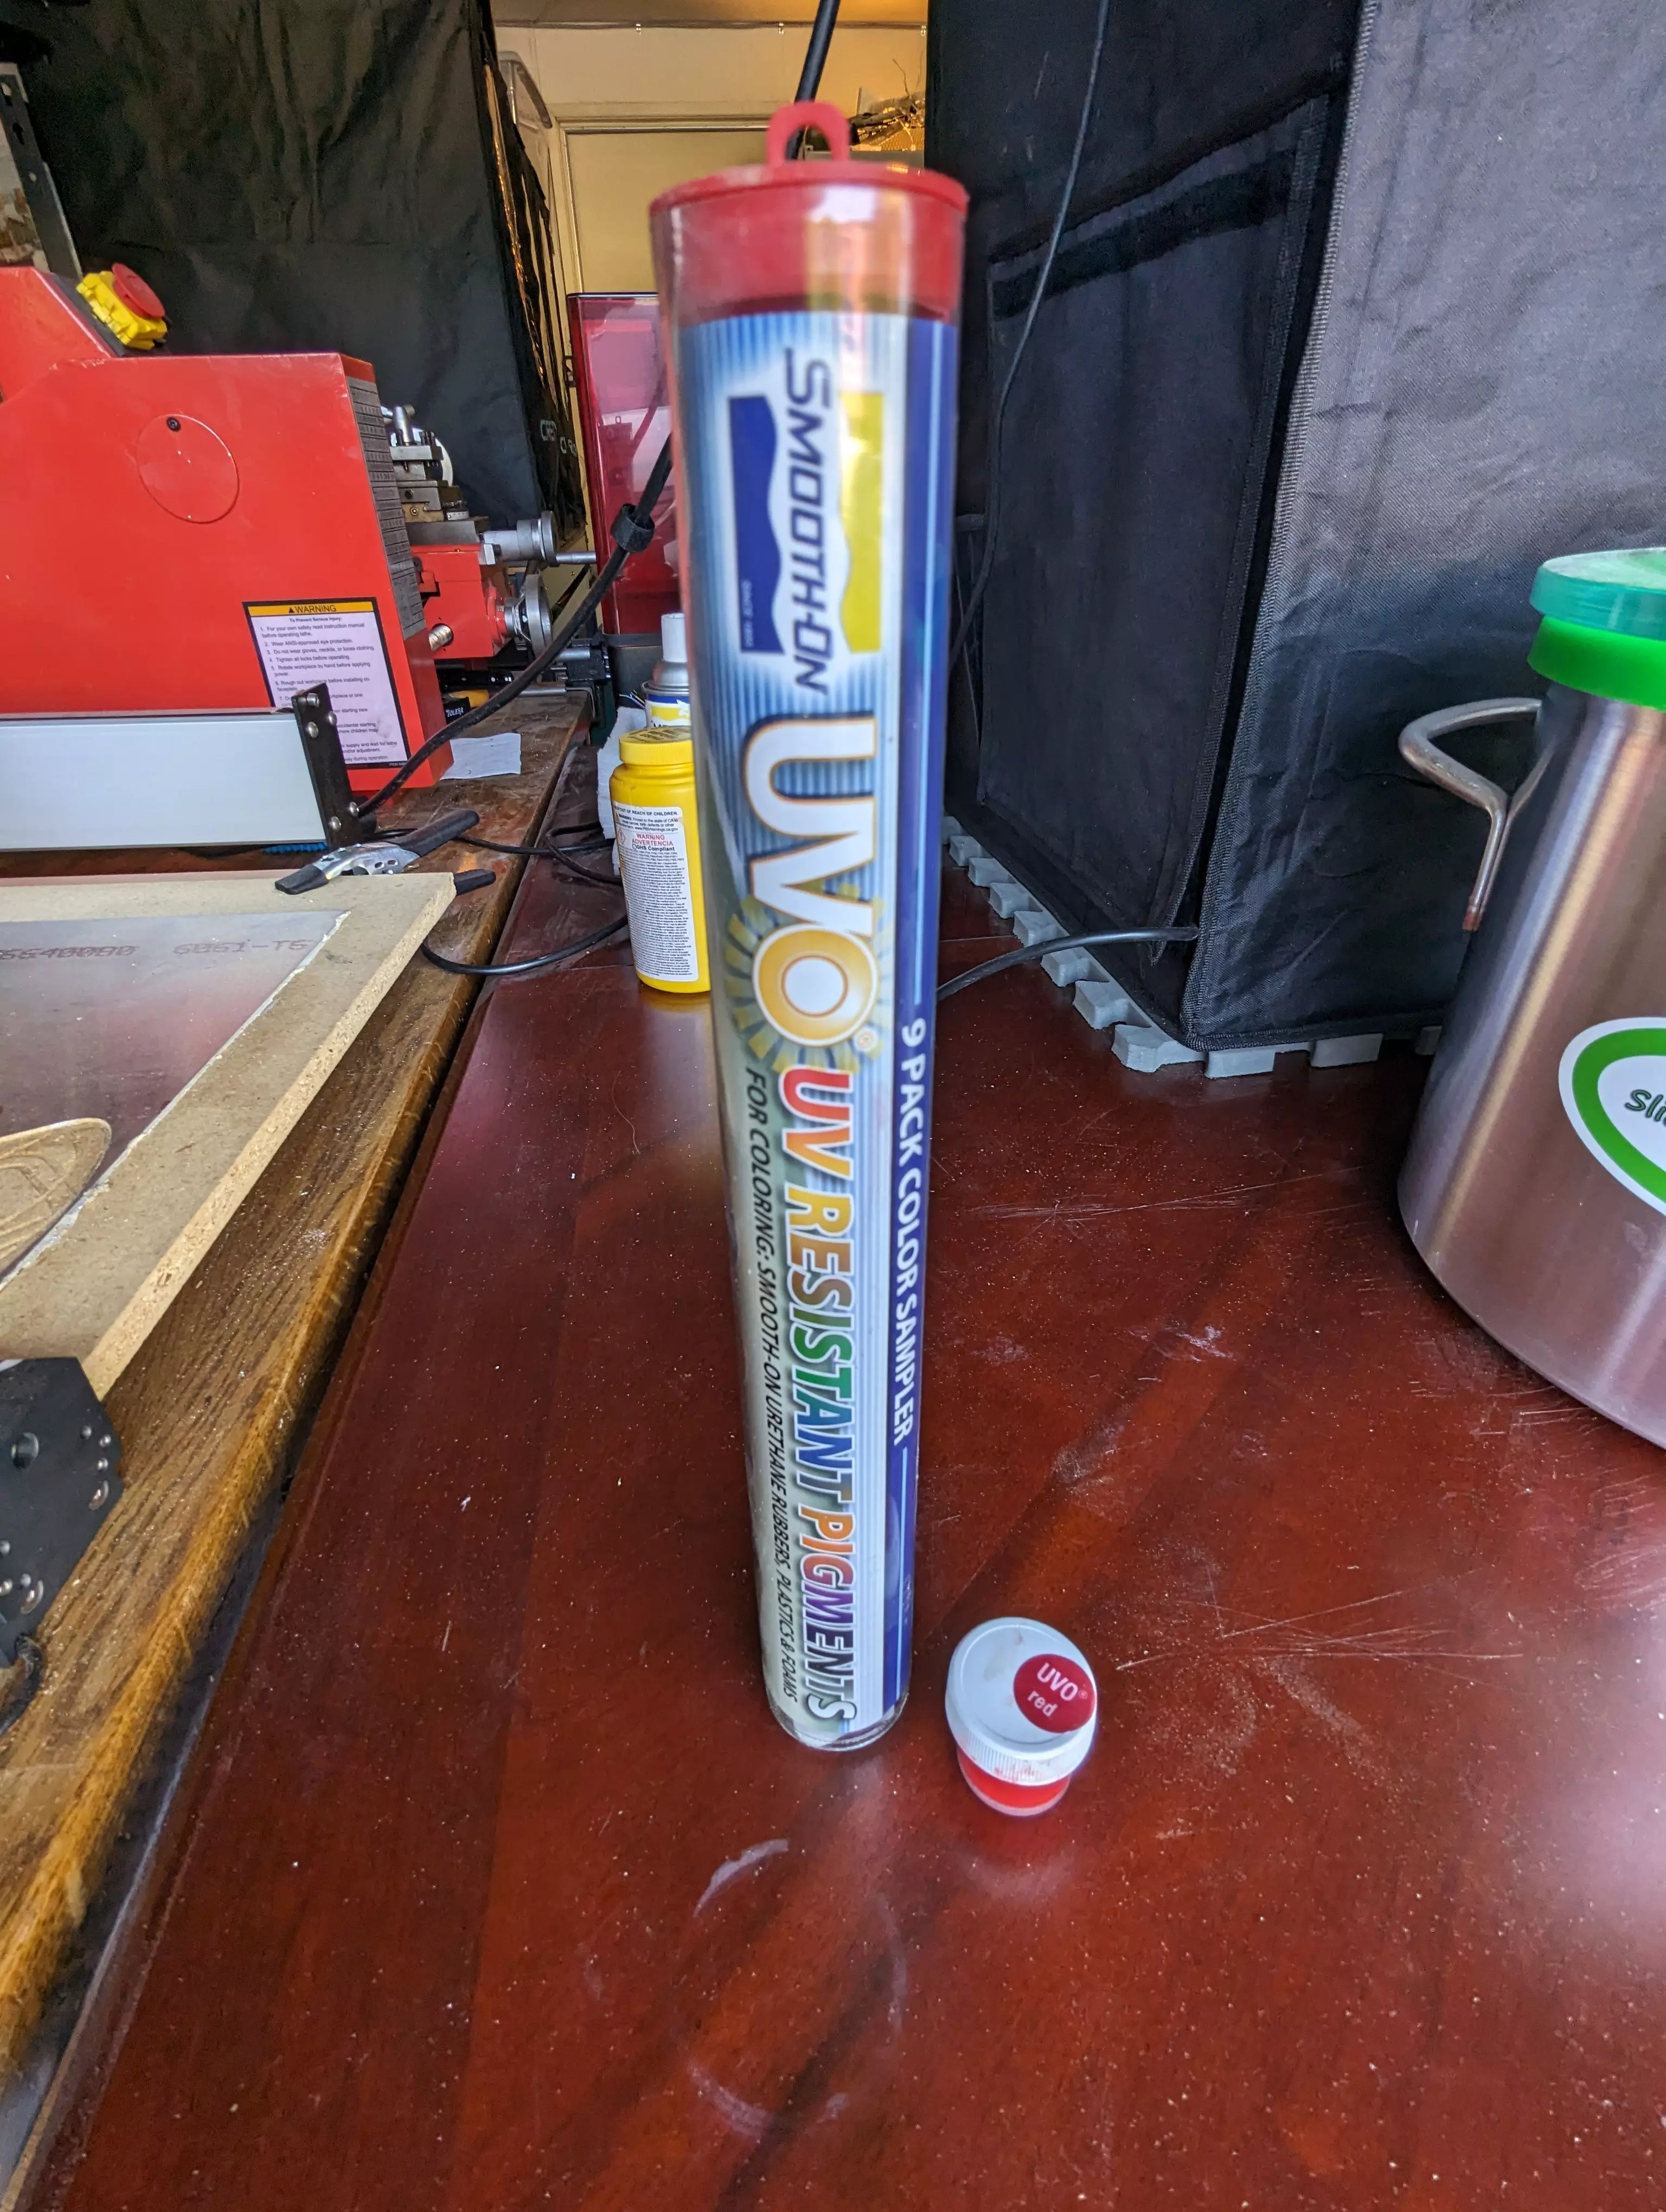
In addition to the resin kit I also purchased a Smooth-On Universal Release spray and a 9-Pack Pigment Sampler. More on this later.
 |
 |
The gear
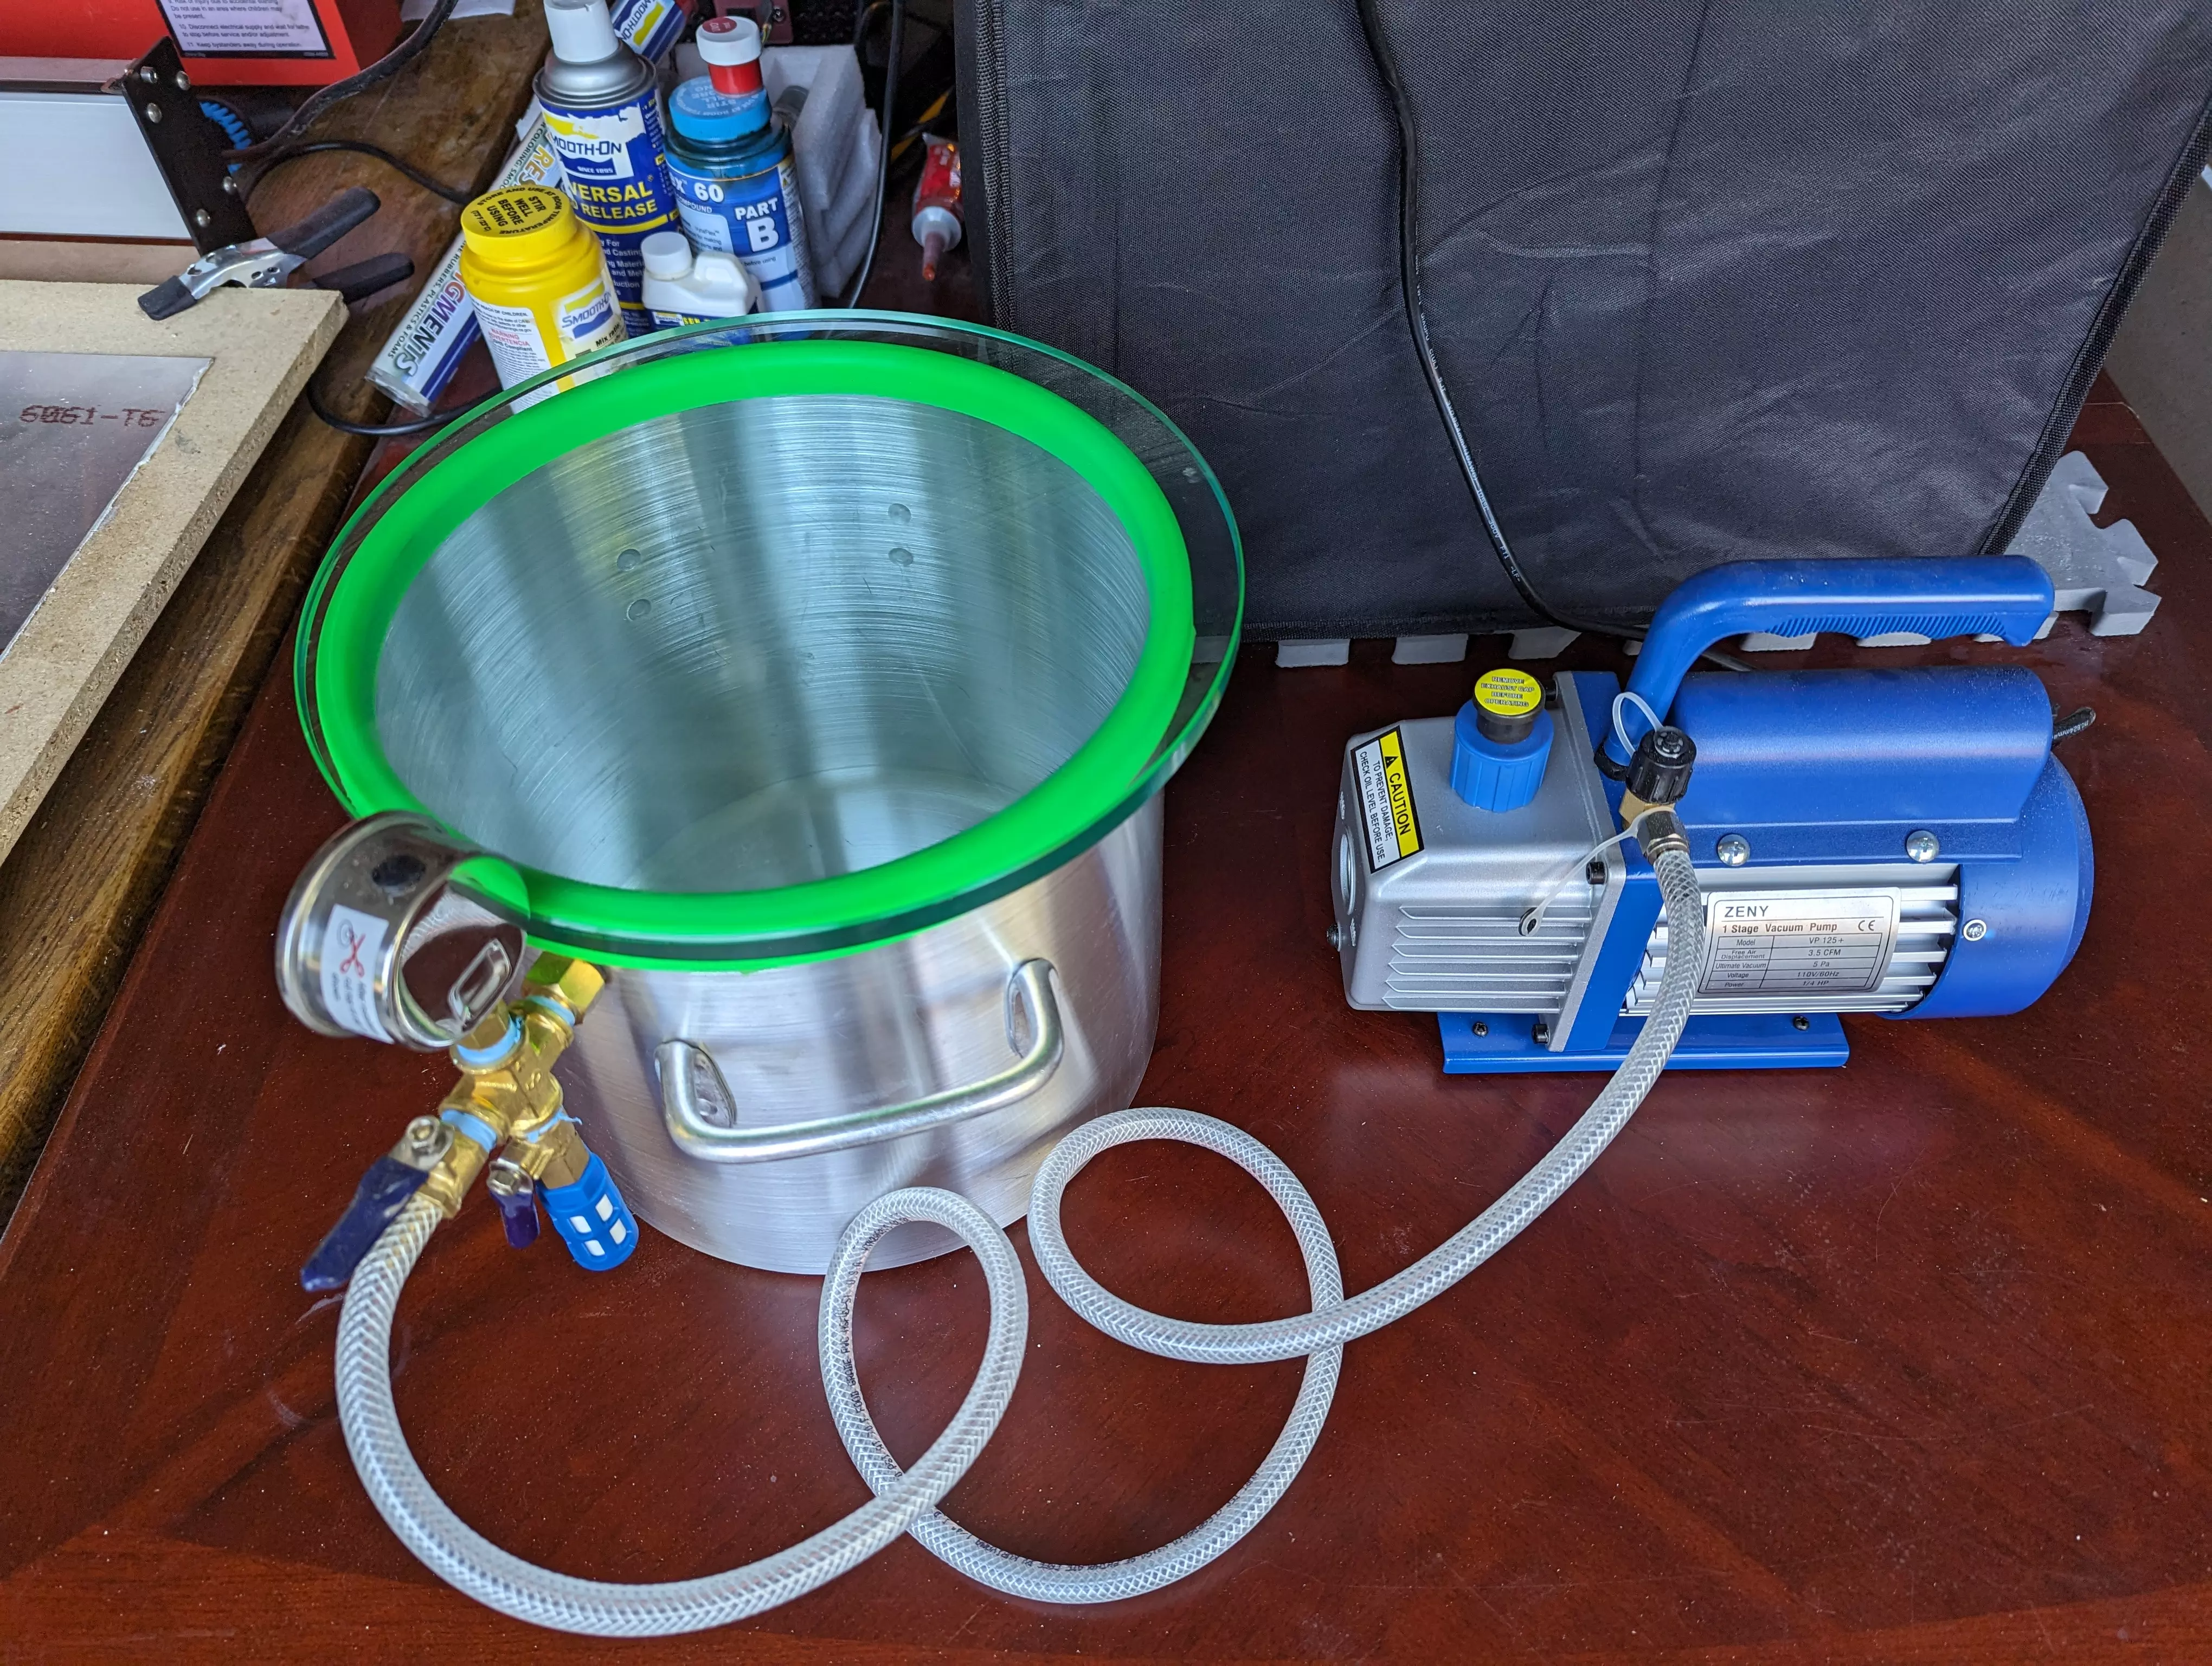
As far as the gear, I got four things:
- A vacuum chamber.
- A vacuum pump, single stage.
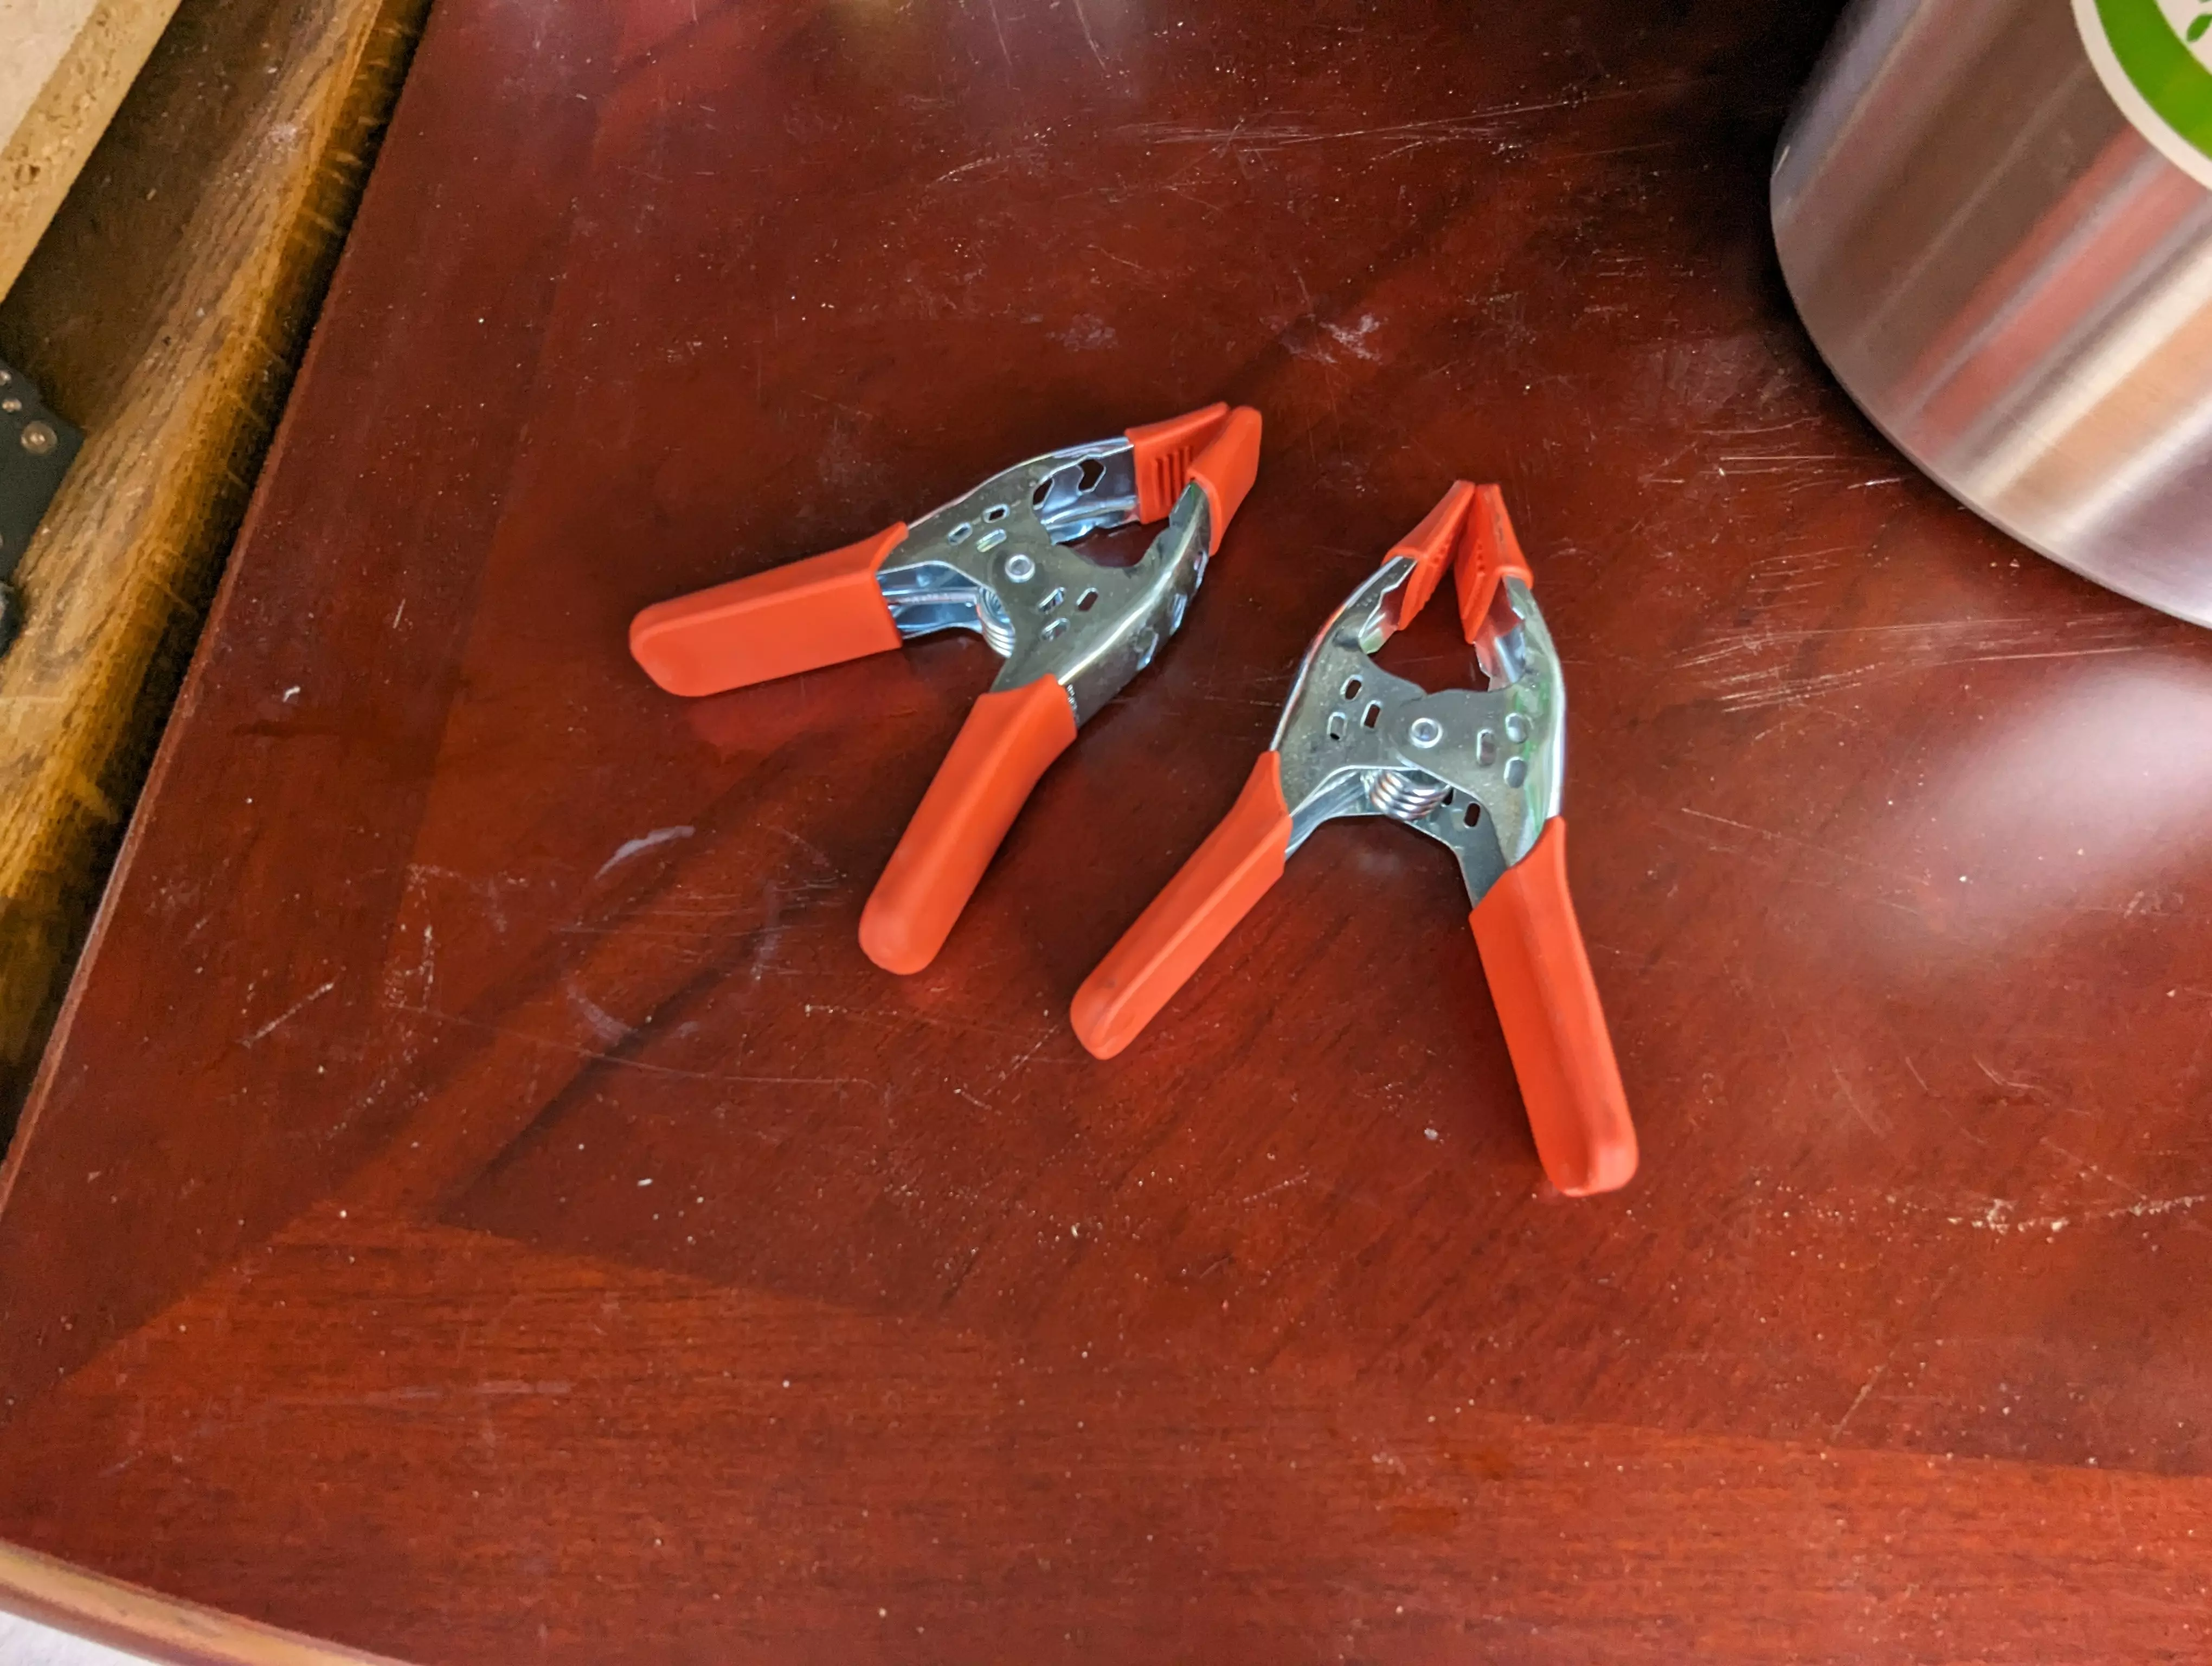
- Mold clamps.
- A precision 0.01g scales, also known as jewelry scales.
Don’t worry - none of these items will be costing you an arm and a leg. You can find all this gear on Amazon. Home Depot sells the clamps for around a dollar a piece, as of 09/2023.
The vacuum pumps are sold as single and dual stage. Dual stage pumps cost more because they get you a higher quality (lower pressure) vacuum compared to a single stage pump. I think a DIY hobbyist like me should be fine with the cheap single stage pump when it comes to resin overmolding projects.
 |
 |
Mix the resin
Start by getting your chemicals out:
- the two resin bottles from the resin kit - one bottle with resin Part A and one bottle with resin part B
- optionally, the pigment for the resin
- the quick-release mold spray
 |
 |
Spray the insides of your mould with the quick-release mold spray. The quick-release spray is an oily substance that helps taking the mold apart with little physical effort once the part has cured.
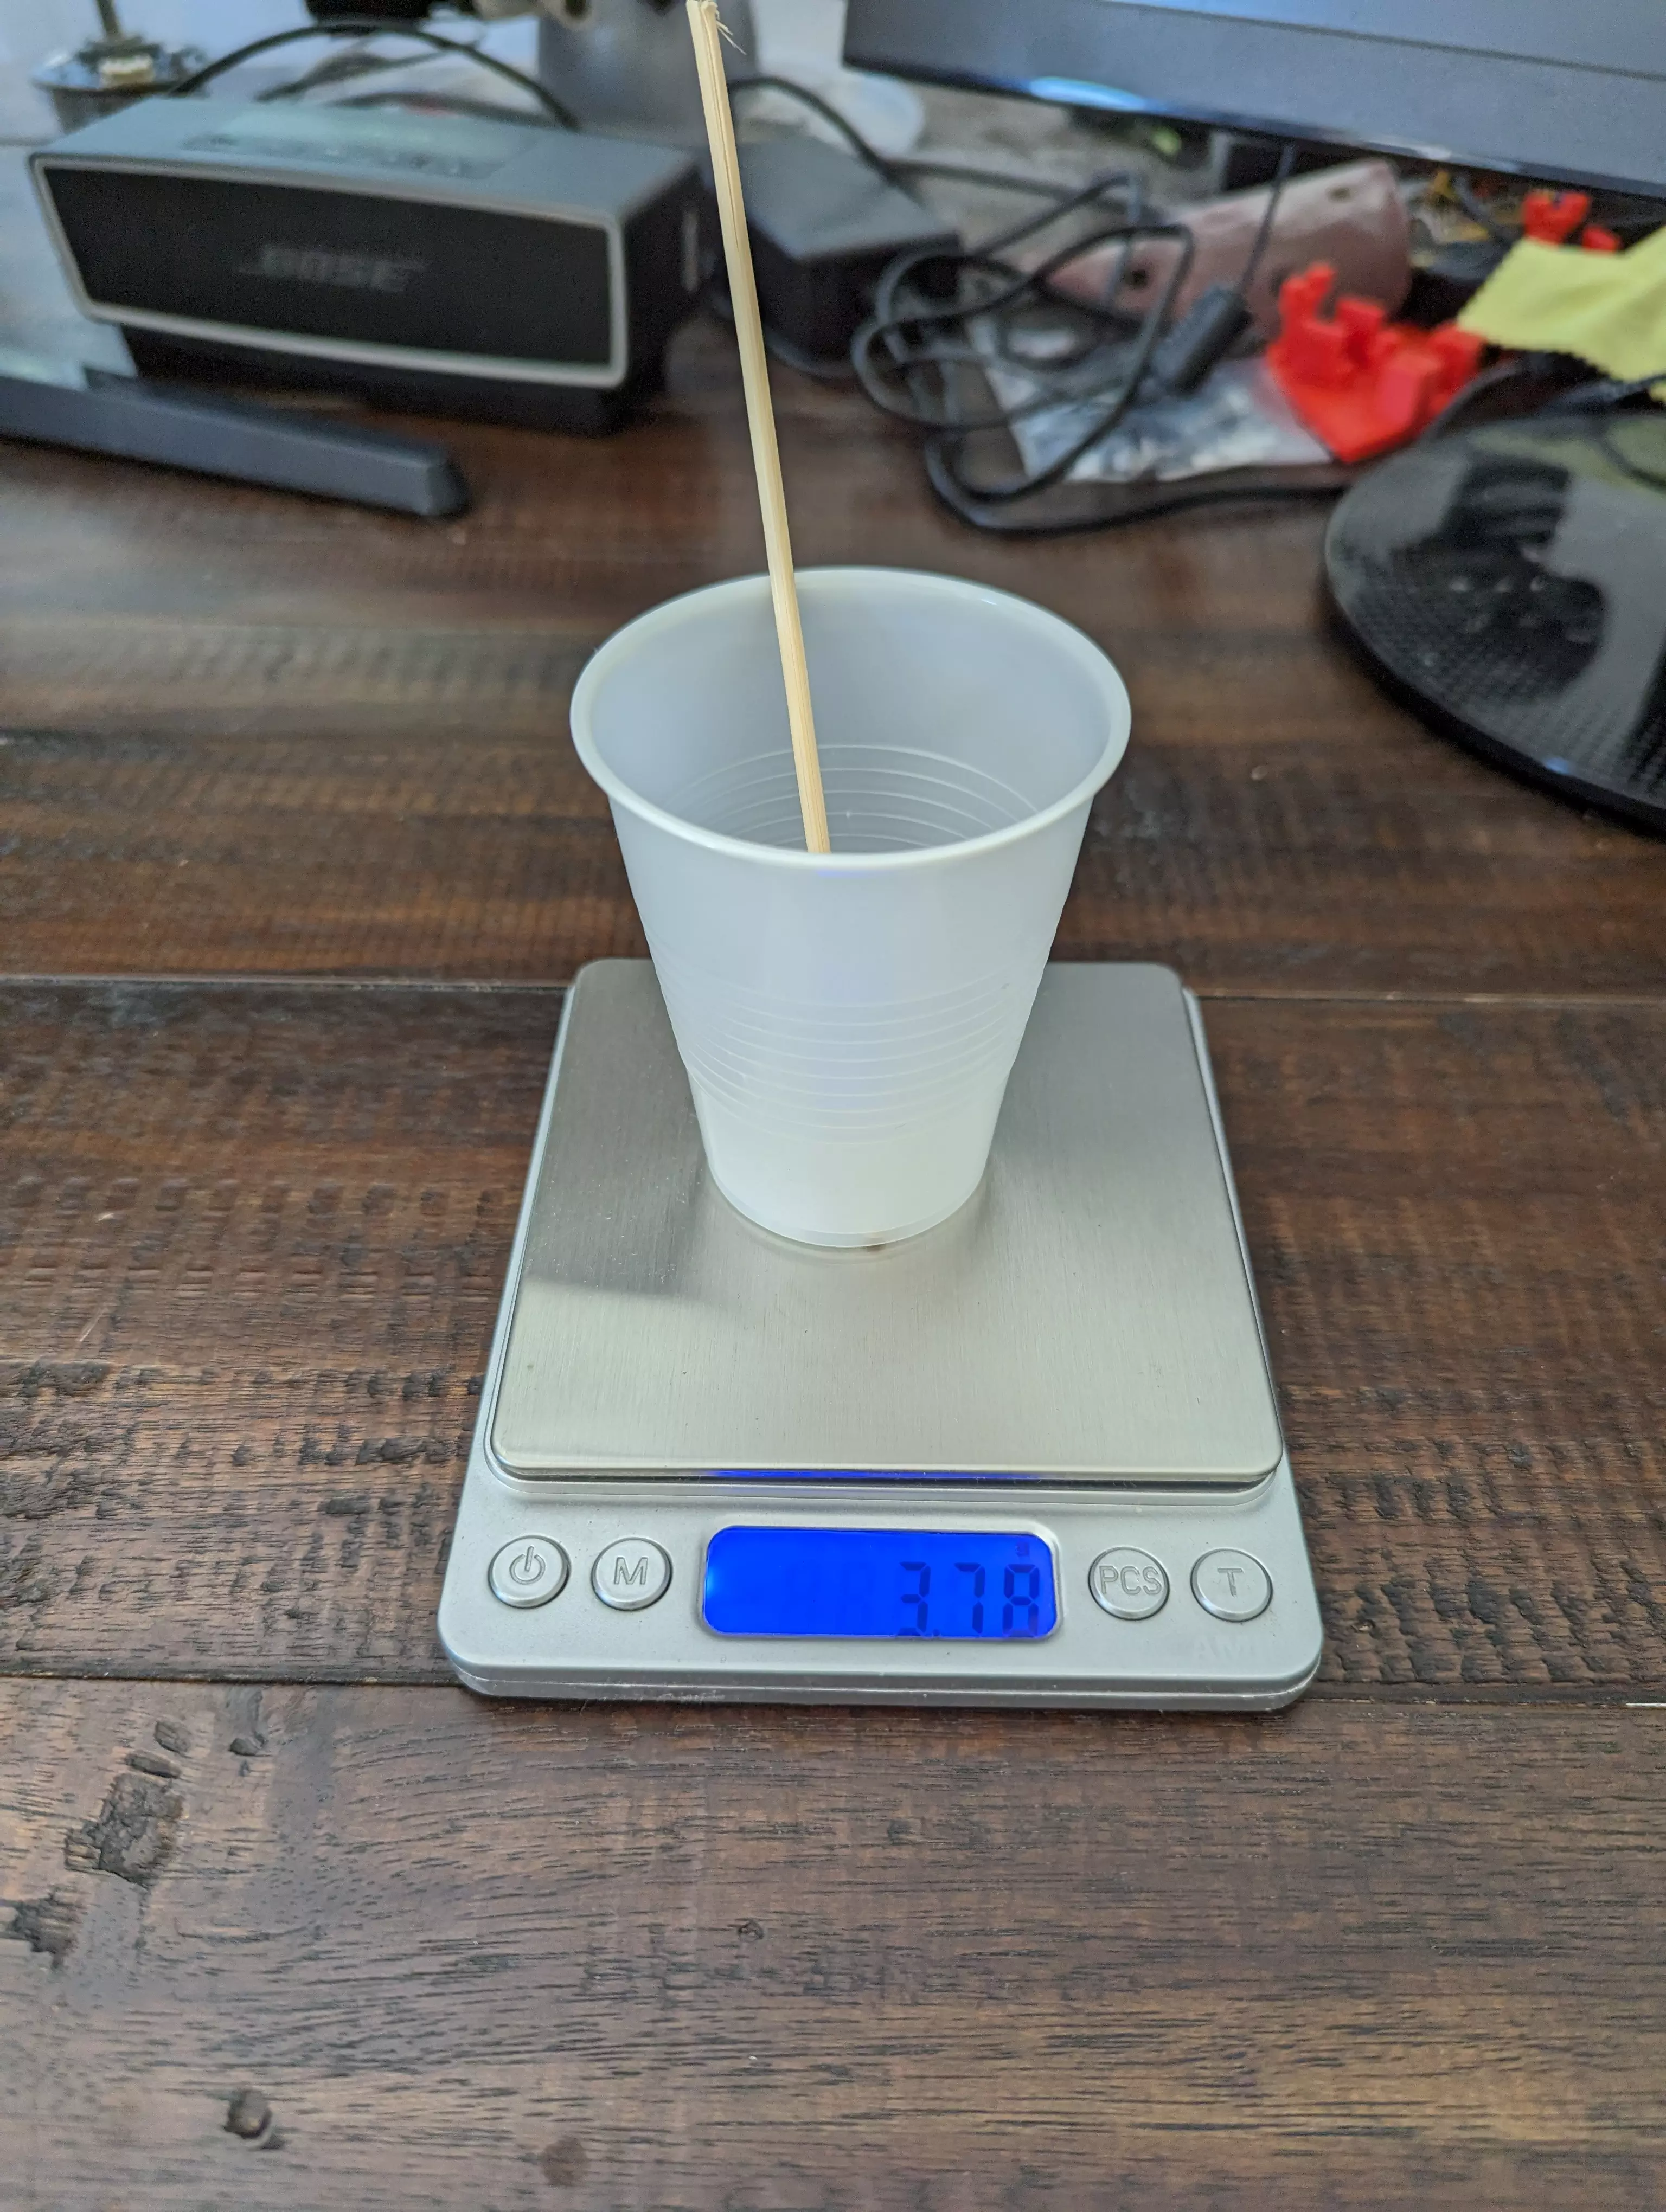
Next, take a disposable mixing cup - I used a disposable cup for water - and place it on the precision scales.
Press the zero button on the scales to zero out the scaler.
Stir resin parts before pouring them. For example, Smooth-On directs stirring resin part B.
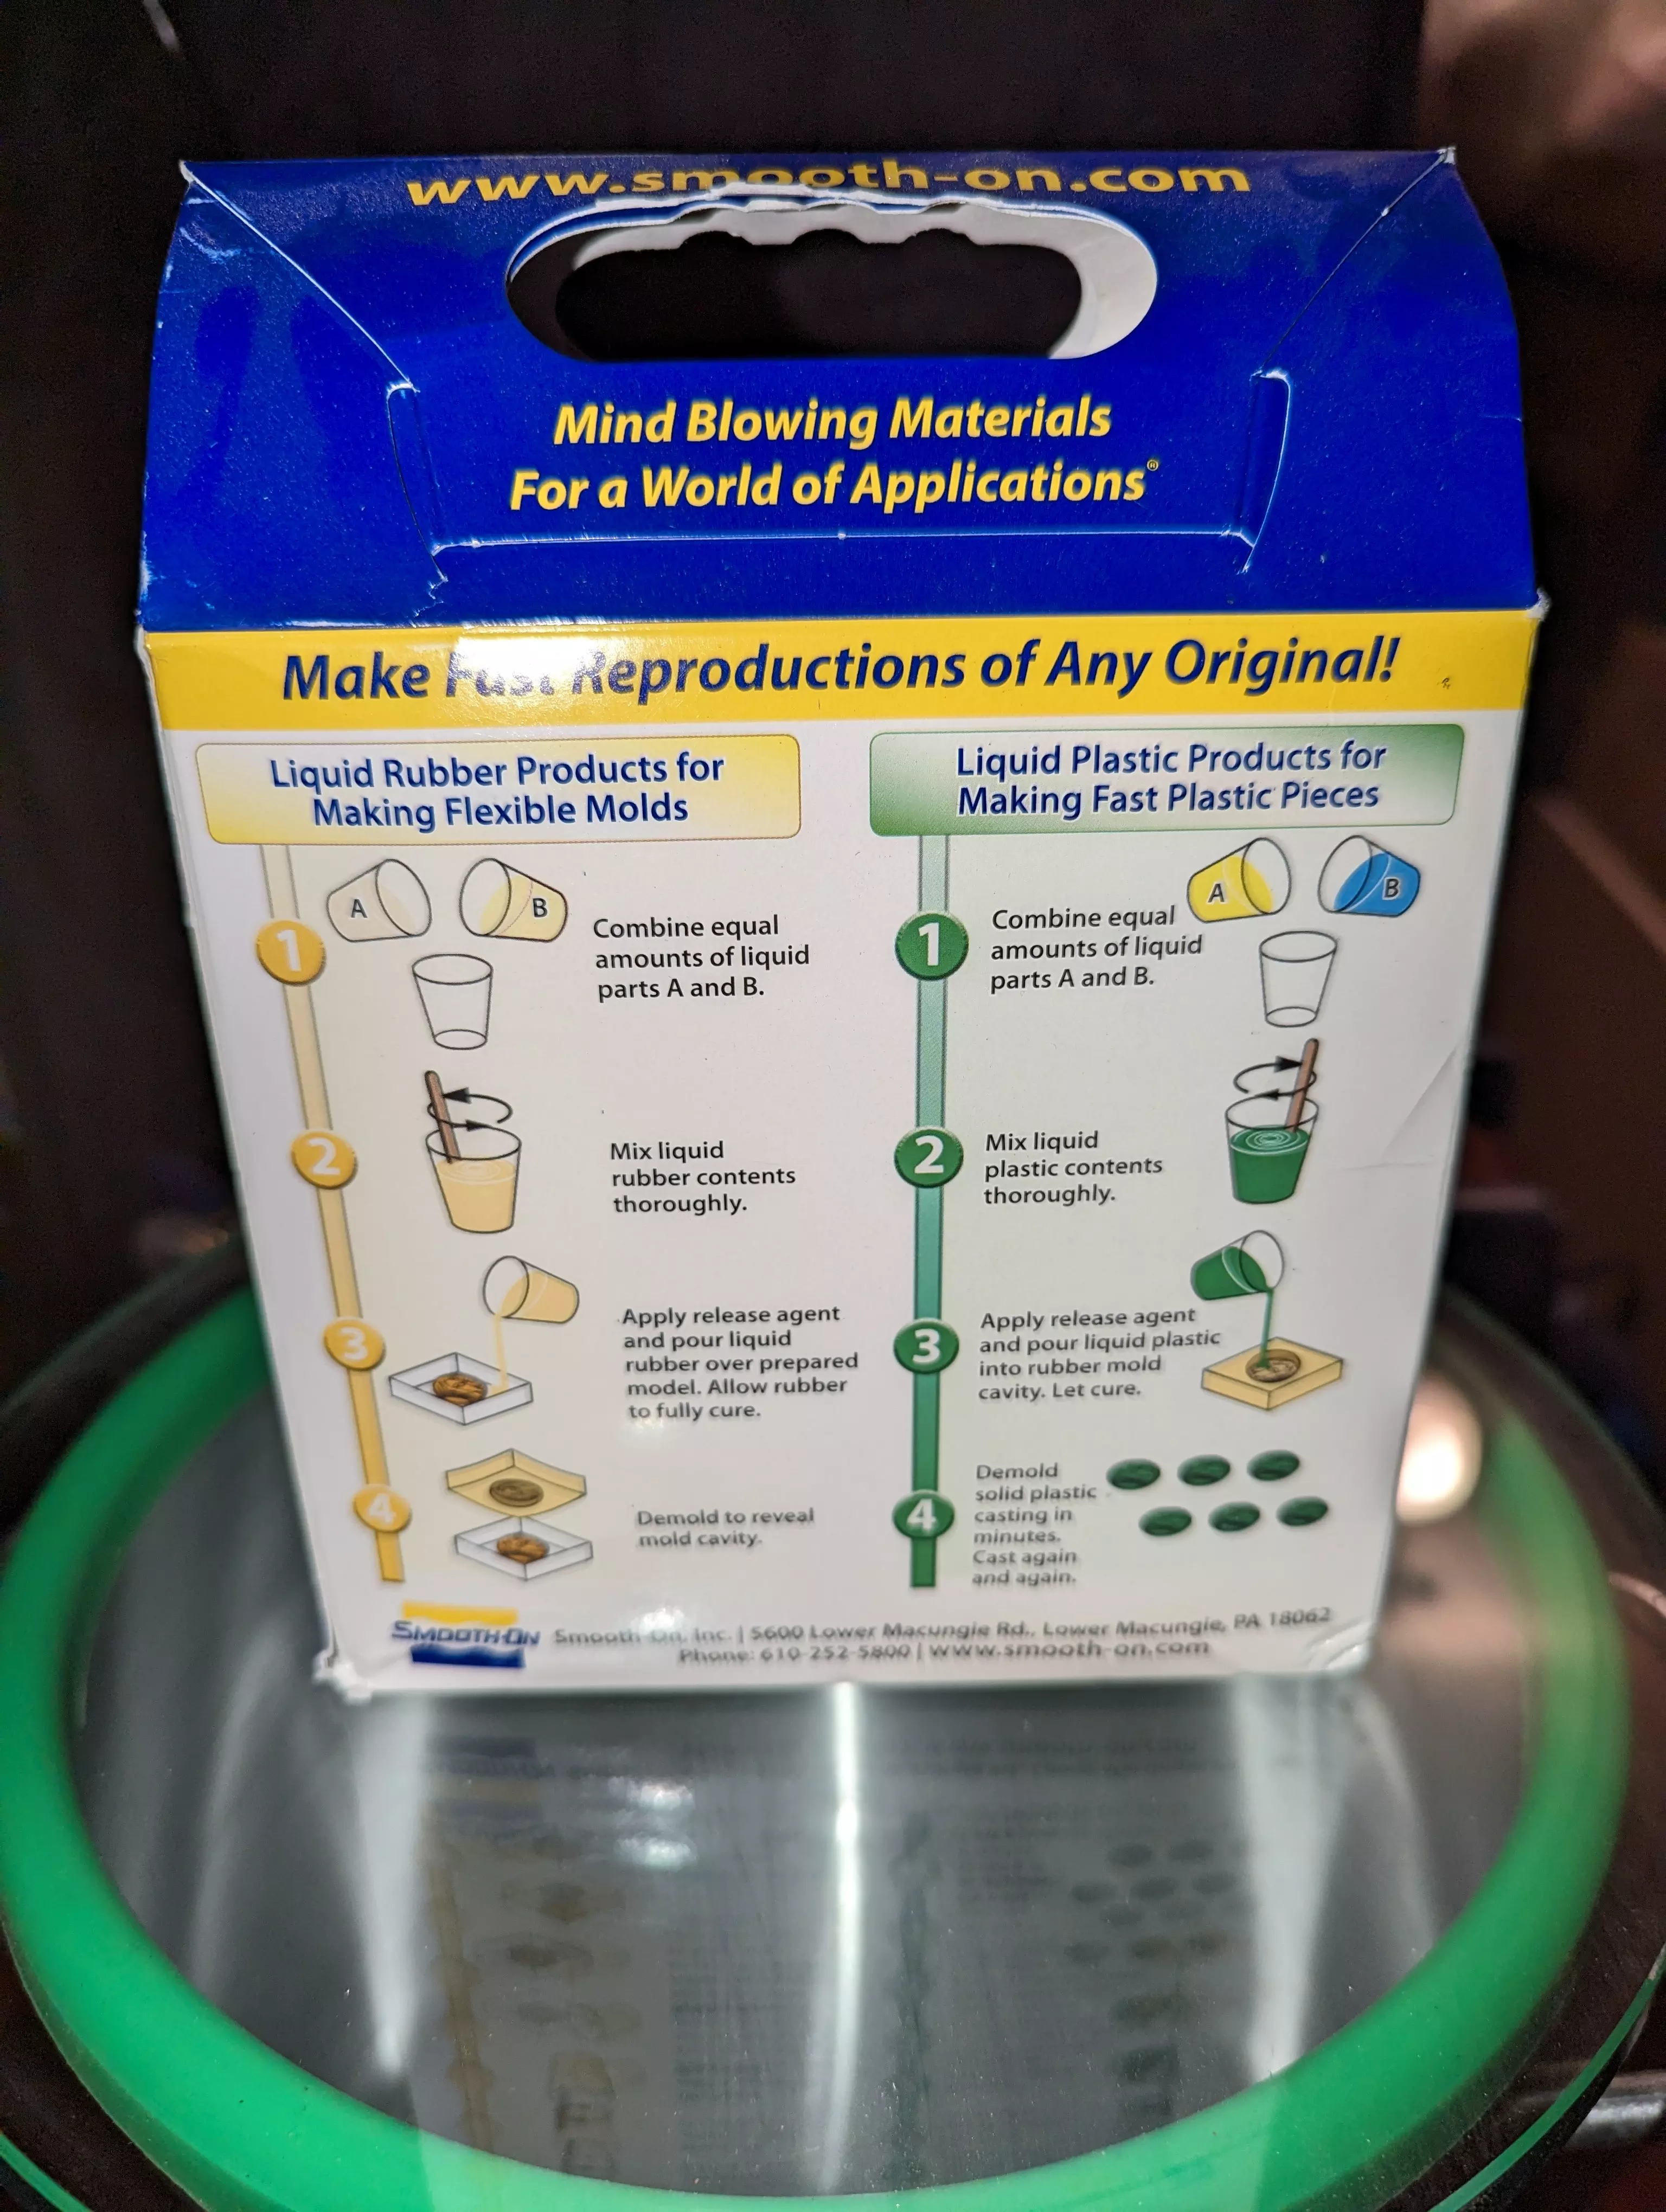
Now, pour the first resin component into the cup. Follow your resin kit’s instructions to determine the desired weight and watch the scales. If you overpour, increase the amount of the second resin component accordingly. Here are VytaFlex 60 instructions for your reference.
 |
 |
Pour the second resin component into the cup. Again, follow the resin kit’s instructions to determine the desired weight. Smooth-On directs mixing resin part A and part B in equal amounts by weight - but this can differ for your resin kit type.
Optionally, add in the color pigment. The pigment also helps making cured urethane rubber more resistant to UV.
Stir the mixture with the stirrer stick - 3 minutes for VytaFlex. I used a piece of bamboo stick as the stirrer because it is harder than a plastic coffee stirrer, yet has a smooth, dirt-free surface. That said, Smooth-On recommends flat sticks, not round like mine.
Make sure to scrape the sides and the bottom of the mixing cup diligently, over and over again.
De-gas the resin
Place your stirring cup - along with the stirring stick - into the vacuum chamber. Turn the vacuum pump on and give it a couple of minutes.
Once the vacuum chamber pressure gets low enough, your resin mix will start “boiling” like there is no tomorrow. If your mixing cup is too full, your “boiling” resin mix can spill over into the vacuum chamber. So be careful not to overfill the mixing cup.
This de-gassing step is necessary in order to get the little bubbles of air out of the resin mix before the resin cures. Technically, you can skip the de-gassing step at the expense of the cured resin’s quality, but doing so is not recommended.
Pour the mixture
Once the “boiling” subsides, turn the vacuum pump off, open the vacuum chamber and take the mixing cup out.
Pour the resin mix into the lower part of the mold - as well as the upper part of the mold. Take your time pouring the mix to make sure it does not form air bubbles.
Don’t fill up the entire mold with the resin mix. Pour just enough to make the coating.
Carefully insert the roller core into the lower mold. Press on the roller core to make it rest firmly inside the mold.
Place the upper half of the mold on top of the roller. Press on the mold top to close up the mold.
Wrap the mold with a napkin and put it in a clamp.
Make sure to finish pouring all our parts before the “pot life” runs out. You can find the pot life listed in the resin kit’s instructions. For VytaFlex 60 the pot life is 60 minutes at the room temperature. See the tips sectio below on how the pot life varies with the temperature.
Let the resin cure and open the mold
Let the parts cure. Refer to your resin kit’s instructions on how long the curing takes. Curing VytaFlex 60 at the room temperature takes a minimum of 16 hours.
Once cured, carefuly pry out your molds and take the rollers out. If you have a difficulty demolding, check that you have applied the mold release properly.
Now, optionally, place the rollers into an oven and keep them heated for a few hours. This step is called post curing. Post curing improves the cured resin’s physical properties and performance. For example, VytaFlex 60 should be post cured for 4 hours at 150F (65 degrees C).
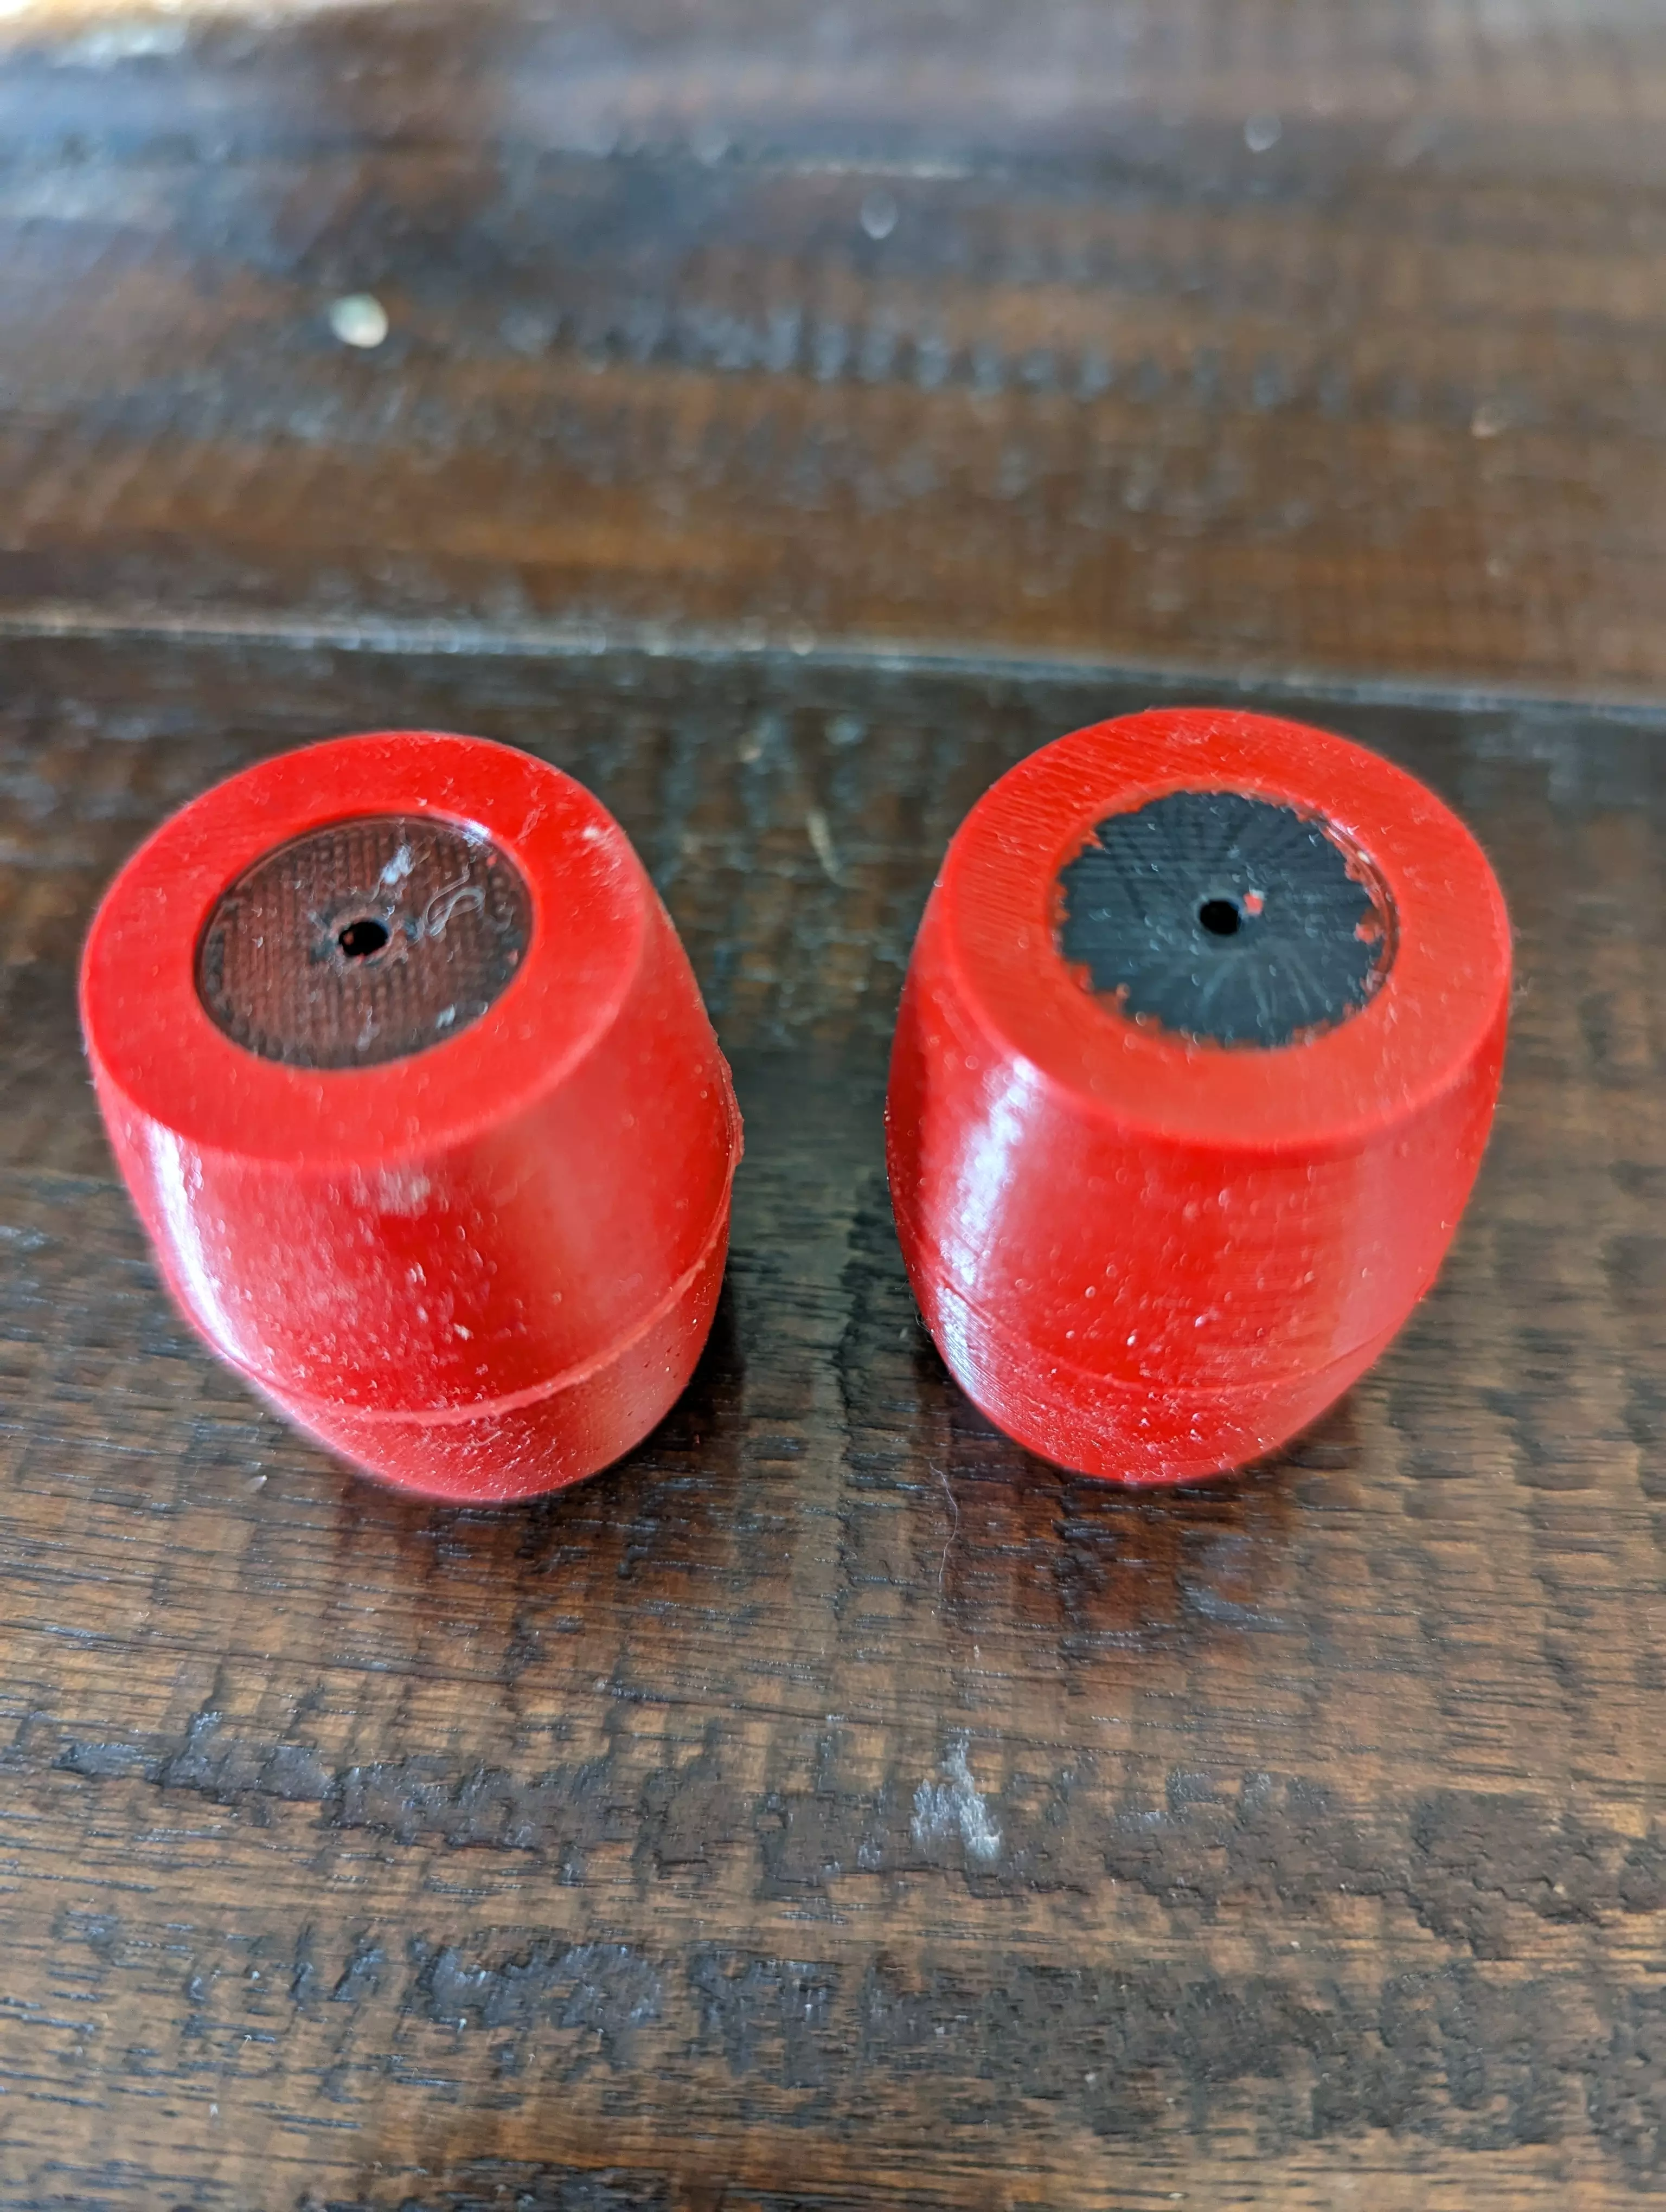
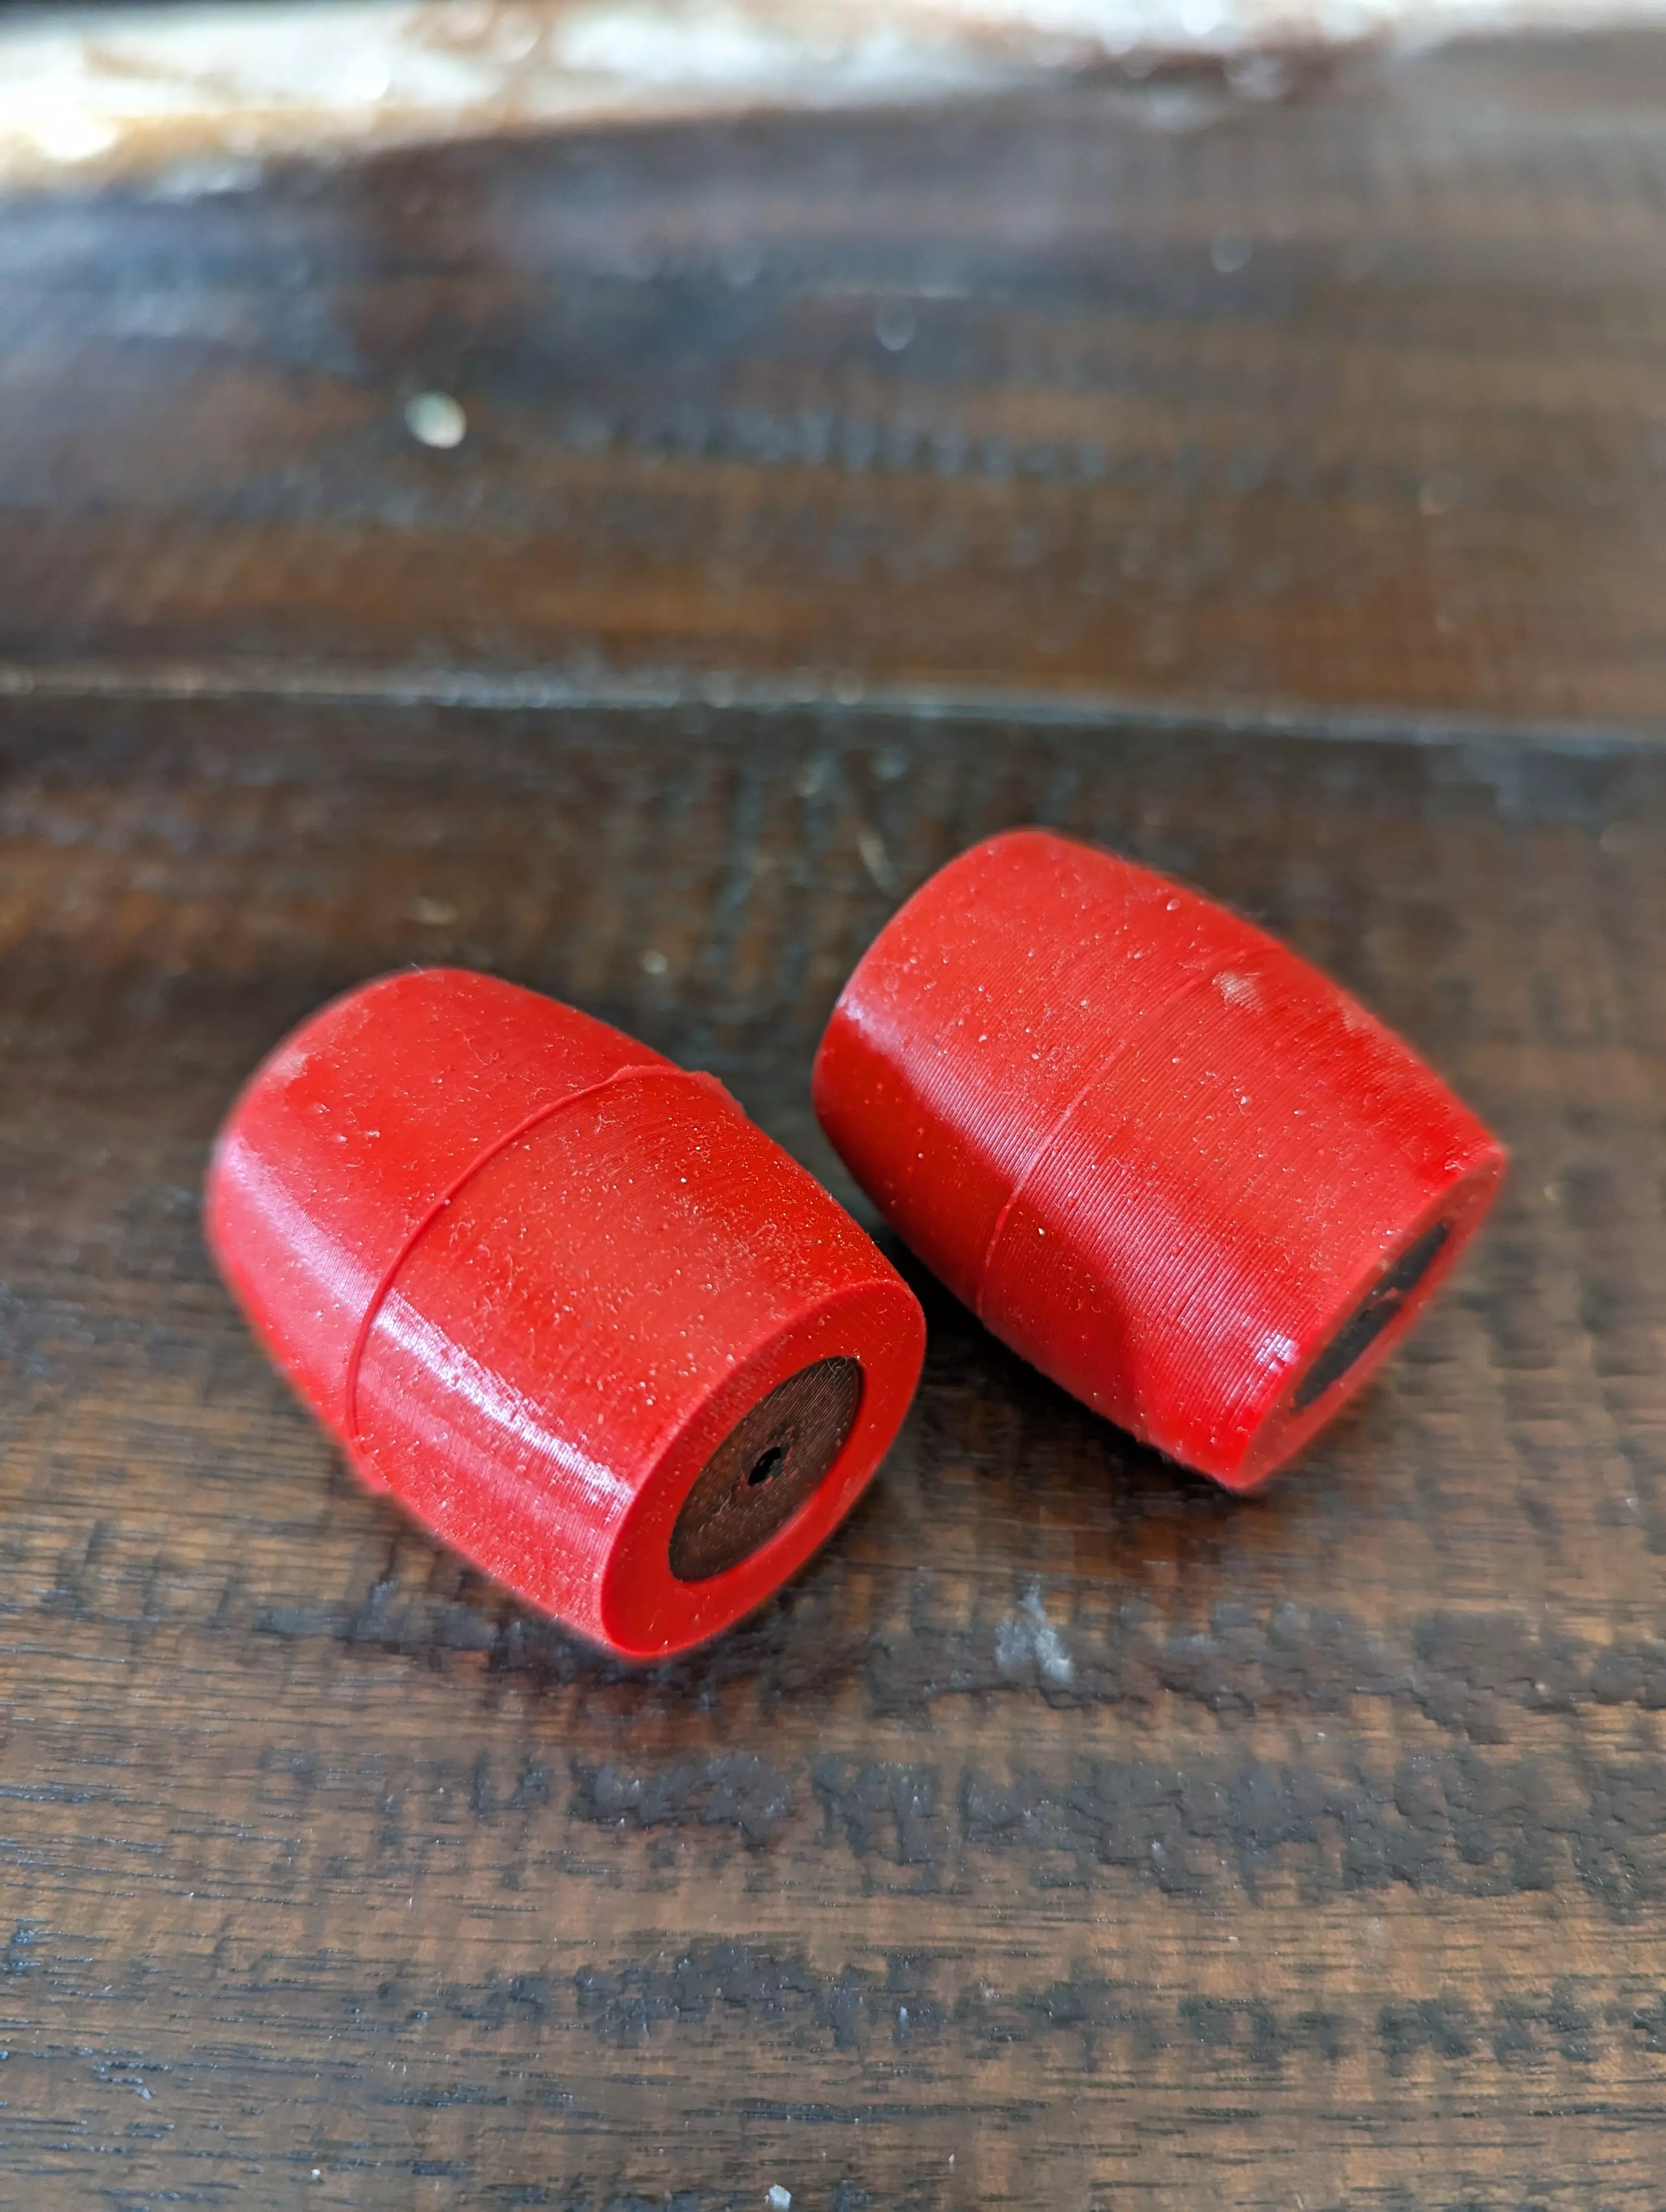
Once finished, you should have finished overmolded parts like these. The rubber coat should be sticking to the 3D printed core well, without any flaking, even if you try prying off the rubber coat with your nail.
At this point you can also trim the excess of the rubber at the separation line, i.e. around the roller’s waist.
 |
 |
Molding defects and quality control
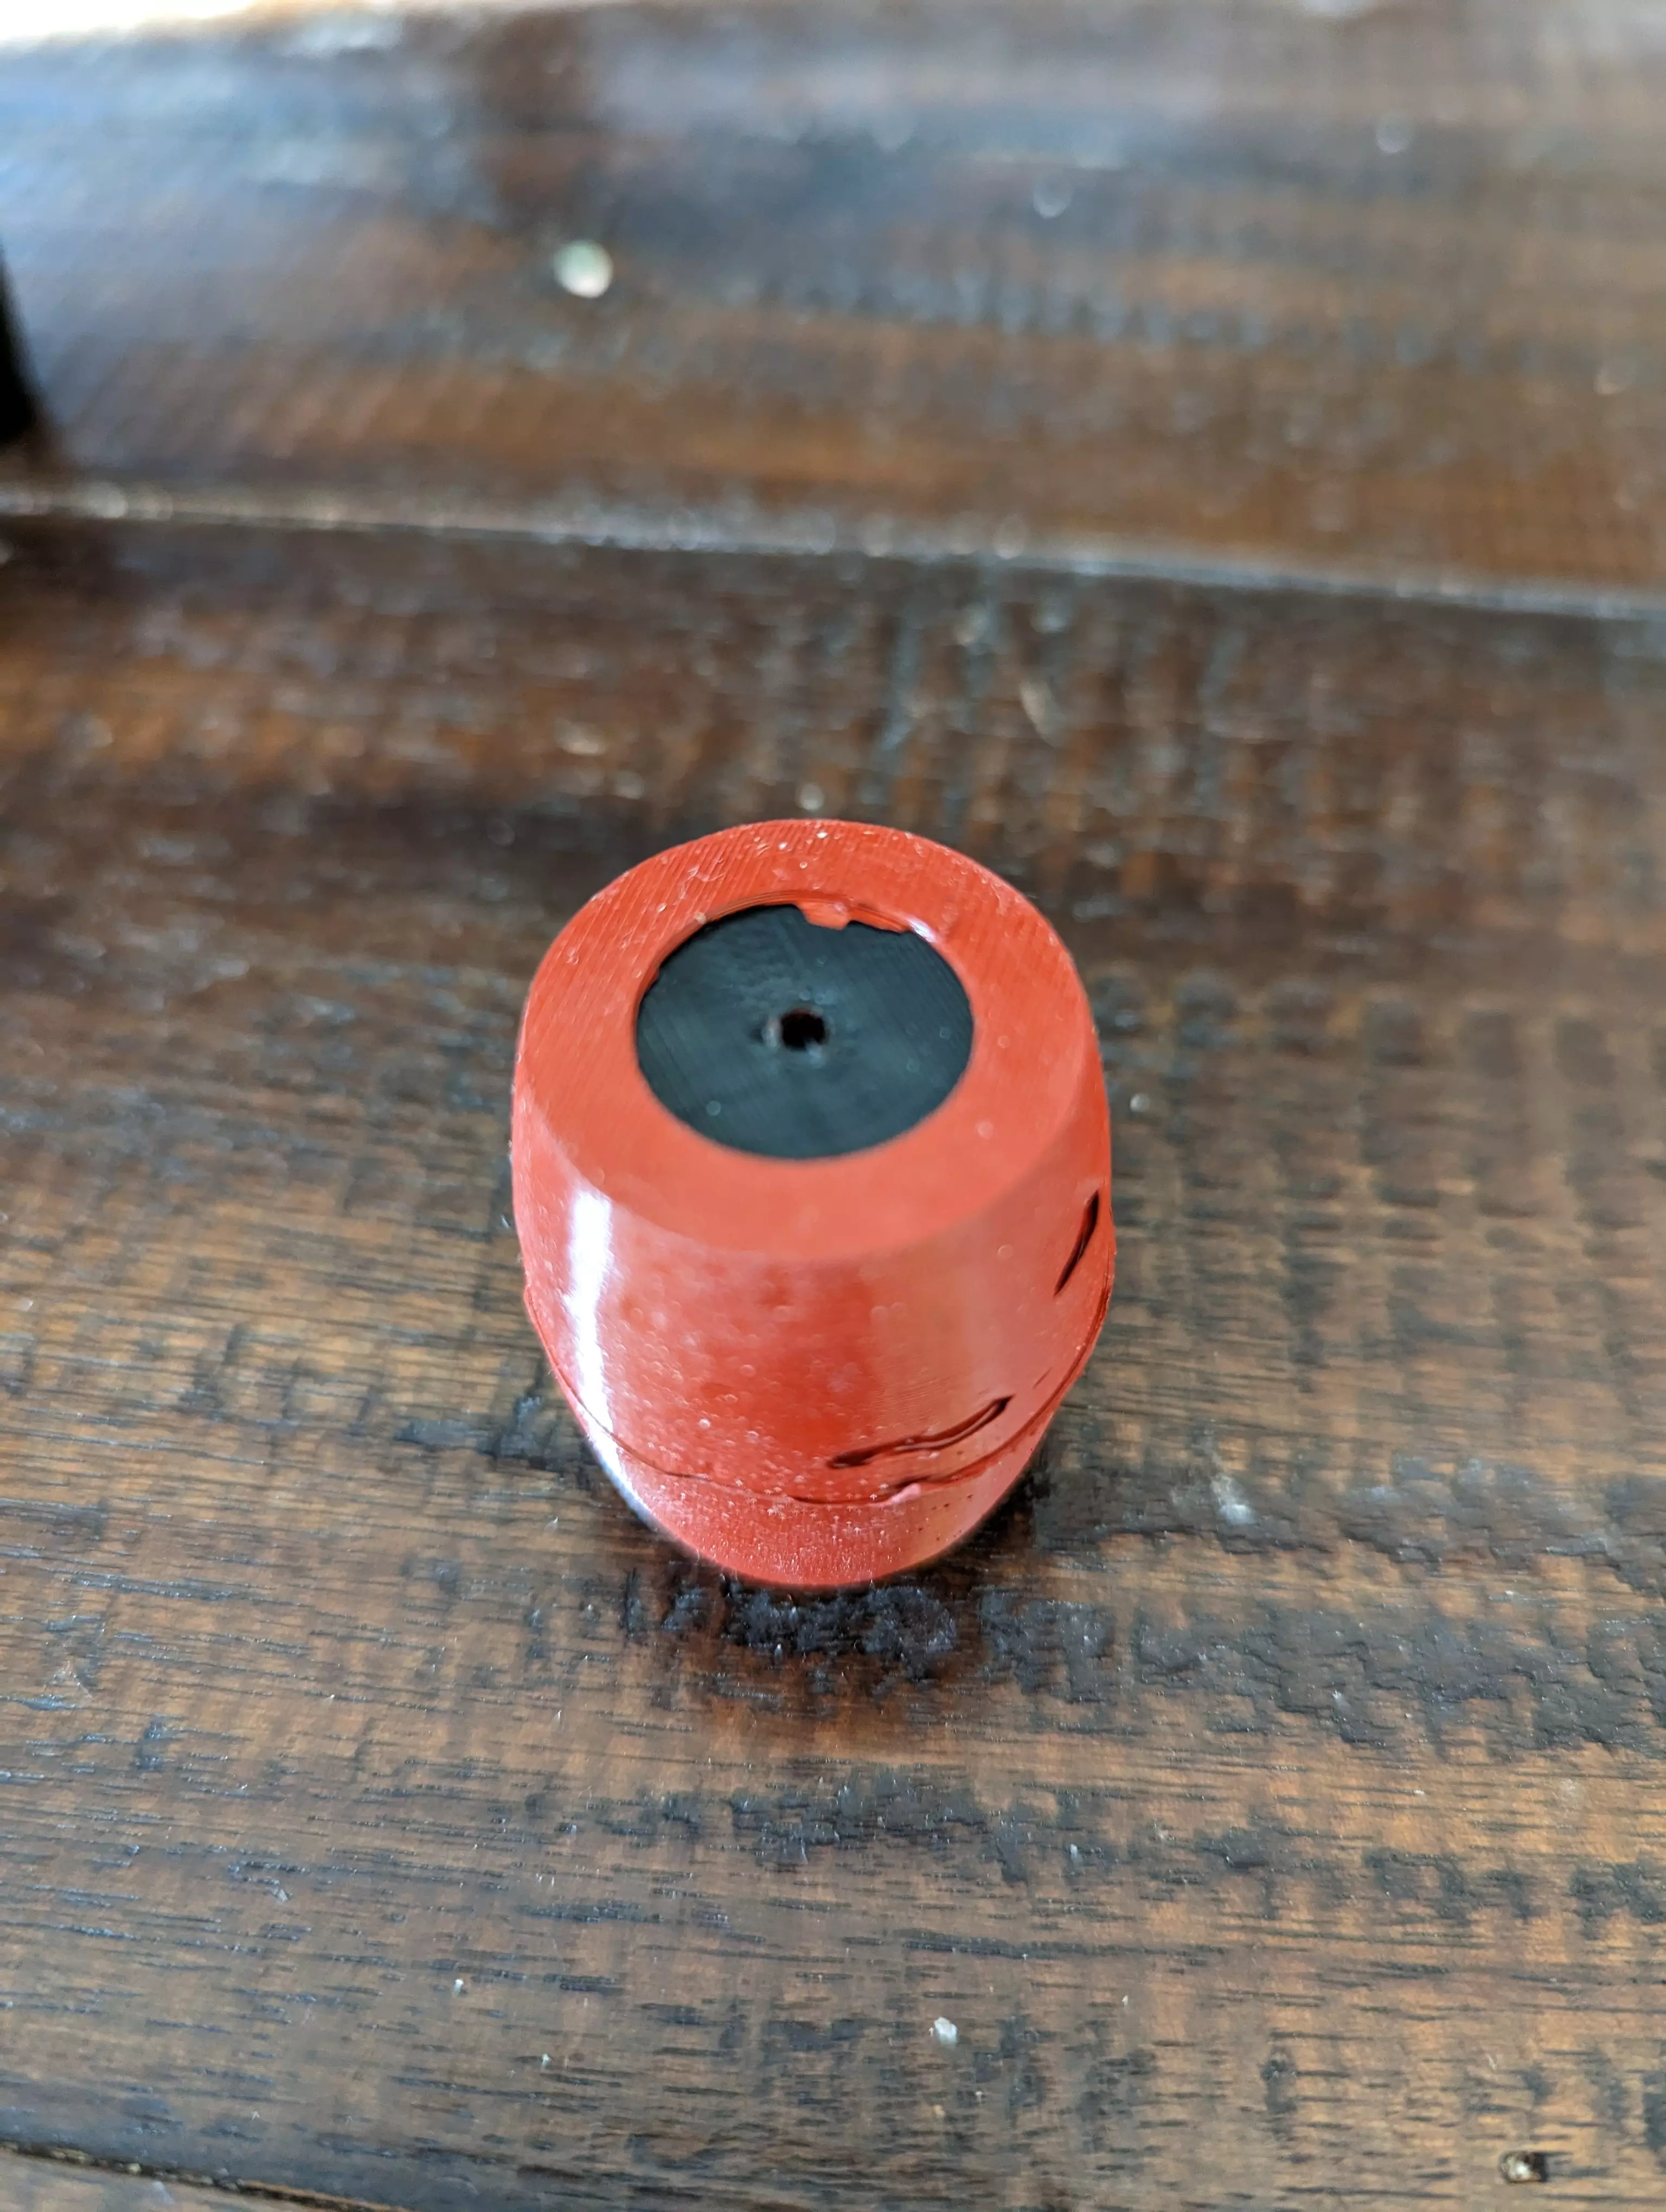
As I have mentioned, it is important to avoid bubbles and dust when prepping and pouring the rubber. Here is an example of a defect in the coating - some voids in the coating remained after I poured the resin mix into the mould.
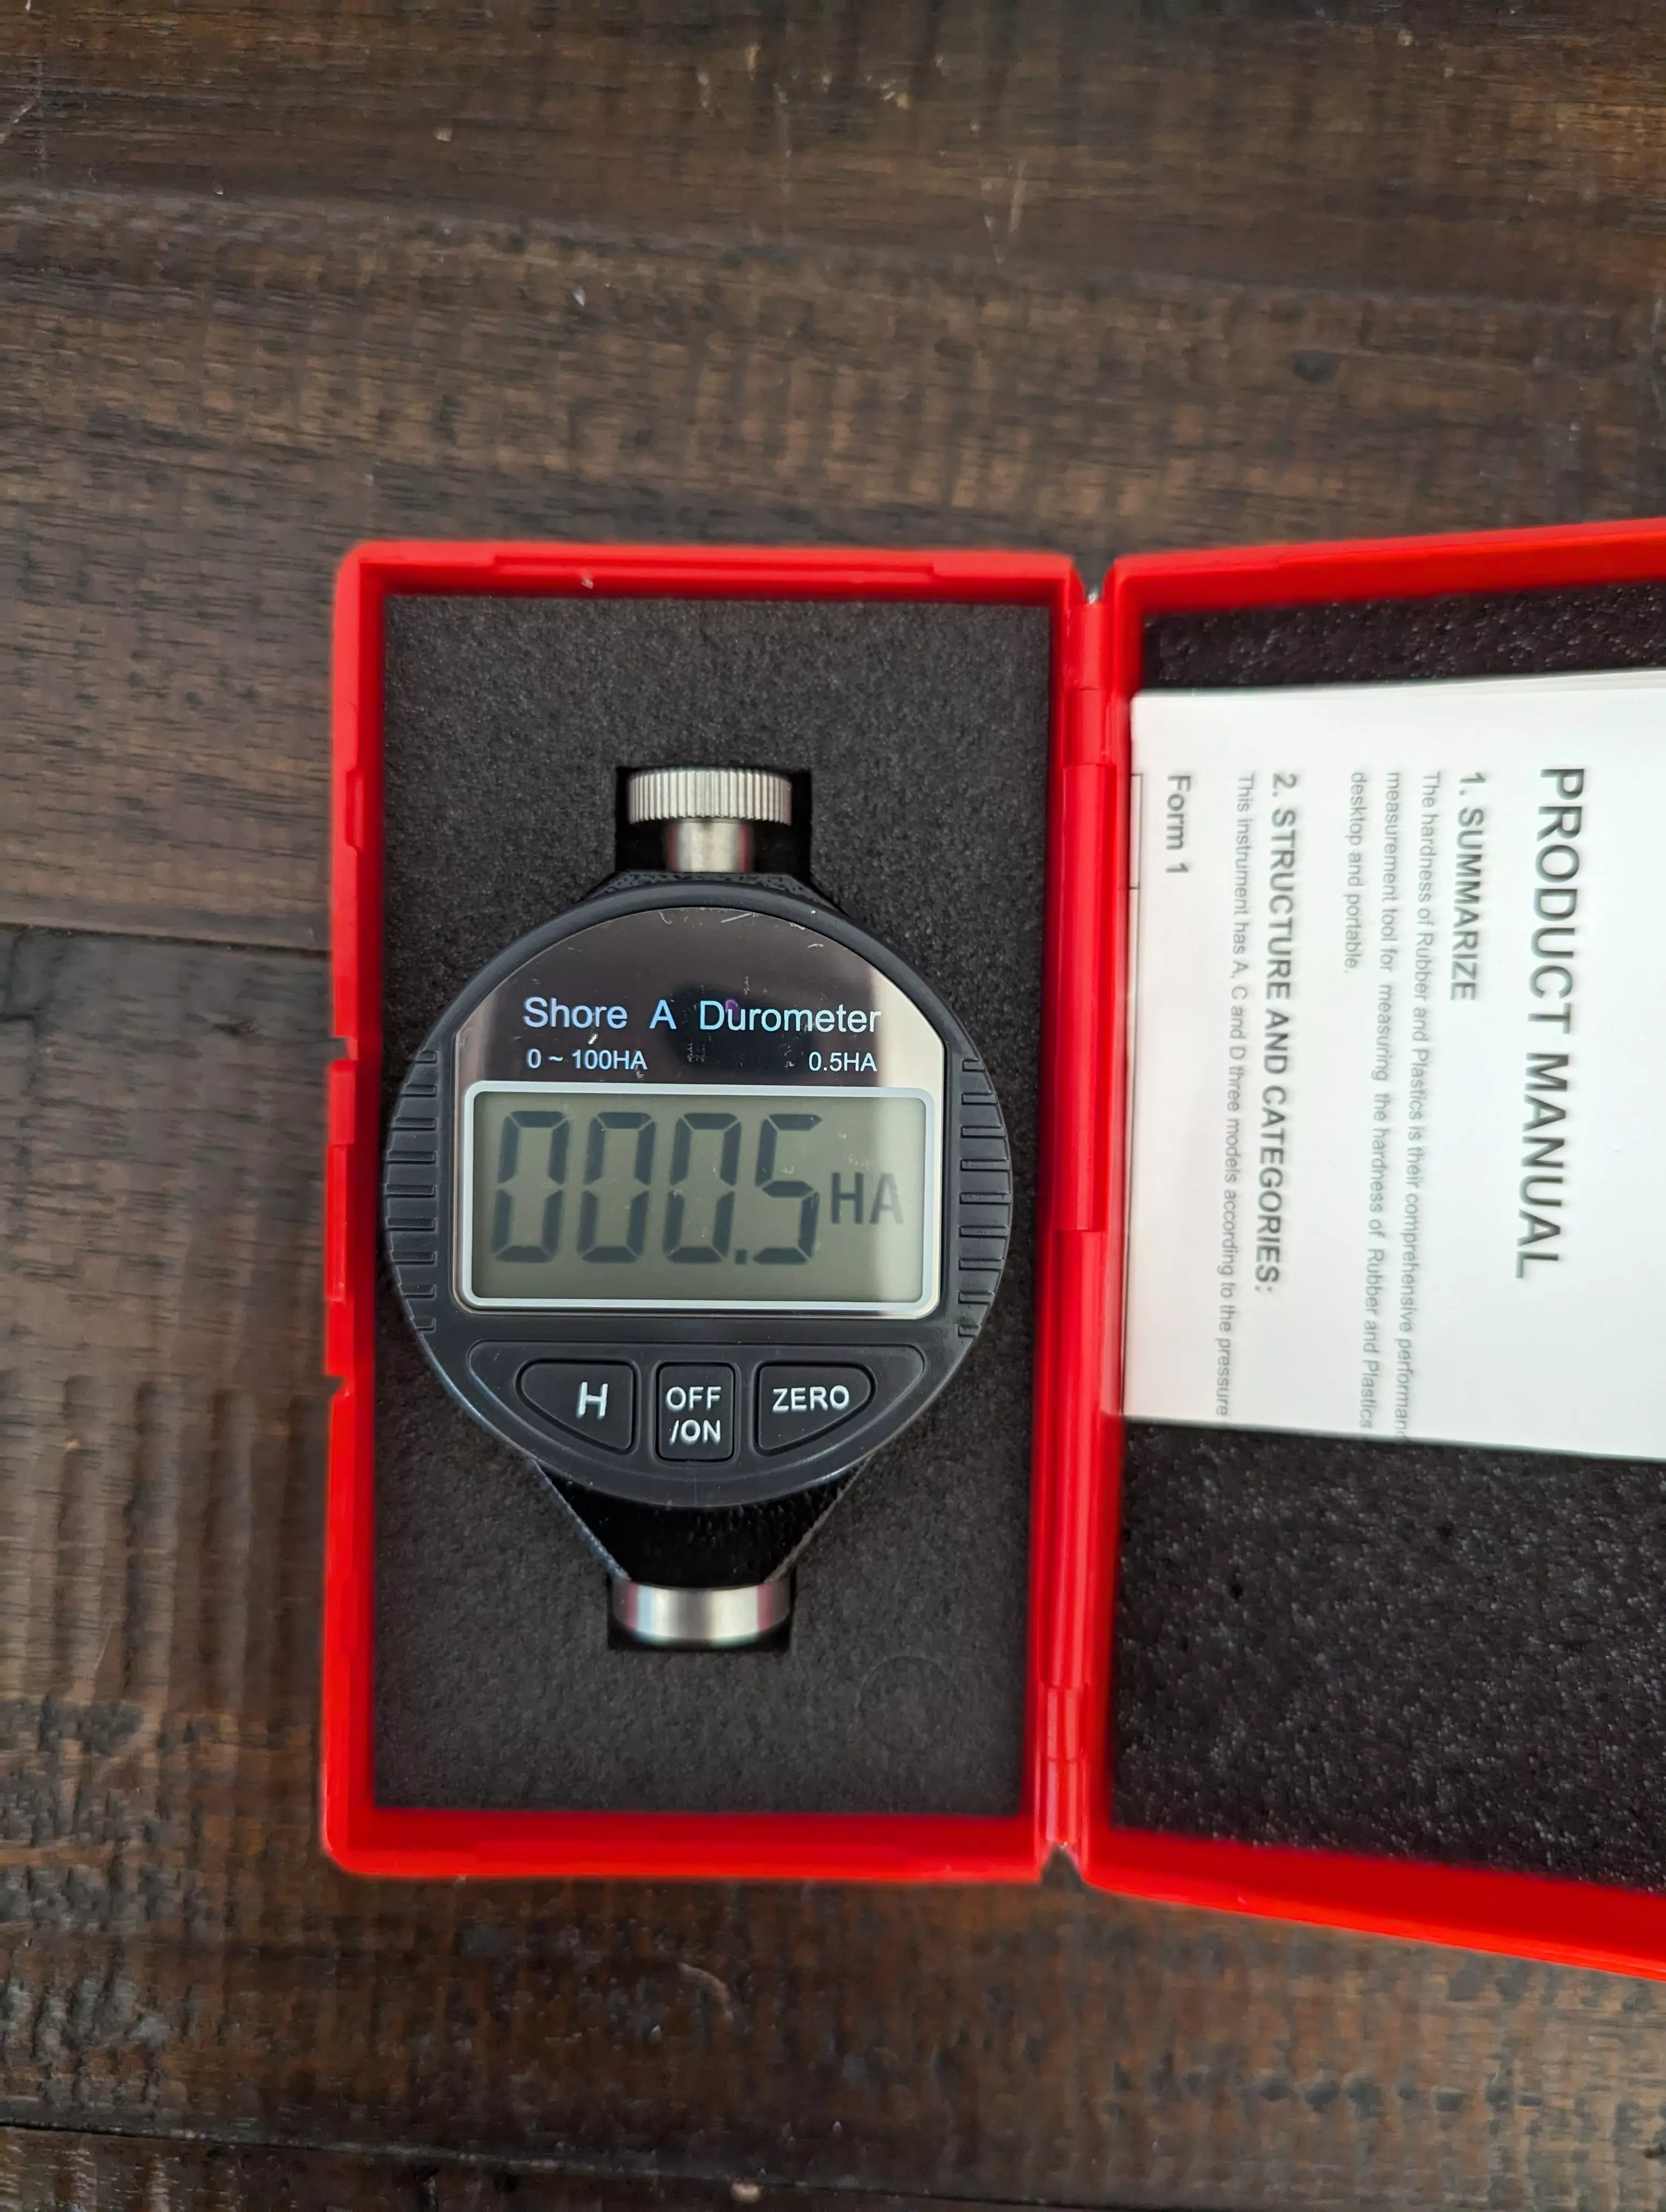
Talking about quality control, I also got a durometer off Amazon to measure Shore hardness of the coated parts. That said, I think having a professional durometer may be optional for a DIY hobbyist - you can feel the softness with your own fingers, after all.
 |
 |
Tips
- Mind the temperature! The resins are sensitive to the temperature. A warmer room and/or warmer resins reduces the resin’s viscosity - so your resin can get into tighter nooks and crannies - but causes the resin to set faster, i.e. shortens the pot life.
- Keep in mind that urethane rubbers (and plastics) are not UV resistant. The cured materials will darken over time when exposed to ultra violet light, proportional to its exposure.
- Mind the humidity as well! Urethane rubbers are sensitive to humidity. Please read your resin kit’s instruction.
- You can make the rubber coating stick to the 3D-printed part even more by making your 3D part rough on the outside.
Please find all files in this Maker’s Pet GitHub repository available for download.
Happy 3D printing!