Free worldwide shiping on $150+
Tutorial: pet robot gets a sense of touch!
Loki (200mm), Fido (250mm), and Snoopy (300mm) are getting a sense of touch – for petting!
All it takes is a few lines of #Arduino #ESP32 code and a piece of sticky copper tape – or simply wire.
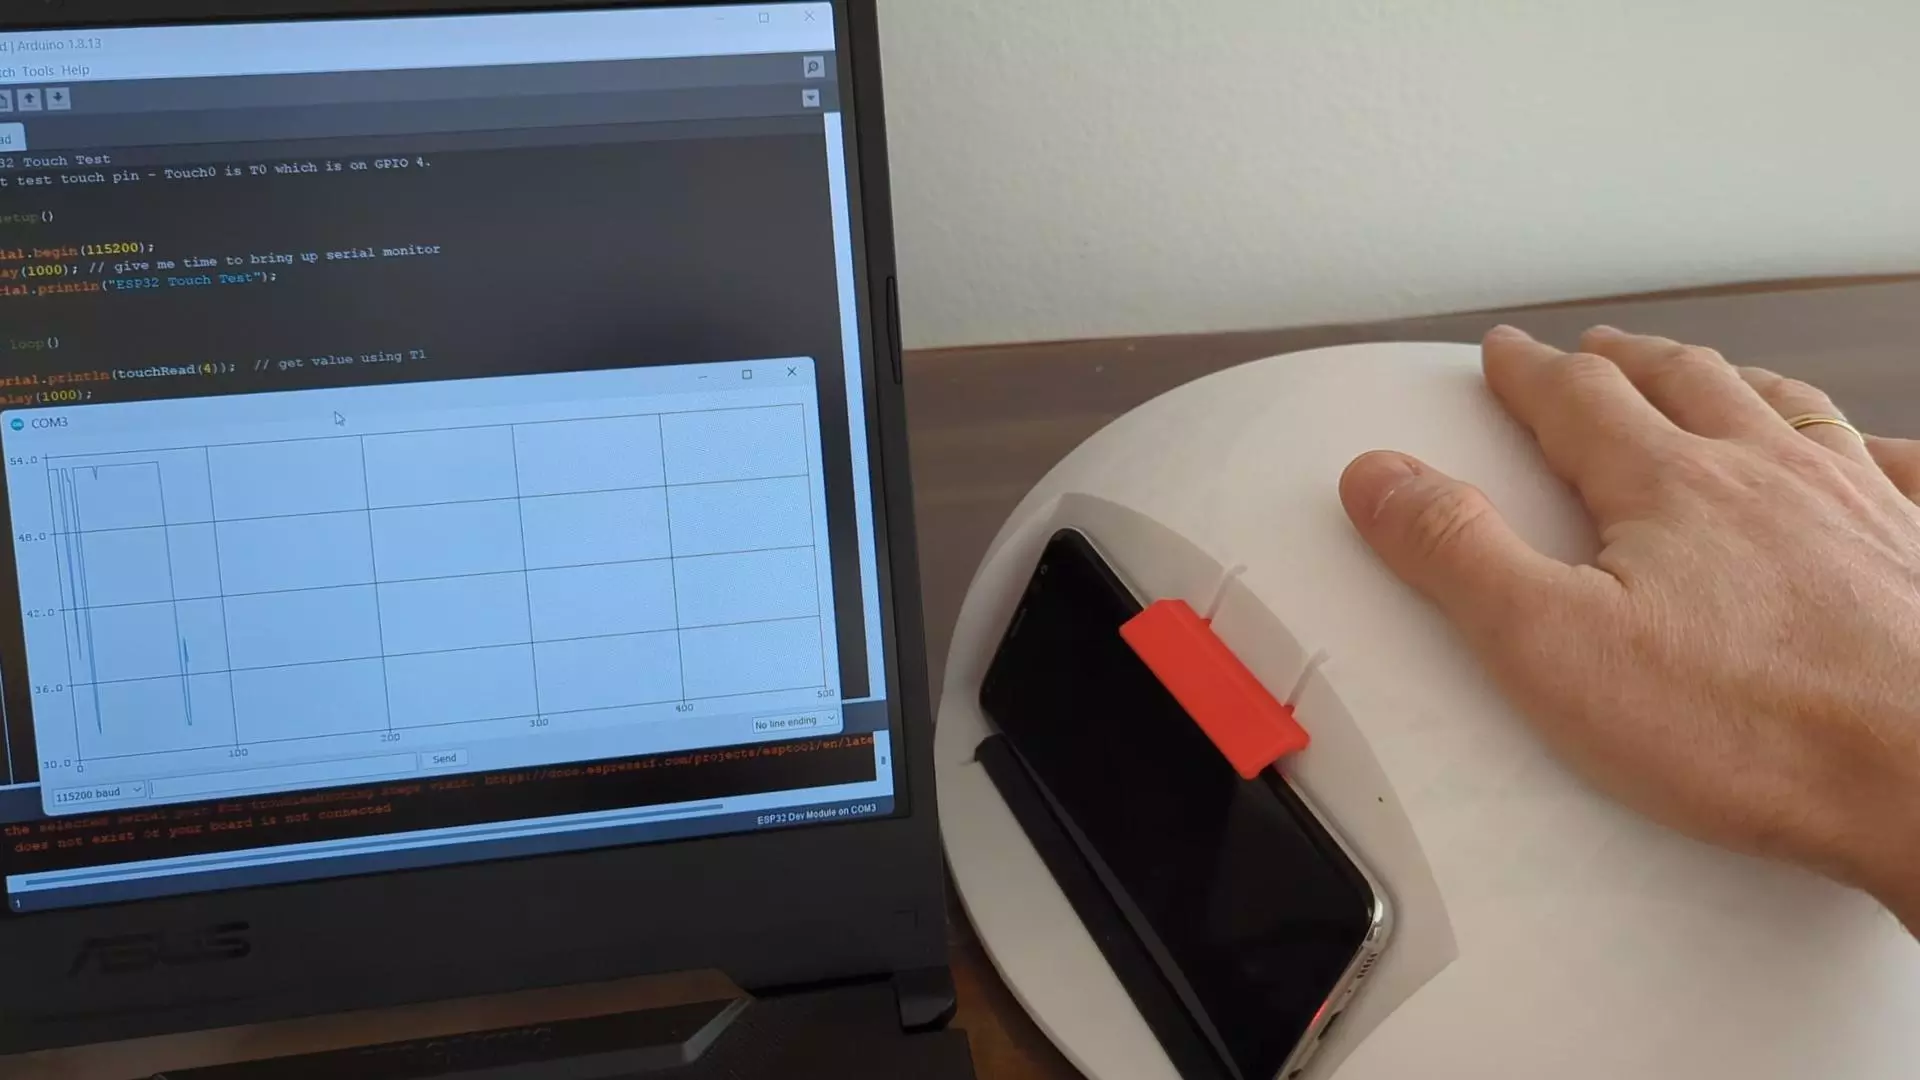
Here is Snoopy’s head reacting to touch as I place my hand on top of Snoopy’s head.
Here are step-by-step instructions on how to reproduce this functionality.
Wiring
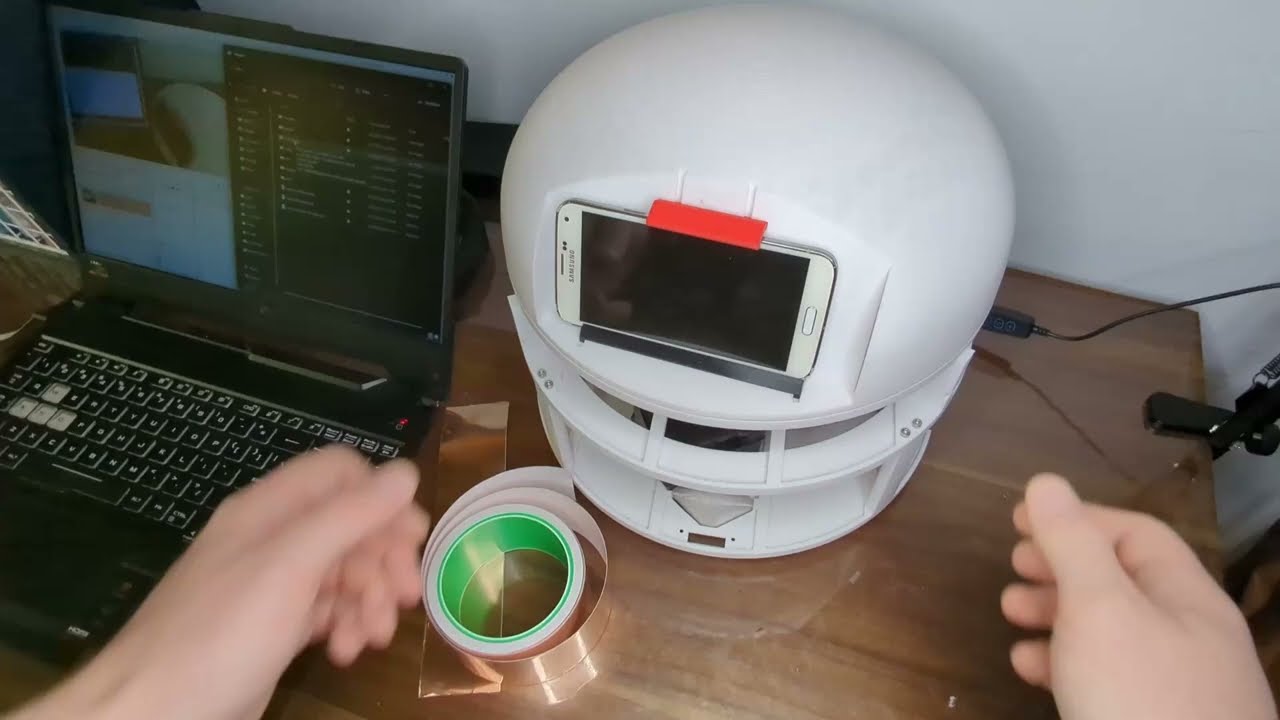
Take a piece of sticky copper tape (I got a roll off Amazon) and stick it on the underside of Snoopy’s head, as shown.
Snoopy will be sensing your touch through the 3D printed plastic.


Solder a jumper wire to the copper tape you have placed inside Snoopy’s head.
Connect the jumper wire to ESP32 GPIO pin 4.
Now, all ESP32 has to do is to measure the value of the newly-created capacitor. As far as I understand, ESP32 does so by briefly
- driving its touch-sensitive GPIO high to charge the hand-to-tape capacitor
- disconnecting the driver from the touch GPIO
- connecting its ADC to the touch GPIO
- connecting a weak resistor (inside ESP32) between the touch GPIO and the ground – to start discharging the capacitor
- observing over time – by measuring the voltage on the touch GPIO using the ADC again and again – how fast the voltage on the capacitor is dropping as the capacitor is discharging through the weak resistor
The time it takes for the capacitor to discharge – to a certain level – corresponds to the value of the
hand-to-tape capacitor. This value changes as we place or remove our hand and this is how the firmware code can sense the touch.
How the sense of touch works
Placing your hand on Snoopy’s head creates a capacitor between your hand and the copper tape you placed behind
the 3D printed plastic. Your hand and the rest of body creates a parasitic AC connection to ESP32 ground,
thus completing the circuit.
The less the distance between your hand and the copper tape – the larger the capacitance.
Also, the larger the areas of your hand and the copper tape overlapping – the larger the capacitance.
Arduino ESP32 code
ESP32 provides sample code to try out touch sense functionality.
- Open your Arduino IDE
- make sure ESP32 is selected as the current board in Tools -> Board
- Open the sample touch sensing code by clicking File -> Examples -> ESP32 -> Touch -> TouchRead
The code below is a copy of the TouchRead sketch with one change – I have changed the number of the touch-sensitive GPIO pin from 1 to 4 for the code to work. Keep in mind that some ESP32 GPIOs are touch-enabled, but not all.
// ESP32 Touch Test

void setup()
{
  Serial.begin(115200);
  delay(1000); // give me time to bring up serial monitor
  Serial.println("ESP32 Touch Test");
}

void loop()
{
  Serial.println(touchRead(4));  // Get value of GPIO 4
  delay(1000);
}

The touchRead(4) function call returns an integer value indicative of the GPIO pin being touched or not.
A high value corresponds to no-touch, while a low value corresponds to the pin being touched.
The absolute no-touch and touch values depend on the capacitance connected – and formed by touching – on that GPIO. Run this code, open Tools -> Serial Monitor and observe the printed numbers to determine the touch and no-touch values.
Alternatively, open Tools -> Serial Plotter to plot the readout numbers in a as a graphic plot.
That’s it for now, happy Arduino-ing!


