Voron 2.4 top-hat mod
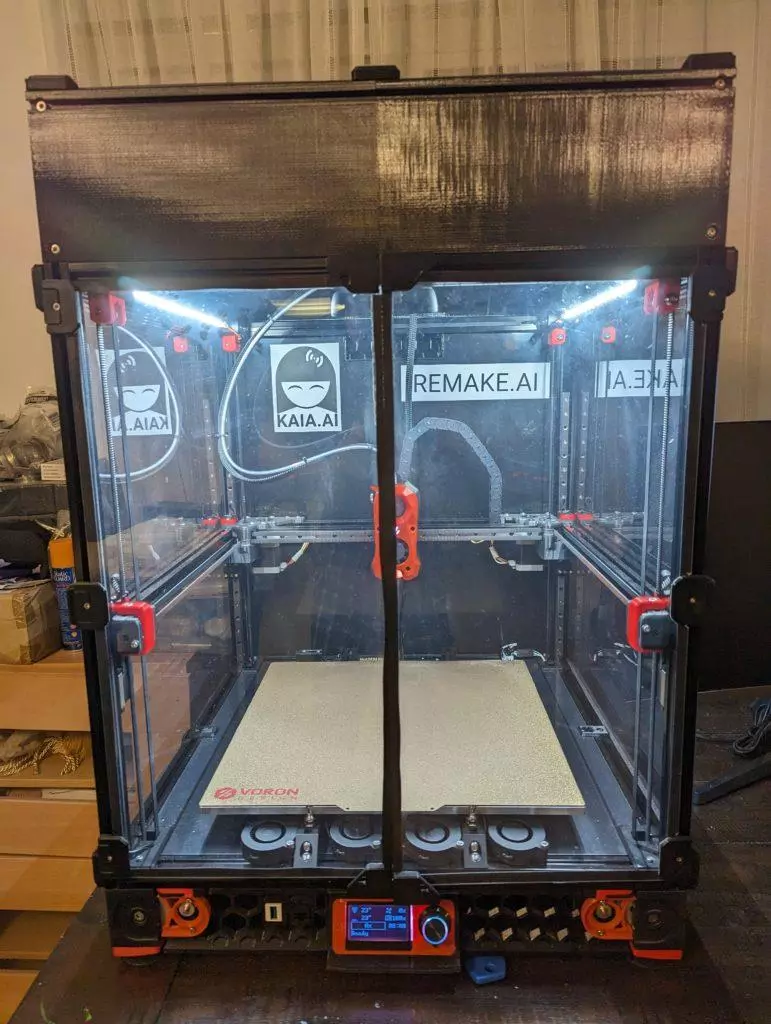
Voron 2.4 print volume height comes up short of the advertised 350mm (or 300mm, 250mm) - quite a bit - especially when using the StealthBurner extruder and/or PTFE filament tubing. Here is a “top hat” volume height extension that you can 3D-print and mount on top of your Voron 2.4 (or Voron 2.4r2). The max Z in my setup increases from 310mm to the full 350mm - without replacing vertical rails!
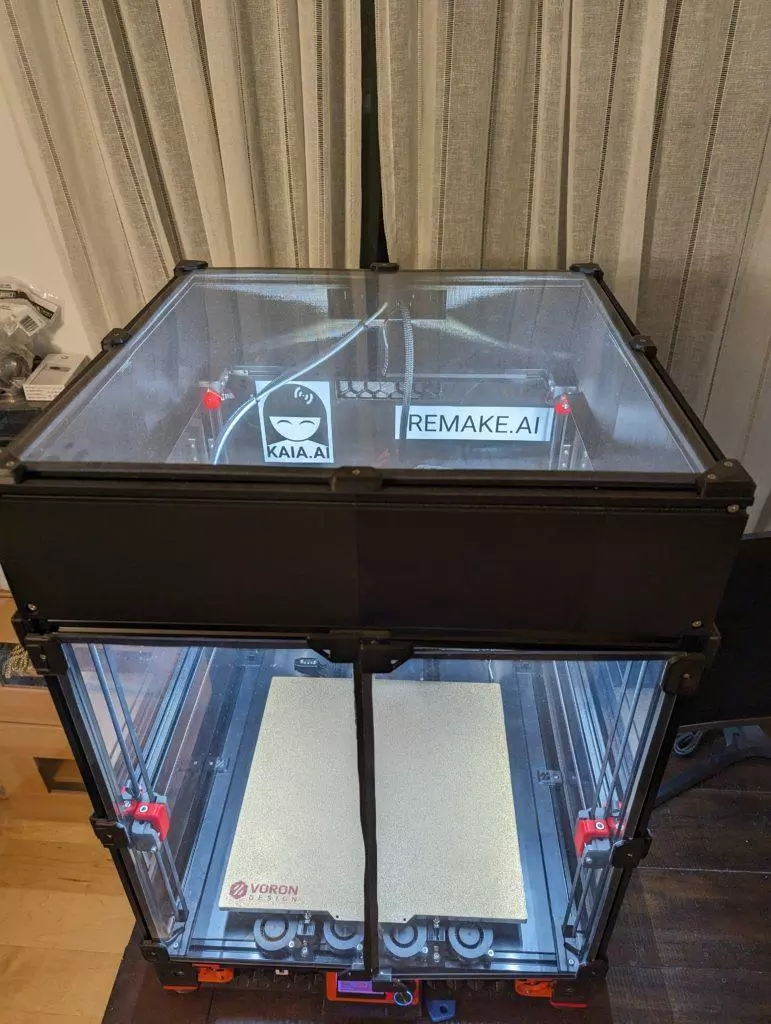
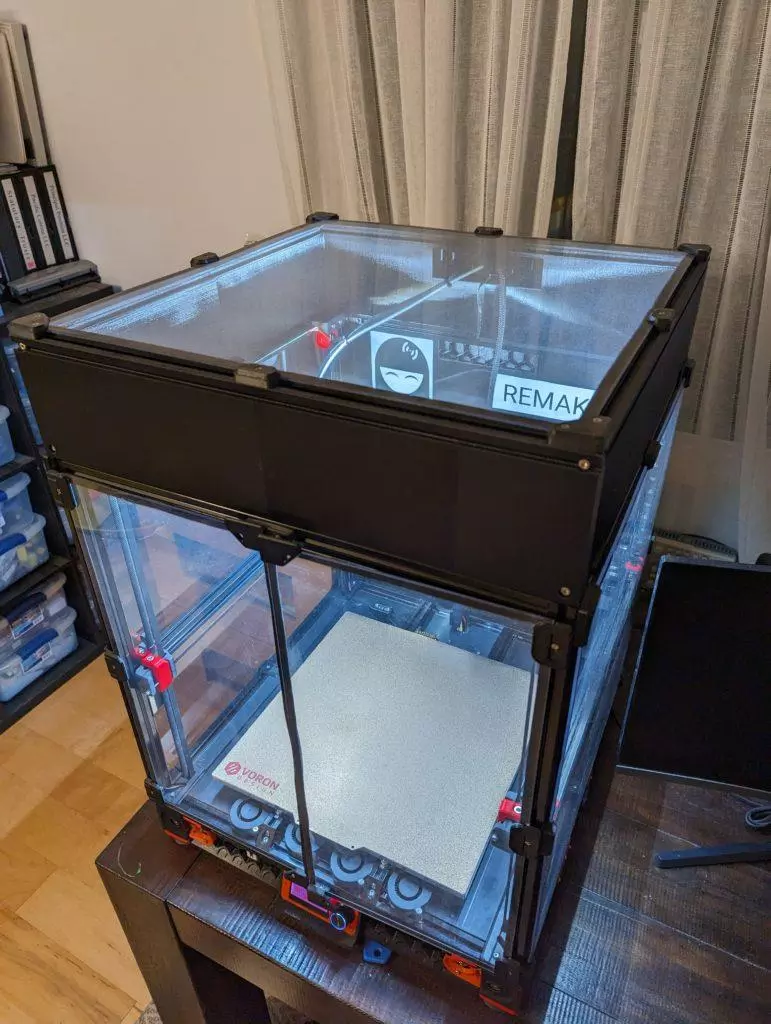
This mod sits between your Voron 2 frame and its top see-through plastic sheet. Specifically, this top hat fits into the existing 2020 aluminum extrusion slots on top of your Voron2 - and reproduces 2020 extrusion slots (in plastic) on its own top, so you can re-affix the see-through plastic sheet.
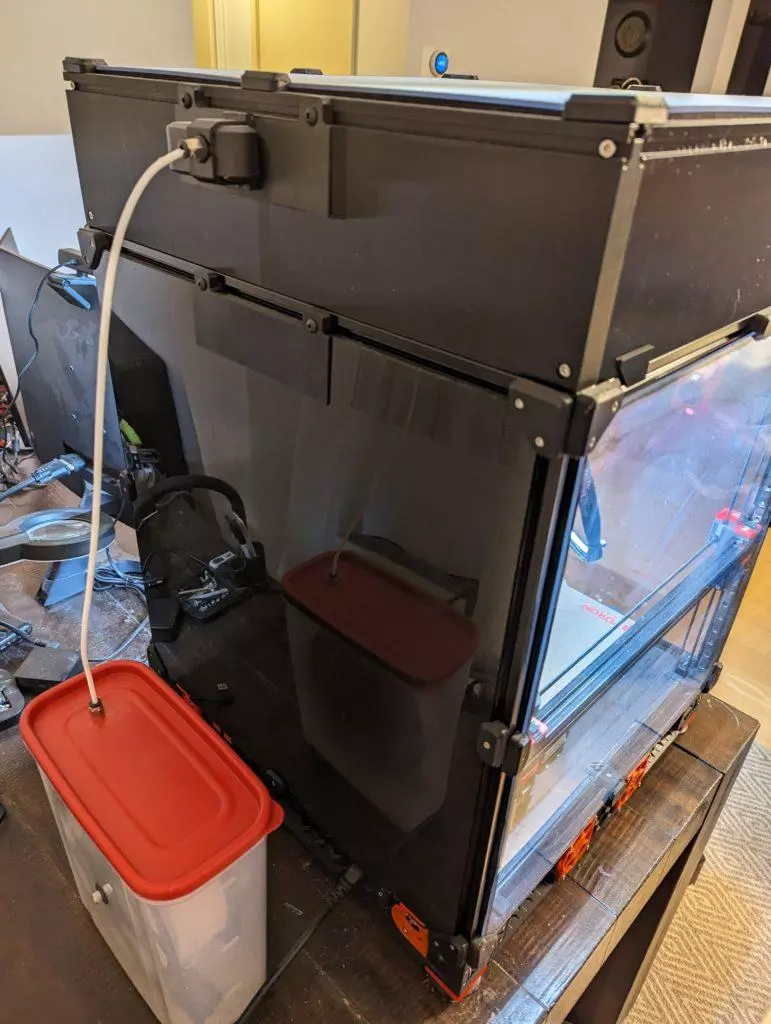
The top hat’s exhaust opening has the same size and position as the one on the “standard” Voron 2.4. You can try mounting a Voron 2.4 exhaust filter proper or affix one of the many available exhaust cover plates.
 |
 |
 |
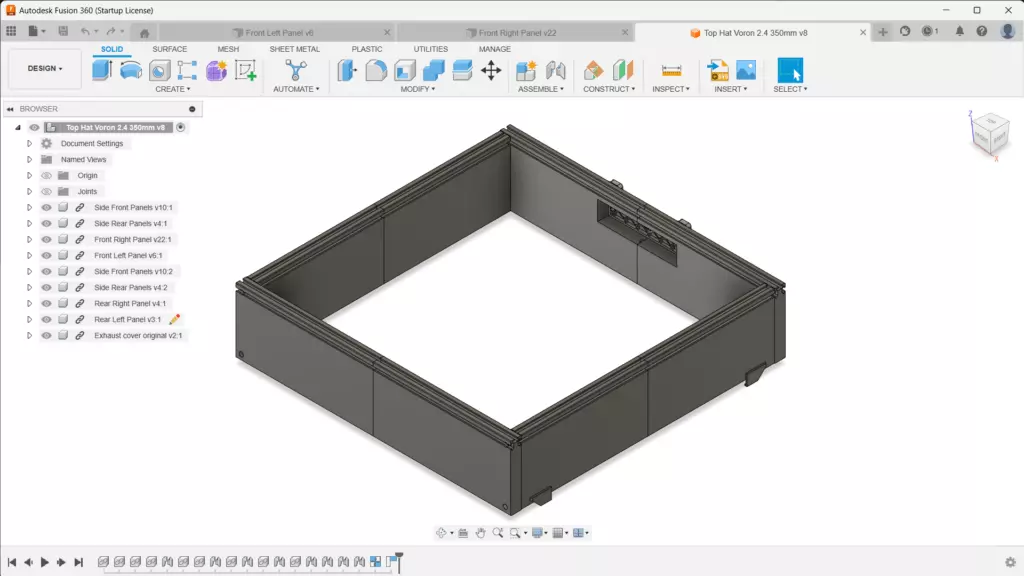 |
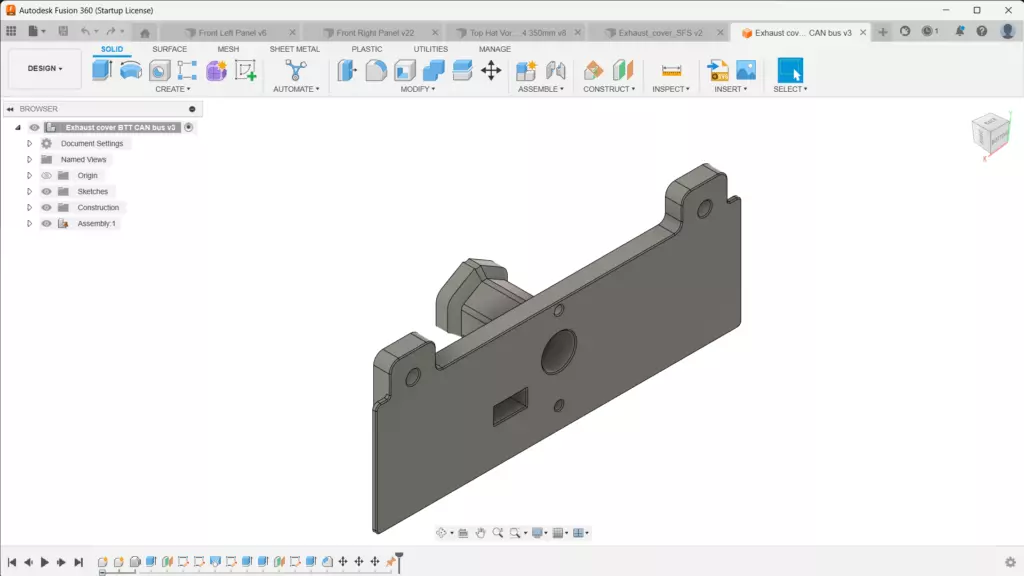 |
Build Instructions
- In the slicer software, place each half-panel vertically on the print bed. The half-panel’s slot should be facing up.
- 3D-print the half-panels. I recommend using PETG.
- Assemble 8 half-panels into 4 panels - one front, one rear and two side panels.
- Take two mating sub-panels (e.g., one front left and front right) and slide the slotted end of one of the half-panels into the mating slotted end of the other half-panel.
- It’s ok to gently pound the half-panels to make them fit together.
- If the fit is too tight, try sanding the slot a little with a piece of sandpaper.
- Take the top transparent sheet off your Voron 2 extrusion frame.
- Place the four just-assembled on top of your Voron 2 frame. The top hat should sit nicely in the grooves of your 2020 extrusions.
- Use 8 M4x30 screws - 4 in the front and 4 in the back - to bolt the four panels together. Don’t overtighten when driving the screws into the plastic.
- Choose a cover plate - see below - and 3D-print it.
- Mount your cover plate in the back of the top hat.
- Run your filament and/or PTFE tube and/or CAN bus wiring (if you have one) - whatever you are using for your setup. I do recommend using PTFE and CAN bus.
- Re-affix the see-through sheet top the top hat’s 2020 “extrusions”. Be careful not to damage the “extrusions” plastic.
- Edit your printer.cfg to update the max Z position, see below.
- At your max Z position, carefully check for any extruder collisions (with the frame, camera - if you have one, etc.).
- Check for pinched filament, PTFE tube, cables, chains, etc.
- Resolve any issues.
1
2
3
4
5
6
7
8
9
10
[stepper_z]

# Uncomment below for 350mm build
# position_max: 350

# Uncomment below for 300mm build
# position_max: 300

# Uncomment below for 250mm build
# position_max: 250
Choice of exhaust covers or filter
These are just suggestions.
- you can try affixing a Voron 2 exhaust filter.
- you can use this exhaust plate.
- or you can use this exhaust plate with a BTT filament sensor attached to it.
- I recommend the “Exhaust cover BTT-PTFE-CAN-bus” plate in this repo. This plate has a BTT filament sensor mount as well as an elongated knob that prevents your PTFE tube from sagging. The PTFE tube slides through the knob. You can also secure your CAN bus cable to the knob.
Max Z improvement
The max Z in my setup increases to 355mm. Beyond that the carriage starts sliding beyond the vertical rail’s end. Without the top hat my max Z was 310mm.
Word of caution - when printing above ~310mm, your minimum Y must be 20mm (vs. zero), otherwise Stealthburner can collide with the frame.
 |
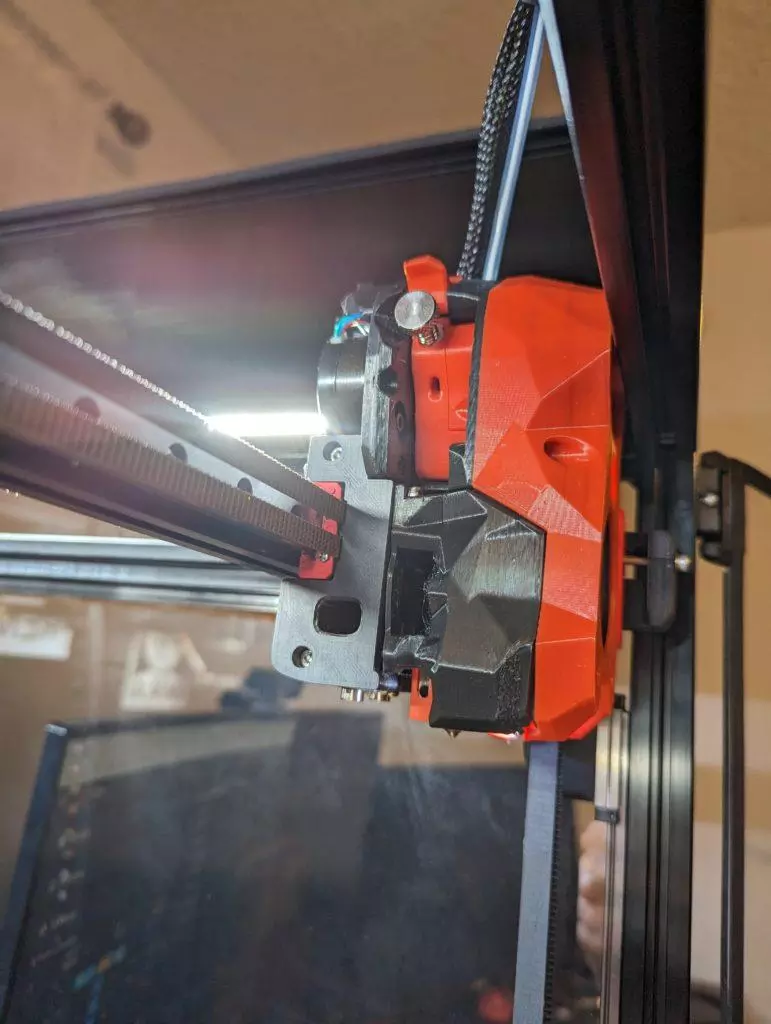 |
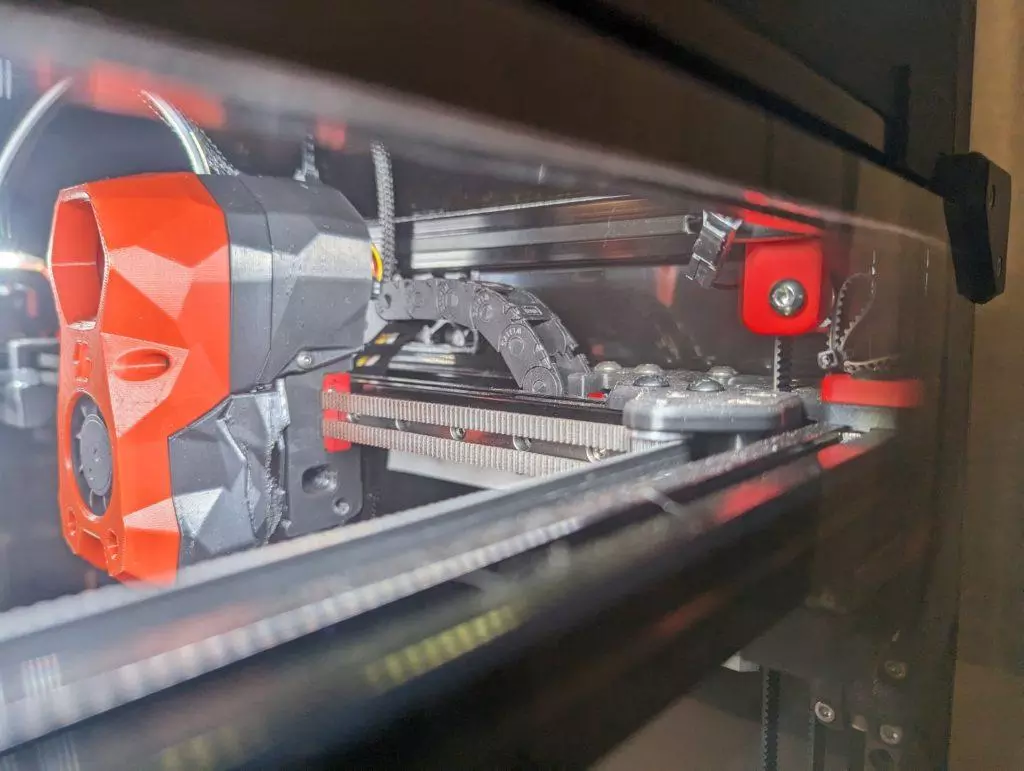
Custom Voron 2.4 frame size
If your Voron 2.4 frame is not a standard 350/300/250mm, tweak the top had mod size like this:
- Install Fusion 360 (as of 2023 it is free for personal use).
- Download and open the “Top Hat Voron 2.4 300mm.f3z” design file.
- Open the “Top Hat - Parameters 300mm” module.
- In the toolbar, click Modify -> Change Parameters
- Change “extrusionLength” from 420mm to whatever you need.
- Save the changes and close the module.
- Open the “Top Hat Voron 2.4 300mm” module.
- Click the yellow “Update all out-of-date references” button above the design toolbar - or right-click in the component browser tree on the root “Top Hat Voron 2.4 300mm” component and select “Update External References”.
- Save the component.
- Right-click in the component browser tree on the root “Top Hat Voron 2.4 300mm” component and select “Save as Mesh”; select 3MF or STL, set “structure” to “One file” or “One file per body” (your preference), set “Refinement” to “High”, click OK, check “Save to my computer” and follow the rest of the “Save As” prompt to export the modified STL/3MF for 3D printing.
Please find all files in this Maker’s Pet GitHub repository available for download.
Happy 3D printing!