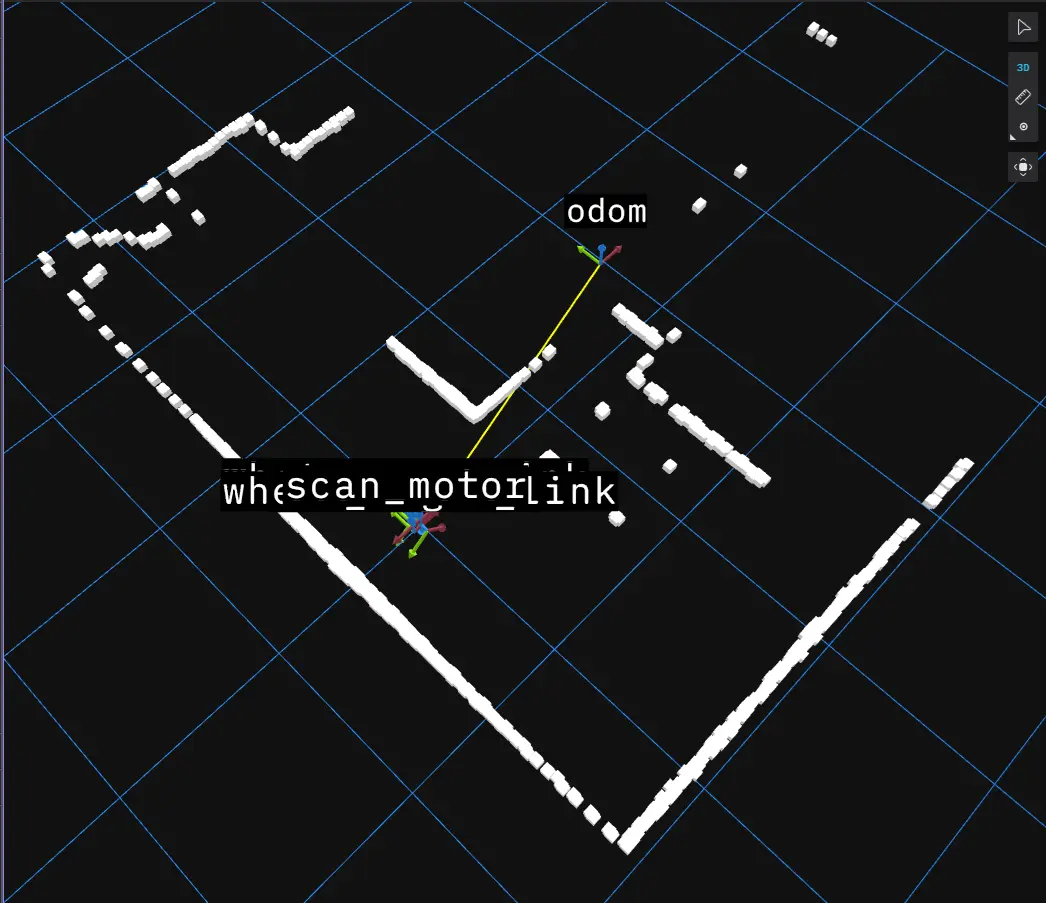
How to View Robot Telemetry Using Foxglove

Let’s view ROS2 robot telemetry, only this time let’s use Foxglove.dev instead of ROS2 RViz. Foxglove runs outside of ROS2. For example, I run Foxglove on my Windows PC in a browser, while my ROS2 runs inside a Docker container using Windows WSL.
Launch ROS2 Docker Container
Let’s launch Kaia.ai ROS2-based Docker container. I added -p 8765:8765/tcp to the launch command in order to open port 8765 for Foxglove data streaming.
1
docker run --name makerspet -it -v c:\maps:/root/maps --rm -p 8888:8888/udp -p 4430:4430/tcp -p 8765:8765/tcp -e DISPLAY=host.docker.internal:0.0 -e LIBGL_ALWAYS_INDIRECT=0 kaiaai/kaiaai:iron
Install Foxglove
In your ROS2 Bash shell run the command below to install the Foxglove bridge ROS2 node.
1
apt update && apt install -y ros-iron-foxglove-bridge
Next, go to Foxglove.dev and install Foxglove viewer on your PC. I run Foxglove directly from my browser.
Launch Your Robot
Next, launch your ROS2 robot as usual. Please read the full instructions about setting up and operating Maker’s Arduino/ROS2 robots and Kaia.ai software here.
Launch Foxglove
In your ROS2 Bash shell launch the Foxglove ROS2 node:
1
ros2 launch foxglove_bridge foxglove_bridge_launch.xml port:=8765
Open your Foxglove viewer
- click Open Connection to a live robot or server
- select Foxglove WebSocket
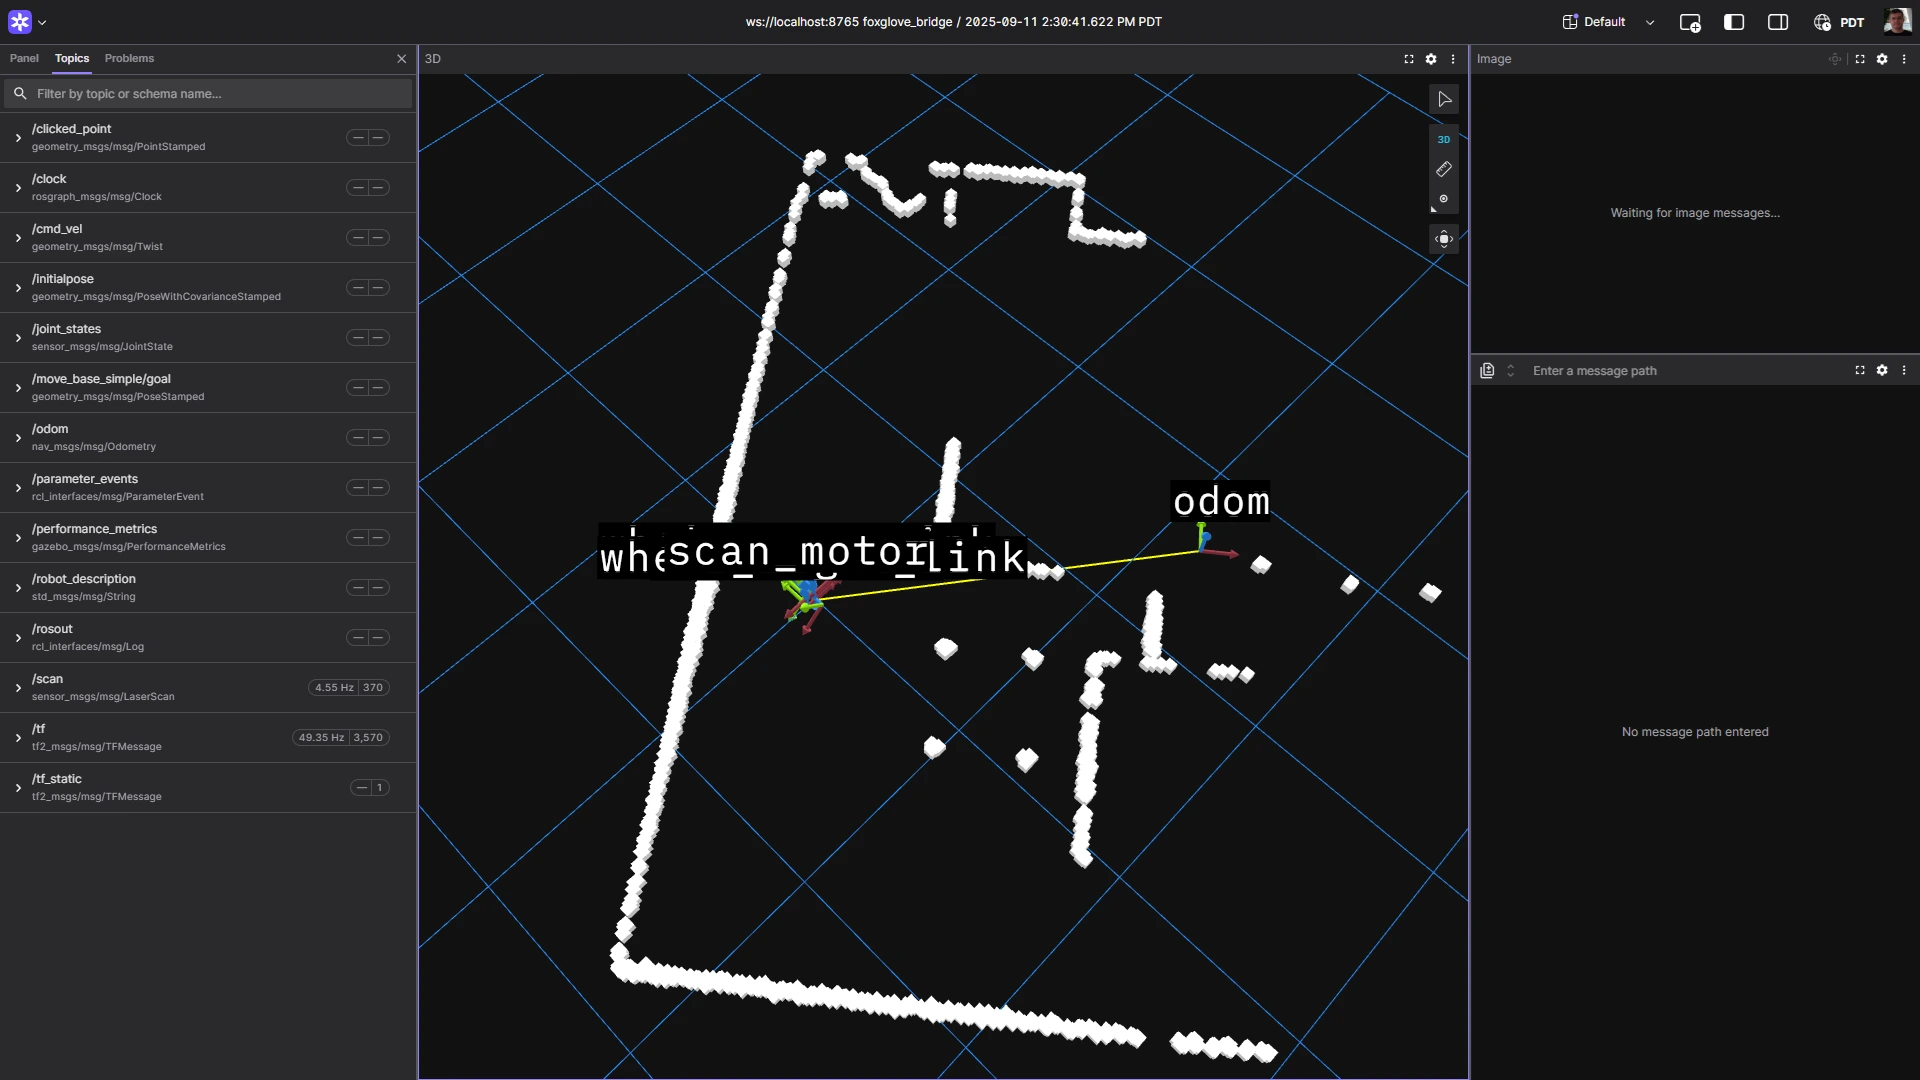
ws://localhost:8765 - your Foxglove viewer should connect and start displaying some data
- expand View on the left and unhide the
/scantopic- select a color that is more visible
- click the Topics tab in the left sidebar. You should see
/scanand/tftopics running.

Using Foxglove with Rosbridge
As an alternative, you can use Rosbridge ROS2 node instead of Foxglove bridge.
Both of these are ROS2 nodes and both use WebSockets. According to Foxglove, Foxglove bridge should run a bit faster compared to Rosbridge.
The key advantage of using Rosbridge is that you can use your own client with Rosbridge - instead of the Foxglove viewer.
Rosbridge uses port 9090 by default. Therefore, the Docker launch command should look like this:
1
docker run --name makerspet -it -v c:\maps:/root/maps --rm -p 8888:8888/udp -p 4430:4430/tcp -p 9090:9090/tcp -e DISPLAY=host.docker.internal:0.0 -e LIBGL_ALWAYS_INDIRECT=0 kaiaai/kaiaai:iron
Install Rosbridge using your ROS2 Bash shell:
1
2
apt update && apt install -y ros-iron-rosbridge-server
source /opt/ros/iron/setup.bash
Launch Rosbridge using your ROS2 Bash shell:
1
ros2 launch rosbridge_server rosbridge_websocket_launch.xml
Launch your Foxglove viewer
- click Open Connection to a live robot or server
- select Foxglove WebSocket
ws://localhost:9090 - your Foxglove viewer should connect and start displaying data
Happy robot building!