Free worldwide shiping on $150+
Keep 3D printing filament dry properly with molecular sieve desiccant
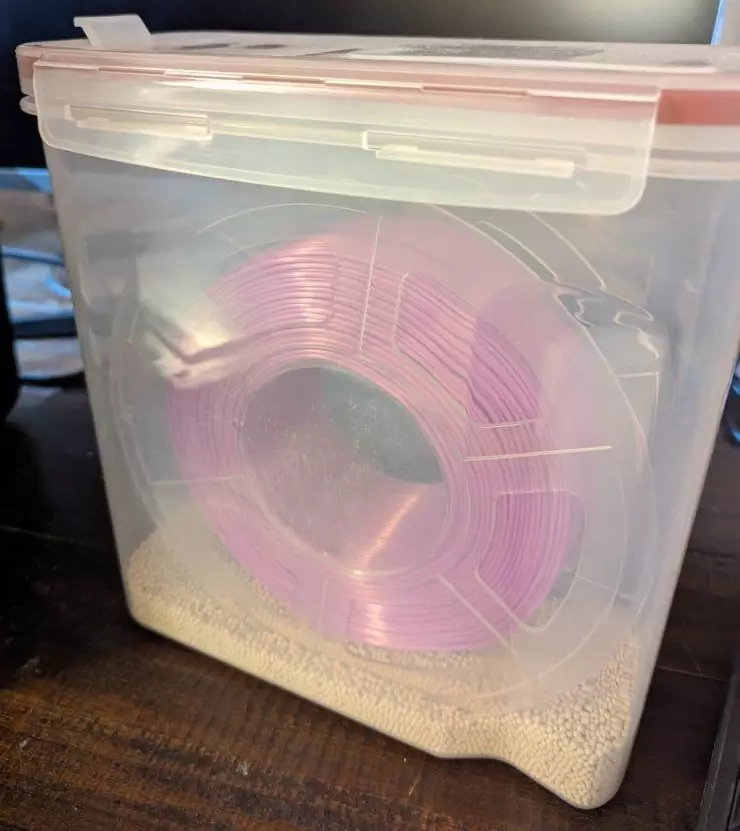
Once you have made your airtight filament spool container – as described in this post – let’s take care of two more things:
- Fill the airtight filament spool container with desiccant.
- Put a hygrometer-and-thermometer combo into the container.
Pop quiz question – what type of desiccant are you going to use? Will it be the silica gel beads desiccant type?
If your answer is yes, I’d recommend you reconsider. Jokes aside, don’t use the silica gel beads – let me explain.
Choice of desiccant
Yes, silica gel beads is a widely used, popular and inexpensive desiccant. That said, I have noticed my filament – which was dry at room temperature – unexpectedly printed “wet” when I leave the airtight filament container inside the 3D printer enclosure – for reasons of convenience. It turns out that once the print starts, the silica gel – along with the filament in the container – warm up. Once the silica gel gets warm, its humidity absorption ability nosedives in an epic fashion, according to graphs here.
Also, I noticed that no matter how much fresh silica gel I stuffed into the airtight filament container, at room temperature, I wasn’t quite able to bring down the level of humidity below, say, 17% – if I trust my hygrometer.
At this point I searched for silica gel alternatives and found “molecular sieve”. Molecular sieve desiccant also comes in shape of small beads and costs comparably to silica gel – yet, after some experimentation, I feel – hands down – molecular sieve desiccant’s performance beats that of silica gel.
- With molecular sieve I can repeatedly achieve 10% humidity at room temperature in my airtight filament containers.
- The hygrometer keeps showing 10% relative humidity during 3D prints even when I leave the airtight filament container inside the printer enclosure.
This is the desiccant brand that I use, purchased off Amazon. I am not associated with the desiccant seller or manufacturer.

Get new tutorials by email

I’ve looked up silica gel and molecular sieve desiccant datasheets and here is summary comparison of those desiccant types – sourced from cilicant.com. I am not associated with cilicant.com This comparison does appear to match my subjective experience – and the readings of my (cheapo) hygrometer.
- Silica gel works best – and outperforms molecular sieve – at higher humidity (RH>40%, 25°C) and room temperatures. Silica gel performance drops as the temperature rises.
- Molecular sieve outperforms silica gel at lower humidity (RH<40%, 25%) and markedly more so at higher temperatures.
Choice of hygrometer
By the way, here is the 10% relative humidity hygrometer reading that I have mentioned. That’s what I call “dry”!


The hygrometer does show 10%. However, I’m not actually sure it is 10% because many inexpensive hygrometers have low accuracy – as well as low resolution, especially at low humidity. I have at 5 hygrometer models. If I put them next to each other, they usually show ridiculously different results – emphasis on ridiculous.
The mismatching readings caused me to search Amazon for a hygrometer that I can trust at least somewhat. I ended up buying 4-packs of hygrometer that looks like above. It doesn’t have a particular brand name or model number – you can find it on Amazon by searching for “4-pack mini digital humidity temperature meters gauge indoor hygrometer thermometer” or something like that. It is obvious this hygrometer has a low resolution for dry air – it shows 10% or 17% humidity and nothing in between, go figure. But others that I have seem worse. At least, when I put a few of them next to each other and leave them alone for an hour or so, their readings seem to be practically identical. Here is an example:

Hygrometer pedestal
Before placing a hygrometer into the airtight filament container, let’s make a pedestal – please see below. You can find the link to the pedestal 3D-printable files at the bottom of this page.


Tips
- If this hydrometer model’s reading exceeds 17%, consider replacing the desiccant and drying out the filament. Don’t discard the desiccant – you can dry it out just like your filament.
- I have noticed time and again that thin plastic wrapping can slowly let moisture in over time. When you receive a shipping of filament – all nicely packaged and shrink-wrapped, I recommend you placing the spools in airtight containers as well, once you get your package. Plain vanilla containers – i.e., not rigged up with a spool holder and PTFE tubing – should do.
- You can keep your filament dry and ready-to-go in non-modified airtight cereal containers on the shelf practically indefinitely.
- Lastly, when not in use, be sure to close off the PTFE tube’s end with a piece of sticky tape.
Great, you’ve made it to the end of the article! I hope it helps. I did not learn this from YouTube or internet tutorials – rather, it took me months to sort this out on my own.
In the next post we will talk about the filament sensors for Prusa MK2.5S/3S/4, their clones, Voron 2.4 and OctoPrint.
Please find all files in this Maker’s Pet GitHub repository available for download.
Happy 3D printing!